
Choosing the right framing nail gun can make your building projects easier and more efficient. This guide will walk you through the essential factors to consider, from power sources to nail sizes, helping you make an informed decision. Whether you’re a DIYer or a professional, understanding these basics ensures you pick the best tool for your needs.
How to Choose a Framing Nail Gun
Are you planning a big construction project or a DIY home renovation? A framing nail gun can save you time and effort. But with so many options out there, how do you pick the right one? This comprehensive guide will help you understand the key factors to consider when choosing a framing nail gun. By the end, you’ll know exactly what to look for to find the perfect tool for your needs.
Key Takeaways
- Identify your project needs: Determine the scale and type of your projects to select the appropriate nail gun.
- Understand power sources: Choose between pneumatic, cordless, or gas-powered nail guns based on convenience and power.
- Consider nail sizes and gauges: Match the nail length and gauge to your framing requirements for durability and strength.
- Look for ergonomic features: Opt for lightweight, comfortable designs with adjustable features for ease of use.
- Set a realistic budget: Balance cost with quality to ensure longevity and performance of your nail gun.
- Review safety features: Prioritize models with safety mechanisms to prevent accidents during use.
Step 1: Understand Your Project Needs
Before selecting a framing nail gun, it’s essential to think about your specific project requirements. Different projects demand different tools, so clarity here will guide your choice.
Identify the Scope and Volume of Your Projects
Are you building a deck, framing walls, or doing a small repair? Large-scale projects require durable, high-capacity nail guns, while occasional DIY tasks might need a more basic model.
Determine the Types of Materials You’ll Work With
Will you be working with thick lumber, plywood, or other materials? The type of material affects the nail size and power needed.
Step 2: Choose the Right Power Source
The power source is a critical factor because it impacts the tool’s portability, power, and ease of use.
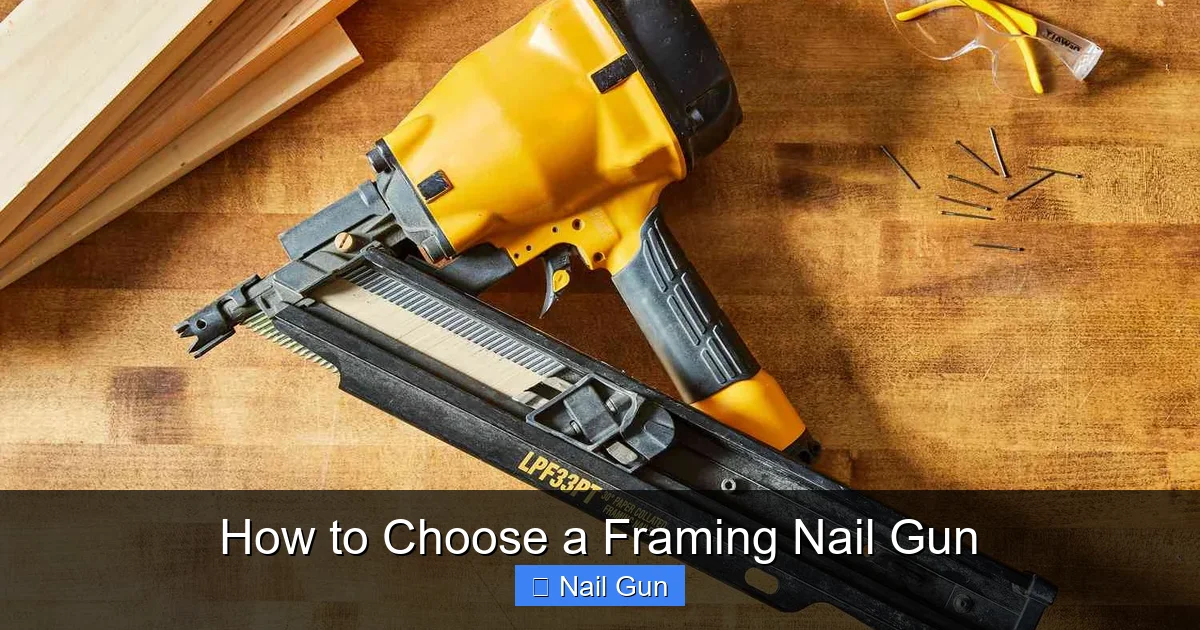
Visual guide about How to Choose a Framing Nail Gun
Image source: thespruce.com
Pneumatic (Compressed Air) Nail Guns
Advantages: Powerful, reliable, and suitable for heavy-duty tasks. They are common in professional construction sites.
Disadvantages: Require an air compressor, which can be bulky and less portable.
Tip: Ideal for large projects where power and durability are priorities.
Cordless (Battery-Powered) Nail Guns
Advantages: Highly portable, easy to use, and no need for hoses or compressors.
Disadvantages: Limited battery life and potentially higher upfront cost.
Tip: Great for small to medium projects or when mobility is essential.
Gas-Powered Nail Guns
Advantages: Combines the power of pneumatic tools with portability. No external compressor needed.
Disadvantages: Need for fuel cells and maintenance. Slightly heavier.
Tip: Suitable for professionals who need mobility and power without the hassle of compressors.
Step 3: Consider Nail Sizes and Gauges
The size and gauge of nails directly affect the strength and stability of your framing work.
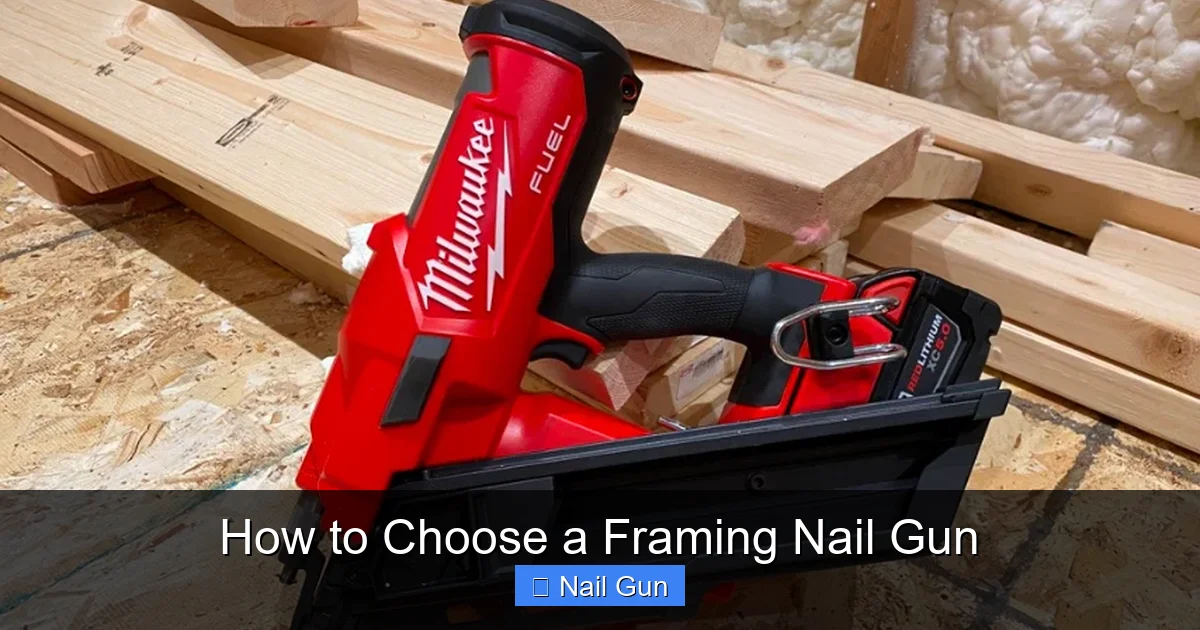
Visual guide about How to Choose a Framing Nail Gun
Image source: industrialmachinery4u.com
Nail Length
- Typical framing nails are 2 to 3.5 inches long.
- Longer nails provide more holding power but require a compatible gun.
Nail Gauge
- Gauges range from 11 to 16; lower numbers mean thicker nails.
- Choose: 11 or 12 gauge nails for structural framing; higher gauges for lighter tasks.
Matching Nails to Your Gun
Always verify your nail gun’s specifications to ensure compatibility with the nail sizes you intend to use.
Step 4: Evaluate Ergonomic and Safety Features
Comfort and safety are vital for prolonged use and accident prevention.
Weight and Balance
- Opt for lightweight models to reduce fatigue.
- Balance is key for precise work and ease of handling.
Adjustable Features
- Depth adjustment allows you to control how deep nails are driven.
- Comfortable grips and adjustable triggers improve handling.
Safety Mechanisms
- Look for features like contact safety, trigger locks, and anti-dry fire systems.
- Ensure your model meets safety standards to prevent accidents.
Step 5: Set a Realistic Budget
High-quality framing nail guns can range from $150 to over $500. Decide how often you’ll use the tool and balance cost with durability and features.
- Entry-Level: Suitable for occasional DIYers; typically less expensive but reliable.
- Professional-Grade: Designed for frequent use, with enhanced durability and advanced features.
Step 6: Read Reviews and Compare Brands
Research customer reviews and expert opinions. Trusted brands like Paslode, Bostitch, and Hitachi offer reliable options.
Compare warranty, customer service, and available accessories before making your final decision.
Step 7: Test Before You Buy
If possible, try out the nail gun in-store or borrow from a friend. Pay attention to weight, comfort, and ease of use.
Ensure the tool feels balanced and that controls are intuitive for you.
Troubleshooting Common Issues
- Jamming: Use the correct nails and keep the gun clean and well-maintained.
- Inconsistent Nailing: Check for proper depth settings and ensure nails are compatible.
- Power Loss: For pneumatic guns, verify air pressure; for battery models, check charge level.
Conclusion
Choosing the right framing nail gun involves understanding your project needs, selecting the appropriate power source, and considering nail sizes, safety, and comfort features. By following these steps, you can find a reliable tool that makes framing projects easier, faster, and safer. Remember, investing in quality pays off in durability and performance. Happy building!
🎥 Related Video: What Framing Nailer is Better? Your Complete Guide!
📺 markthomasbuilder
This video helps you figure out the differences between the 21° and 30° framing nailers. I was able to speak with an expert from …