
Drilling concrete screws into concrete might seem tricky at first, but with the right steps, you can do it easily and securely. Whether you’re hanging shelves, mounting fixtures, or tackling a home project, getting it right matters.
You don’t want your hard work to fail because of a simple mistake. In this guide, you’ll discover clear, step-by-step instructions that anyone can follow—no confusion, no guesswork. Keep reading, and you’ll learn exactly how to make your screws hold strong and last long.
Tools And Materials Needed
Drilling concrete screws into concrete needs the right tools and materials. Using proper equipment makes the job easier and safer. It also helps the screws hold firmly in the concrete.
Gather everything before starting. This saves time and avoids mistakes. Below are the main tools and materials you need.
Choosing The Right Drill
Select a drill with high power and good speed control. A hammer drill works best for concrete. It combines rotary and hammering action. This helps drill into hard surfaces like concrete. Cordless or corded drills can both work well. Check the drill’s chuck size to fit your drill bits.
Selecting Concrete Screws
Use screws made specifically for concrete. These screws have special threads for gripping. They resist rust and corrosion. Pick the right length for your project. Longer screws hold better in thick concrete. Match screw size with the hole drilled for a tight fit.
Additional Supplies
You need concrete drill bits in the correct size. Use a masonry bit that fits your screw diameter. A dust mask protects your lungs from concrete dust. Safety glasses shield your eyes from flying debris. A vacuum or brush helps clean dust from holes. Anchors or plugs may be needed for certain screws.
Credit: www.familyhandyman.com
Preparing The Surface
Preparing the surface is a crucial step before drilling concrete screws. It ensures the screws hold tightly and the job lasts long. Skipping this step can cause the screws to loosen or the concrete to crack. Proper preparation makes drilling easier and safer.
Cleaning The Concrete
Start by removing dirt, dust, and loose particles from the surface. Use a stiff brush or broom to clean the area well. For stubborn stains or grease, use a mild detergent with water. Let the surface dry completely before drilling. A clean surface helps the drill bit grip better and prevents slipping.
Marking Drill Points
Next, mark the exact spots where you want to drill. Use a pencil, chalk, or marker for clear marks. Measure carefully to keep the screws aligned and evenly spaced. Double-check the marks to avoid mistakes. Clear markings guide the drill and improve accuracy during drilling.
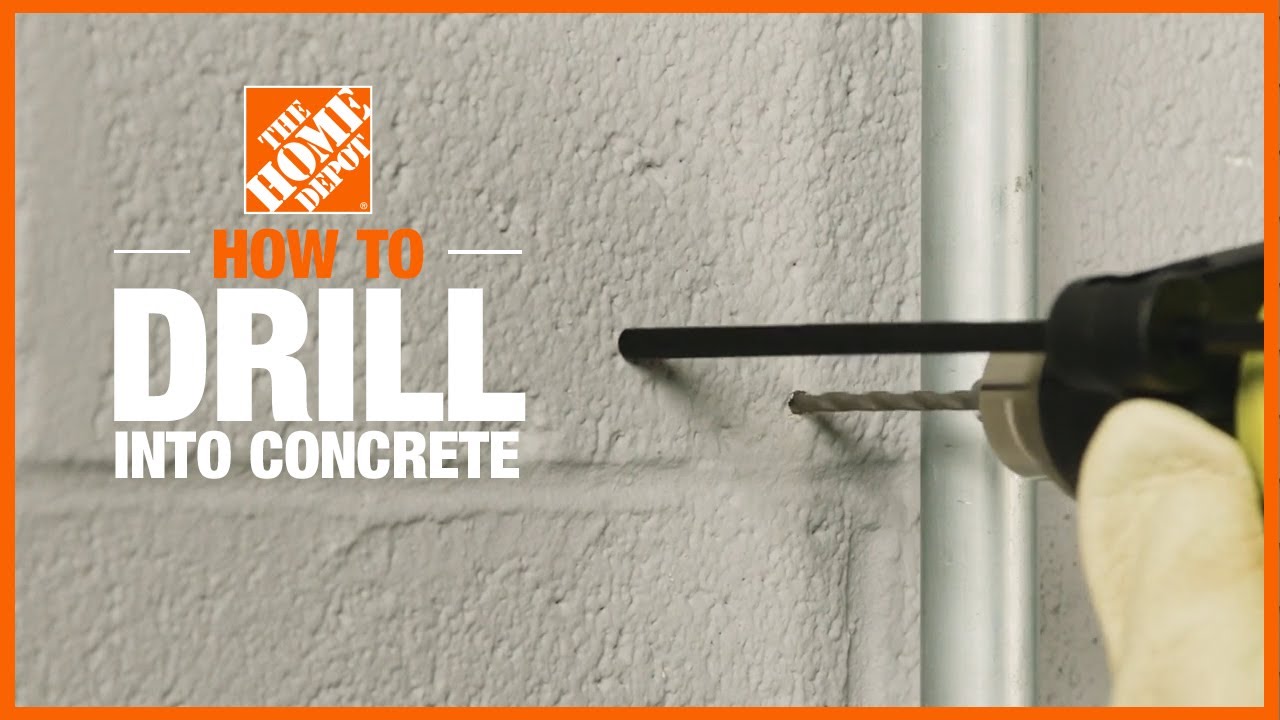
Drilling The Pilot Hole
Drilling the pilot hole is the first important step in installing concrete screws. It guides the screw and prevents the concrete from cracking. The hole must be the right size and depth for a strong hold. Proper drilling helps the screw fit tightly and hold weight well.
Each part of drilling matters, from choosing the drill bit to controlling the drill speed. Using the correct tools and settings makes the job easier and safer. Below, learn key tips on how to drill the pilot hole correctly.
Setting Drill Speed
Set your drill to a low or medium speed. High speed can overheat the bit and damage the concrete. Slow speed keeps the drill bit cool and lasts longer. Control the speed to avoid cracking the concrete surface. Keep steady pressure but do not force the drill.
Using A Hammer Drill
A hammer drill is best for concrete. It combines rotation and hammering action. The hammering helps break the hard surface quickly. Use the hammer mode to drill fast and clean holes. Without hammer action, drilling concrete takes more time and effort.
Drill Bit Selection
Choose a masonry drill bit designed for concrete. These bits have a strong tip made from carbide. The tip cuts through concrete without dulling fast. Match the bit size to the screw’s diameter for a snug fit. Avoid bits that are too small or too large.
Credit: www.youtube.com
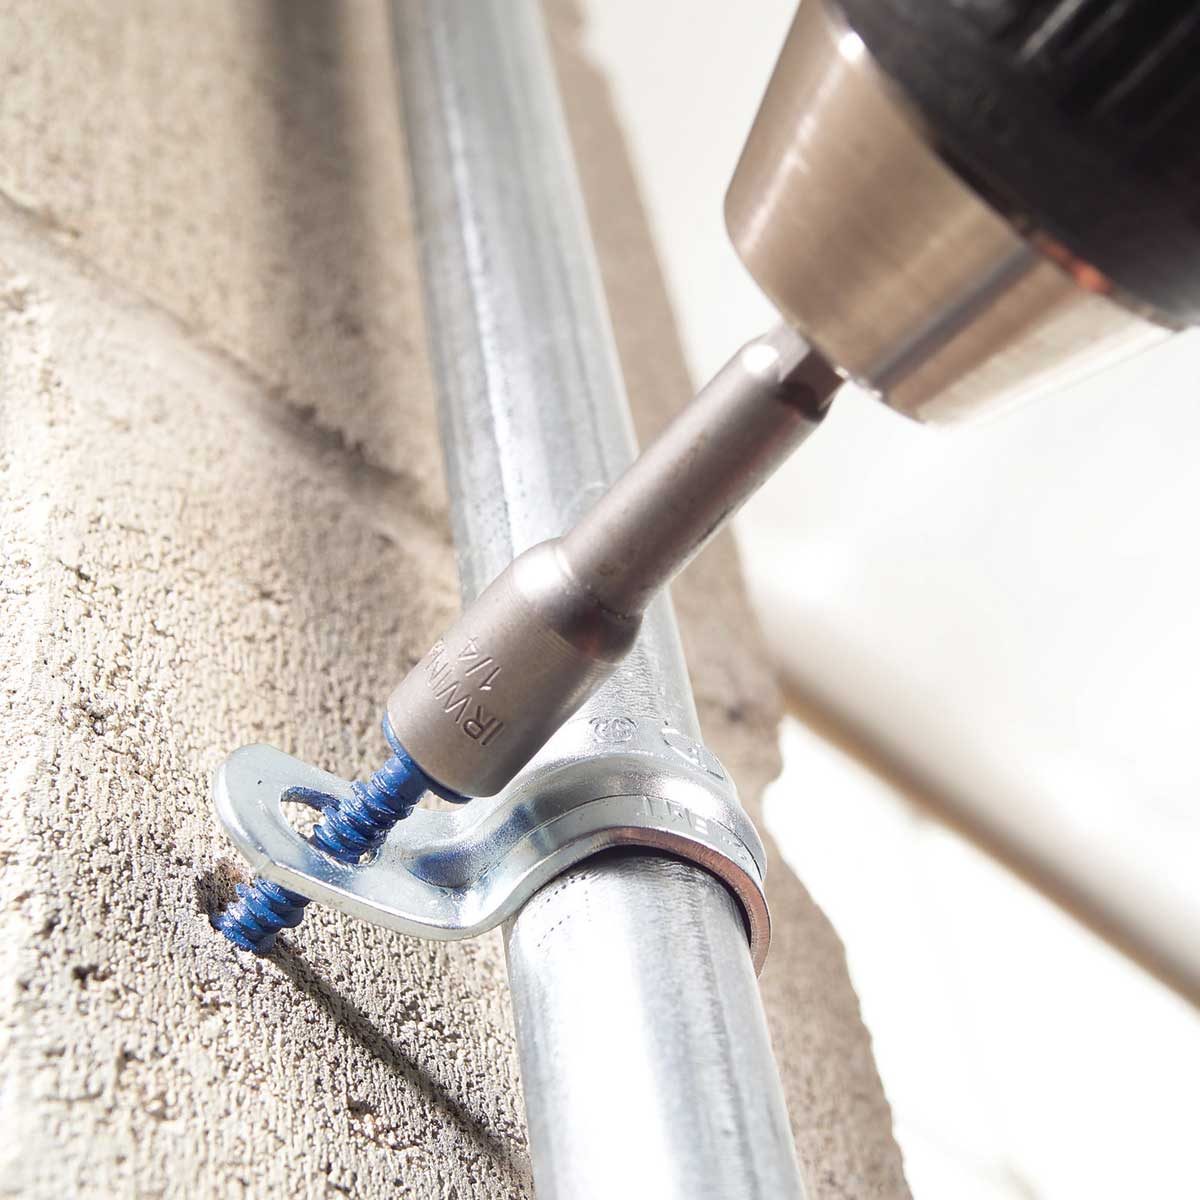
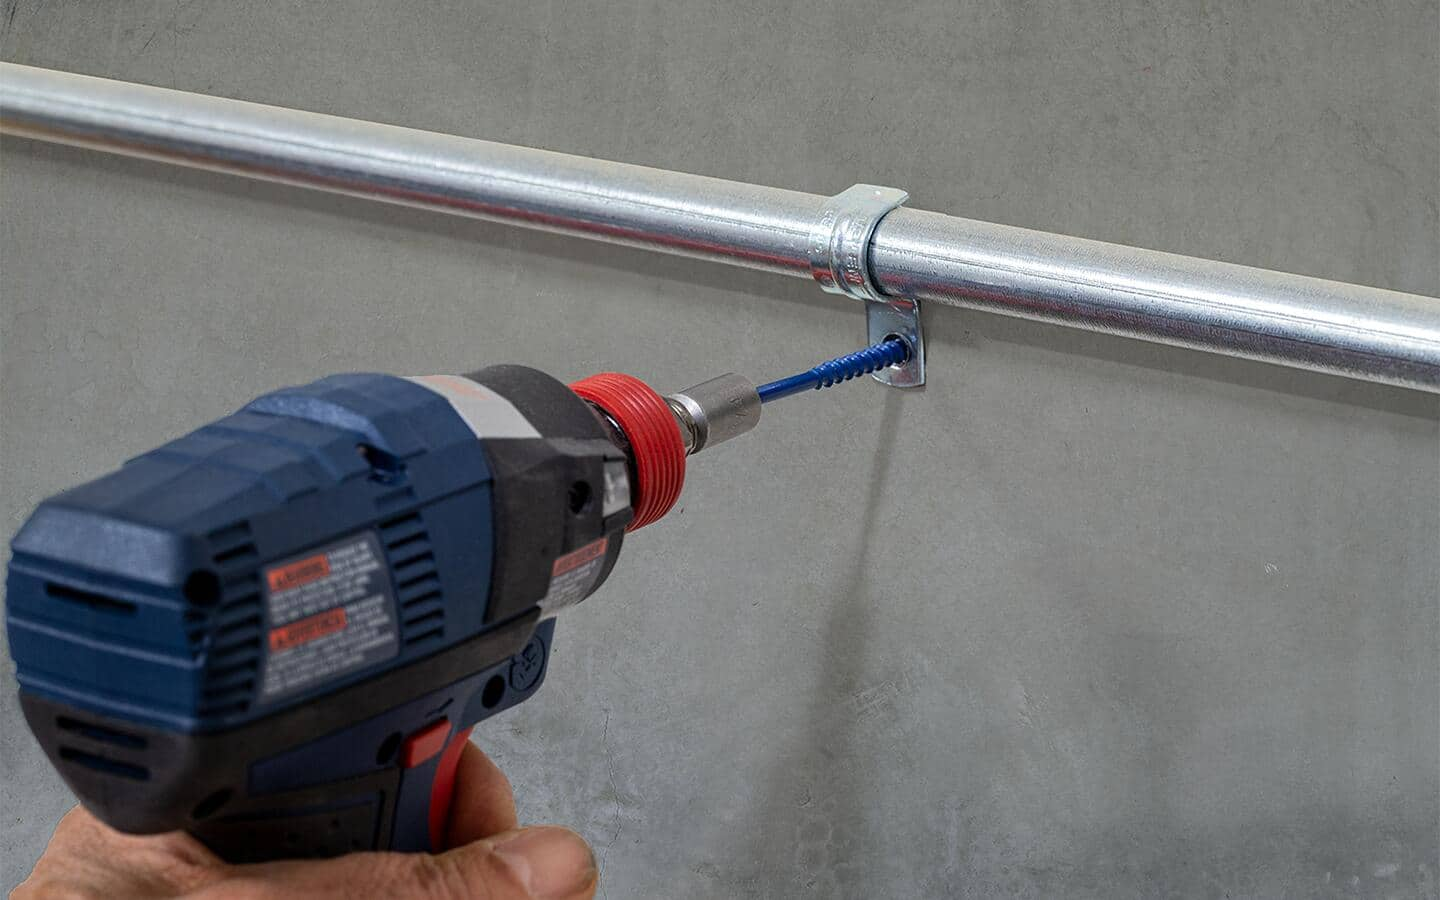
Installing Concrete Screws
Installing concrete screws requires careful steps to ensure a strong hold. These screws are designed to fasten materials directly into concrete surfaces. Proper installation makes the connection secure and long-lasting.
Start by drilling a hole with the right size bit. The hole should match the screw diameter exactly. Clean out any dust or debris from the hole. This helps the screw grip better and prevents loosening over time.
Inserting Screws Correctly
Place the screw into the drilled hole. Use a drill with a screwdriver bit to drive the screw in. Apply steady pressure without forcing it too fast. The screw should go in smoothly and sit flush with the surface.
Stop tightening once the screw is firm. Over-tightening can damage the concrete or strip the screw. Make sure the screw head is level and does not stick out.
Avoiding Common Mistakes
Do not use a drill bit that is too small or too large. Wrong hole size causes weak grip or cracking. Avoid drilling holes too deep or shallow. Both affect screw strength.
Never skip cleaning dust from the hole. Dust reduces screw holding power. Avoid using impact drivers on delicate screws. They can break the screw or damage concrete.
Tips For Stronger Fixing
Securing concrete screws properly ensures a strong hold and lasting performance. Small steps make a big difference in the strength of your fixing. Follow these tips to improve the durability and safety of your installation.
Using Anchors For Extra Support
Anchors add extra grip inside the concrete. They help the screw hold better and prevent it from loosening. Use anchors that match the screw size for best results. Insert the anchor firmly before driving the screw into it.
Ensuring Proper Depth
Drill holes to the correct depth for your screws. Too shallow, and the screw won’t grip well. Too deep, and the screw may not hold tightly. Use a depth gauge or tape on your drill bit to measure accurately.
Maintenance And Inspection
Check your concrete screws regularly for any signs of loosening or damage. Tighten screws that feel loose. Replace screws that show rust or wear to keep the fixing secure over time.
Credit: www.homedepot.com
Frequently Asked Questions
What Tools Do I Need To Drill Concrete Screws?
You need a hammer drill, masonry bit, concrete screws, and a screwdriver. A hammer drill helps create precise holes. Masonry bits are designed for concrete surfaces. Use concrete screws for strong anchoring. A screwdriver or impact driver drives screws securely.
How Do I Prepare Concrete Before Drilling Screws?
Clean the surface to remove dust and debris. Mark the drilling points clearly for accuracy. Use a hammer drill with a masonry bit to make pilot holes. Drilling pilot holes prevents concrete from cracking. Ensure holes are deep enough for screw length.
Can I Drill Concrete Screws Without A Hammer Drill?
Using a regular drill is possible but less efficient. Hammer drills make drilling faster and cleaner in concrete. Without a hammer drill, drilling may take longer and cause tool wear. For best results, a hammer drill is recommended when working with concrete.
What Size Drill Bit Should I Use For Concrete Screws?
Choose a drill bit slightly smaller than the screw diameter. This ensures a tight fit and strong hold. Check the screw packaging for recommended bit size. Using the correct bit size prevents cracks and improves screw grip in concrete.
Conclusion
Drilling concrete screws into concrete takes some care and the right tools. Start by choosing the correct drill bit size and use a hammer drill for best results. Mark the spot clearly before drilling to avoid mistakes. Drill slowly and steadily to keep control and avoid damage.
Clean out dust from the hole before inserting the screw. Following these steps helps ensure a strong, secure hold every time. Practice makes perfect. Soon, this task will feel simple and straightforward.