
Are you ready to hang something on your stucco wall but unsure how to drill into it without causing damage? Drilling into stucco can feel tricky because it’s a tough, textured surface.
But don’t worry—once you know the right steps, you can do it safely and confidently. In this guide, you’ll learn exactly how to drill into your stucco wall the right way, avoid cracks, and get the job done quickly. Keep reading, and you’ll have the skills to tackle your project like a pro.

Credit: www.jessicabrigham.com
Tools For Drilling Stucco
Drilling into stucco requires the right tools to avoid damage and ensure clean holes. Stucco is tough and brittle, so choosing proper equipment is crucial. The right drill, drill bits, and safety gear make the process easier and safer.
Choosing The Right Drill
Select a drill with variable speed control. A hammer drill is ideal for stucco, as it can handle hard surfaces. Corded drills provide steady power, but cordless drills offer more mobility. Make sure the drill has a comfortable grip for better control.
Selecting Suitable Drill Bits
Use masonry drill bits designed for concrete and stucco. Carbide-tipped bits work best and last longer. Start with a smaller bit to create a pilot hole. Then switch to the needed size for your anchor or screw. Avoid using wood or metal bits, as they can break or wear out quickly.
Safety Gear Essentials
Wear safety goggles to protect your eyes from dust and debris. Use a dust mask to avoid breathing fine particles. Gloves protect your hands from sharp edges and vibration. Ear protection helps if your drill is loud. Always work in a well-ventilated area to stay safe.
Preparing The Stucco Surface
Preparing the stucco surface is the first step before drilling. It helps ensure clean holes and prevents damage. Proper preparation makes the drilling process safer and easier.
Follow these steps carefully to get the best results on your stucco wall.
Cleaning The Area
Remove dirt, dust, and debris from the drilling spot. Use a brush or cloth to clean the surface well. A clean area helps the drill bit grip better. It also prevents dust from interfering with the drill.
Marking Drill Points
Use a pencil or marker to mark the exact spots to drill. Measure twice to avoid mistakes. Clear marks guide your drill and keep holes straight. Marking saves time and reduces wall damage.
Checking For Wiring And Pipes
Check inside the wall for wires and pipes before drilling. Use a stud finder or pipe detector tool. Avoid drilling into electrical wires or plumbing. This prevents injury and costly repairs later.
Drilling Techniques
Drilling into a stucco wall needs the right techniques for good results. Stucco is a hard surface made from cement, sand, and lime. Without the proper method, the wall can crack or crumble. These drilling techniques will help you work safely and neatly.
Starting The Hole
Begin by marking the exact spot for the hole. Use a pencil or tape to mark it clearly. Place a small piece of masking tape over the spot. This helps stop the drill bit from slipping. Start drilling slowly at first. Use a masonry bit for better grip. Drill a shallow hole before going deeper. This creates a guide for the rest of the drilling.
Maintaining Drill Stability
Hold the drill firmly with both hands. Keep the drill bit straight and steady. Avoid pushing too hard; let the drill do the work. Use a drill with variable speed control. Slow speeds reduce heat and prevent damage. If the drill wanders, stop and reset the angle. A steady drill makes a clean hole and protects the stucco.
Managing Dust And Debris
Drilling stucco creates a lot of dust and small pieces. Use a vacuum or a small brush to clear dust as you drill. Wear a mask to avoid breathing in dust. Cover nearby areas to keep them clean. Stop drilling now and then to remove debris from the hole. This keeps the drill bit sharp and the hole neat.
Handling Common Challenges
Drilling into stucco walls can be tricky. Stucco is hard and brittle, so mistakes can cause cracks or damage. Knowing how to handle common challenges helps get the job done right. Simple tips and careful work keep your wall strong and neat.
Preventing Stucco Cracks
Cracks ruin the look and weaken the wall. Start by marking the spot clearly. Use a small pilot hole before the main drill. This lowers pressure on the stucco. Hold the drill steady and avoid pushing too hard. Use a masonry drill bit designed for stucco. Take breaks if the drill feels hot. Slow and steady drilling protects the surface.
Dealing With Tough Spots
Stucco sometimes hides hard spots or nails. If the drill stops or slips, don’t force it. Change the drill angle slightly to find a softer area. Try a fresh drill bit if the old one is dull. Tap lightly with a hammer to loosen tough spots. Patience helps avoid damaging the wall.
Adjusting Drill Speed
Drill speed matters a lot. Start with a low speed to control the drill. Increase speed only if the bit moves smoothly. High speed can cause heat and cracks. Use steady pressure, not force. Adjust speed based on how the stucco reacts. This keeps the hole clean and safe.
Finishing Touches
After drilling into stucco, finishing touches are important. They help protect the wall and keep it looking good. Proper finishing stops damage and keeps fixtures secure. Follow simple steps to complete your work well.
Cleaning The Hole
Remove dust and debris from the drilled hole. Use a small brush or air blower. Clean holes help anchors hold better. Dirt can stop screws from fitting tight. Clear holes make the next steps easier.
Sealing Around Fixtures
Apply sealant around screws or anchors. Use silicone or waterproof caulk. Sealing stops water from entering the wall. Water can cause cracks or mold inside stucco. Smooth the sealant for a neat finish.
Inspecting For Damage
Check the wall for cracks or loose stucco. Look closely around the hole area. Small cracks can grow over time. Fix any damage quickly with patching compound. Keep the wall strong and safe.

Credit: thestuccoguy.com
Maintenance Tips
Maintaining a stucco wall after drilling is crucial for long-lasting results. Small cracks or holes can lead to water damage. Proper care keeps your wall strong and looking good. Follow these tips to protect and check your stucco regularly.
Protecting Stucco After Drilling
Seal the drilled holes with a suitable stucco patch or sealant. This stops water from entering and causing damage. Use a paint that matches your wall to cover the patch. This keeps the repair less visible and protects the surface. Avoid using regular caulk, as it may not stick well to stucco.
Check the patch after rain to ensure it stays intact. Reapply sealant if you notice any cracks or peeling. This simple step prevents moisture problems and extends the wall’s life.
Regular Wall Inspections
Look over your stucco wall every few months. Search for cracks, chips, or loose areas around drilled spots. Catching problems early stops them from getting worse. Use a soft brush to clean dirt and debris gently.
Inspect after heavy rain or storms for new damage. Repair small issues quickly with patching products made for stucco. Regular checks reduce costly repairs and keep your wall safe and sound.
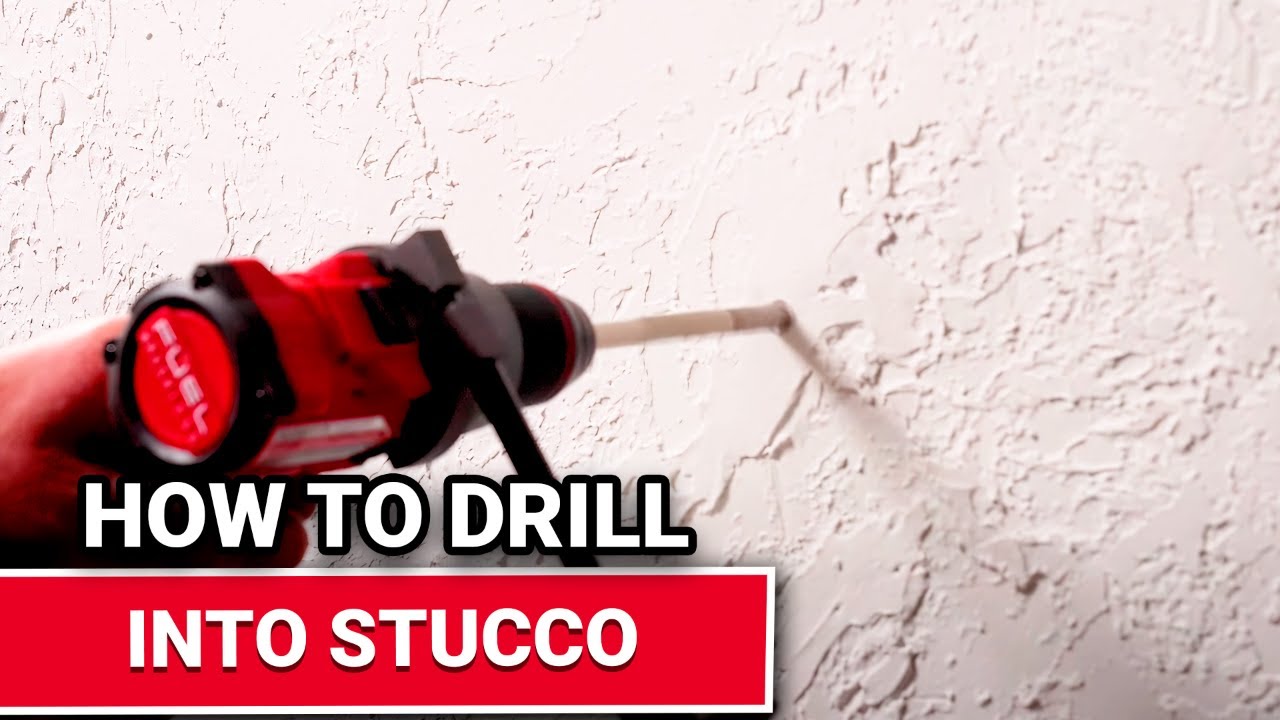
Credit: www.youtube.com
Frequently Asked Questions
How Do I Prepare A Stucco Wall For Drilling?
Clean the surface and locate studs if needed. Use a masonry bit and wear safety goggles. Mark the drill point clearly before starting.
What Drill Bit Is Best For Stucco Walls?
Use a carbide-tipped masonry drill bit. These bits are durable and can penetrate the hard stucco surface without cracking.
Can I Drill Into Stucco Without Cracking It?
Yes, by using a slow speed and steady pressure. Avoid hammer drills unless necessary. Pre-drill with a smaller bit for best results.
How Deep Should I Drill Into A Stucco Wall?
Drill slightly deeper than the length of the anchor or screw. This ensures a secure hold without damaging the wall structure.
Conclusion
Drilling into stucco walls can seem tricky at first. Use the right tools and take your time. Mark the spot clearly and drill slowly to avoid cracks. Always wear safety gear to protect yourself. With patience, you can finish the job neatly.
Practice makes the task easier over time. Enjoy your well-done work on the wall. Keep these tips in mind for future projects. Simple steps lead to strong, lasting results.