
Have you ever wanted to add drainage holes or create a unique design on your clay pot but didn’t know where to start? Drilling into a clay pot might seem tricky, but with the right tools and simple steps, you can do it safely and easily.
In this guide, you’ll discover exactly how to drill into your clay pot without cracking or breaking it. Whether you’re a gardening enthusiast or a DIY lover, learning this skill will open up new possibilities for your projects. Keep reading, and you’ll be ready to take your clay pots to the next level!
Choosing The Right Tools
Drilling into a clay pot needs the right tools for best results. Choosing the correct tools helps avoid cracks and breaks. It makes the process smoother and safer. Below are the key tools you need to drill successfully into clay pots.
Best Drill Types For Clay Pots
Use a cordless drill or an electric drill with variable speed. These drills offer better control and reduce the risk of damage. Avoid drills with too high power to prevent cracking the clay. A drill with adjustable speed settings works best for delicate materials like clay.
Selecting Drill Bits
Use masonry drill bits designed for hard materials. These bits have a special tip that drills through clay gently. Start with a small bit to make a pilot hole. Then switch to a larger bit to widen the hole carefully. Avoid using wood or metal bits as they can cause cracks.
Additional Helpful Tools
Use masking tape on the pot surface to reduce slipping. It also helps prevent small chips around the hole. A spray bottle with water cools down the drill bit while working. Cooling stops overheating that can crack the pot. Safety glasses protect your eyes from dust and chips.
Credit: succulentsbox.com
Preparing The Clay Pot
Preparing a clay pot before drilling is very important. It helps avoid cracks and ensures a clean hole. Taking time to prepare the pot makes the drilling easier and safer. Follow these simple steps to get your pot ready.
Cleaning The Surface
Start by cleaning the pot’s surface. Use a soft cloth to remove dust and dirt. Dirt can cause the drill bit to slip. Clean surfaces give better control and accuracy. Make sure the pot is dry before drilling.
Marking Drill Points
Mark the spots where you want to drill. Use a pencil or a marker that shows well on clay. Marking helps you drill in the right place. Avoid guessing or drilling freehand. Precise marks keep holes neat and balanced.
Securing The Pot
Hold the pot firmly to prevent movement. Use a clamp or place it on a soft surface. Soft surfaces like a towel protect the pot from breaking. A steady pot means safer and cleaner drilling. Keep the pot steady throughout the process.
Drilling Techniques
Drilling into a clay pot requires careful techniques to avoid damage. Clay is fragile and can crack easily. Using the right methods will help make clean holes without breaking the pot.
Focus on controlling the drill speed and pressure. Keep the drill area cool. Take steps to prevent cracks and breaks. These techniques ensure a smooth drilling process.
Drilling Speed And Pressure
Use a slow drill speed to avoid overheating the clay. High speed can cause cracks. Apply gentle, steady pressure. Too much force risks breaking the pot. Let the drill do the work. Pause if you feel resistance or hear cracking sounds.
Cooling The Drill Area
Heat builds up quickly while drilling clay. Cool the area often by spraying water or using a damp cloth. Cooling stops the clay from drying out and cracking. It also helps the drill bit last longer. Take breaks to cool the pot and drill bit.
Avoiding Cracks And Breaks
Start with a small pilot hole before widening it. This reduces stress on the clay. Support the pot firmly to stop shaking. Use masking tape over the drilling spot to add stability. Drill straight and steady. Watch for signs of cracks and stop immediately if needed.

Credit: www.youtube.com
After Drilling Care
Taking care of your clay pot after drilling is very important. It helps keep the pot strong and long-lasting. Small steps make a big difference. Protect the pot from cracks and water damage. Follow these simple tips for best results.
Smoothing The Hole Edges
After drilling, the hole edges can be rough or sharp. Use fine sandpaper or a sanding block to smooth them. Gently rub around the hole until edges feel smooth. This prevents cuts and stops the pot from cracking. Take your time. Smooth edges help water flow better too.
Cleaning Residue
Drilling leaves dust and small clay pieces inside and outside the hole. Wipe the area with a damp cloth to remove all residue. Use a soft brush for hard-to-reach spots. Clean surfaces help paint or sealants stick better. Keep the hole clear for proper drainage.
Sealing And Waterproofing
Clay pots absorb water easily. Seal the drilled hole with a waterproof sealant or silicone. Apply a thin layer inside and outside the hole. Let it dry completely before using the pot. Sealing stops water from soaking into the clay. It also prevents cracks and mold growth.
Common Mistakes To Avoid
Drilling into a clay pot may seem easy, but many make avoidable mistakes. These errors can crack the pot or damage your tools. Knowing what to avoid saves time and effort. It also keeps your pot intact and your workspace safe.
Using Incorrect Drill Bits
Not all drill bits work well on clay pots. Regular metal bits can cause cracks. Masonry or tile bits are better choices. They cut cleanly without breaking the pot. Using the wrong bit wastes time and risks damage.
Applying Excessive Force
Pressing too hard can shatter the pot. Clay is fragile and needs gentle handling. Let the drill do the work. Slow, steady pressure avoids cracks. Rushing or pushing too much causes chips and breaks.
Ignoring Safety Precautions
Clay dust is fine and can irritate your eyes and lungs. Wear safety glasses and a mask. Work in a well-ventilated area. Keep your hands clear of the drill bit. Safety protects you from injury and keeps the workspace clean.

Credit: www.youtube.com
Frequently Asked Questions
How Do I Safely Drill Into A Clay Pot?
Use a ceramic drill bit and low speed. Secure the pot on a soft surface. Apply gentle pressure to avoid cracks. Keep the drill bit cool by occasionally dipping it in water.
What Tools Are Needed To Drill A Clay Pot?
You need a power drill, ceramic or glass drill bit, water spray, and safety goggles. A soft surface like a towel helps stabilize the pot. These tools ensure a clean and safe drilling process.
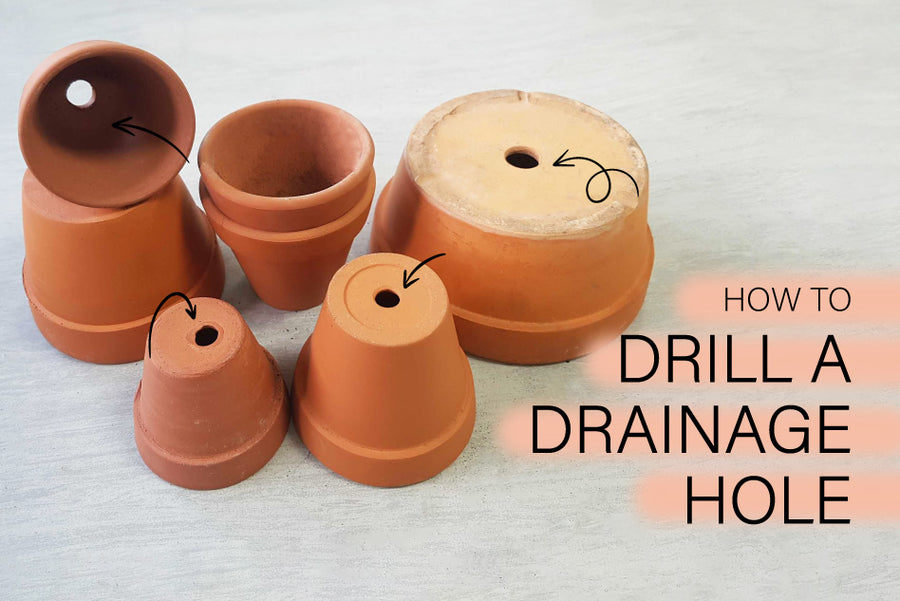
Can I Drill Holes For Plant Drainage In Clay Pots?
Yes, drilling drainage holes improves water flow and root health. Use a small ceramic bit and drill slowly. Avoid forcing the drill to prevent pot damage. Proper drainage prevents waterlogging and plant root rot.
How To Prevent Clay Pots From Cracking While Drilling?
Place the pot on a cushioned surface. Drill at a slow speed using a ceramic bit. Apply light, steady pressure without pushing hard. Keep the drill bit wet to reduce heat and stress on the clay.
Conclusion
Drilling into a clay pot takes care and patience. Use the right drill bit and keep the speed low. Support the pot well to avoid cracks. Take breaks to prevent overheating. With simple steps, you can create holes safely. This helps in planting or decorating your pots.
Enjoy your project without stress or damage. Try these tips next time you work with clay pots.