
Installing crown molding on cabinets can enhance your space’s look, even without a nail gun. This guide shows you how to do it using basic tools, adhesive, and precise measuring. Follow these simple steps to achieve professional-looking results easily.
Key Takeaways
- Measuring accurately is crucial: Proper measurements ensure a perfect fit and reduce waste.
- Use quality adhesive: A strong, exterior-grade adhesive provides secure bonding without nails.
- Clamping helps: Clamps hold the molding in place while the adhesive sets, ensuring a tight fit.
- Cutting angles precisely: Use a miter saw or a miter box to get clean, accurate cuts at 45-degree angles.
- Support with backing: Small brad nails or finish nails can reinforce the molding if needed, but are optional.
- Patience is key: Allow ample drying time for adhesive before removing clamps for best results.
- Safety first: Always wear safety glasses and follow tool safety guidelines during installation.
How to Install Crown Molding on Cabinets Without Nail Gun
Crown molding can elevate the look of your kitchen or bathroom cabinets, giving them a finished, stylish touch. While many prefer using a nail gun for quick installation, it’s entirely possible to install crown molding without one. This step-by-step guide will show you how to do it using basic tools, adhesive, and clamps. Whether you’re a DIY beginner or just want a different approach, you’ll find these methods straightforward and effective.
Tools and Materials Needed
- Measuring tape
- Pencil
- Square or miter box
- Saw (miter saw or hand saw)
- Adhesive (construction adhesive or high-quality wood glue)
- Clamps (bar clamps or C-clamps)
- Finish nails or brad nails (optional for reinforcement)
- Hammer (if nails are used)
- Drop cloth or protective covering
- Safety glasses
- Sandpaper (optional for smoothing edges)
Step 1: Measure and Plan
Accurate measurements are the foundation
Start by measuring the length of each cabinet section where you want to add crown molding. Use a tape measure and mark points clearly with a pencil. Remember to account for the overhang or angle of the molding.
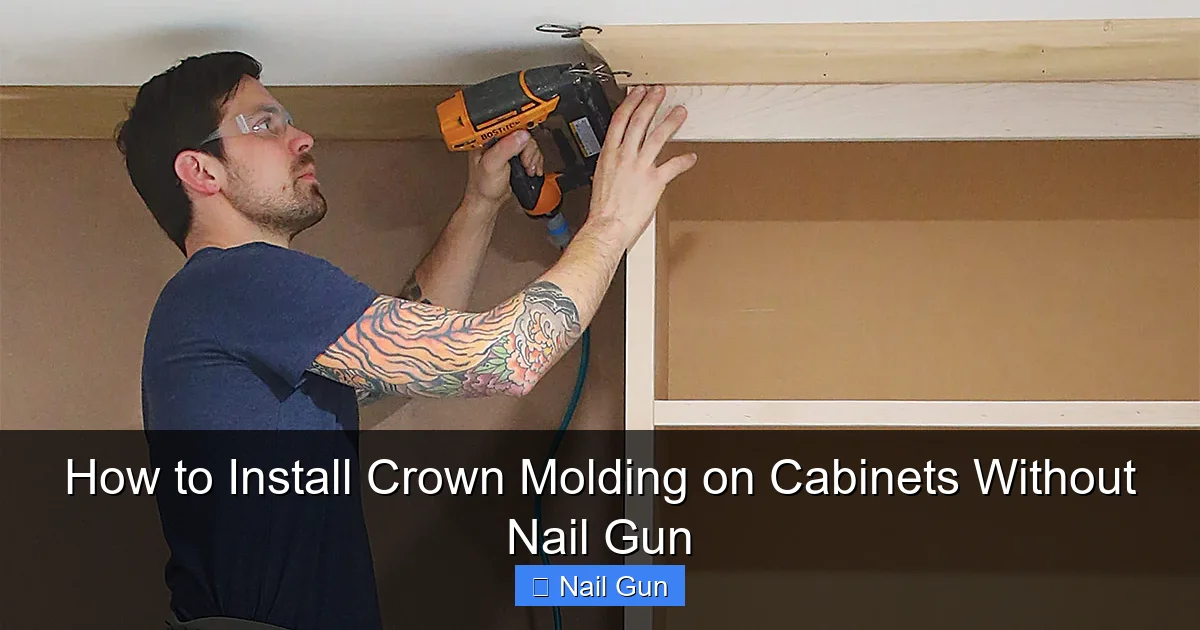
Visual guide about How to Install Crown Molding on Cabinets Without Nail Gun
Image source: images.finehomebuilding.com
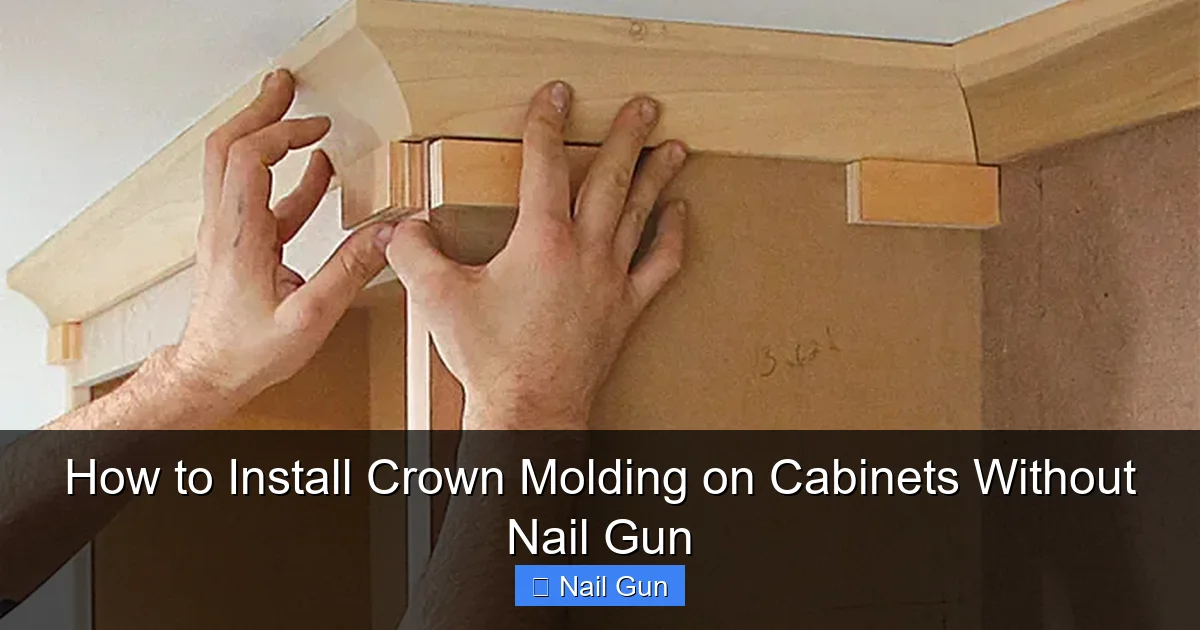
Visual guide about How to Install Crown Molding on Cabinets Without Nail Gun
Image source: i2.wp.com
It’s best to measure twice to avoid mistakes. Also, plan the angle cuts needed. Most crown molding is cut at 45 degrees, but double-check your molding’s profile to ensure perfect fit.
Step 2: Cut the Crown Molding
Getting the right angles
Using a miter box or miter saw, cut your crown molding pieces at 45-degree angles. For inside corners, cut the molding at a 45-degree angle to fit neatly. For outside corners, cut the pieces to match the angles of your corners.
Tip: Always cut a test piece first to ensure the angles match perfectly. Keep the scraps for minor adjustments or repairs.
Step 3: Dry Fit the Pieces
Check your cuts and fit
Before applying adhesive, do a dry fit of all pieces. Place the cut molding against the cabinet to see how they align. Make any adjustments needed by sanding or trimming.
This step helps prevent surprises once the adhesive is applied. Ensure each piece fits snugly and aligns with adjacent pieces.
Step 4: Apply Adhesive
Secure the molding with glue
Place a generous bead of construction adhesive or high-quality wood glue on the back of the molding. Use a caulking gun or squeeze tube for control.
Start at one end and work along the length of the molding, pressing it firmly onto the cabinet’s surface. Keep a steady hand to avoid excess glue squeezing out.
Step 5: Clamp and Secure
Hold the molding in place
Immediately after applying the adhesive, use clamps to hold the molding firmly against the cabinet. Bar clamps or C-clamps work well for this purpose.
Tip: Place a scrap piece of wood or padding between clamps and molding to prevent dents or damage.
Leave the clamps in place for at least 24 hours to ensure the adhesive bonds securely. If clamps are not available, heavy objects or weights can help hold the molding in place.
Step 6: Optional Reinforcement
Adding nails for extra security
If you want additional hold, you can carefully insert small finish nails or brad nails through the molding into the cabinet. Use a hammer to gently tap them in. Be cautious not to crack the molding.
Fill any nail holes with wood filler, then sand smooth once dry.
Step 7: Finishing Touches
Final adjustments and cleanup
Once the adhesive has dried, remove the clamps carefully. Check for any gaps or uneven spots. Sand down rough edges or excess glue for a smooth finish.
If desired, paint or stain the crown molding to match your cabinets. Finish with a clear coat for added durability.
Troubleshooting Tips
- Gaps between molding and cabinet: Use additional adhesive or fill gaps with wood filler, then sand smooth.
- Molding doesn’t stay in place: Ensure you’re using enough adhesive and that clamps are tight enough. Consider adding nails for extra security.
- Cracking or splitting: Avoid applying too much pressure when nailing or clamping. Use gentle tapping and proper support.
Conclusion
Installing crown molding on cabinets without a nail gun is a doable project that can dramatically improve your space’s aesthetics. By measuring carefully, cutting accurately, and using strong adhesive and clamps, you can achieve a professional look. Take your time, be patient, and enjoy the process of transforming your cabinets into a beautiful feature.
Final Tips
- Always wear safety glasses during cutting and nailing.
- Work in a well-ventilated area when using adhesives.
- Practice cuts on scrap pieces before working on your final molding.