
Installing door casing without a nail gun is achievable with the right tools and techniques. This guide walks you through each step, offering practical tips to ensure a smooth, professional-looking finish using basic hand tools instead of a nail gun.
Key Takeaways
- Use a hammer and finishing nails: Hand nails provide a secure hold when installing door casing without a nail gun.
- Measure accurately: Precise measurements prevent gaps and ensure a perfect fit.
- Cut with a miter saw or hand saw: Clean, angled cuts help create seamless joints at corners.
- Apply wood glue for added strength: Glue helps secure joints and reduces the need for excessive nailing.
- Use painter’s or finishing nails: Smaller nails minimize wood splitting and give a neat finish.
- Finish with caulk and paint: Fill gaps and paint for a professional, polished look.
Introduction
If you’re tackling a home improvement project, installing door casing adds a clean, finished look to your doorways. While many use a nail gun for speed and ease, you can definitely do this project without one. In this guide, you’ll learn how to install door casing using simple hand tools, ensuring a professional result without renting or buying a nail gun. Whether you’re a DIY beginner or just prefer traditional methods, this step-by-step approach will make the process straightforward and achievable.
Tools and Materials Needed
- Measuring tape
- Pencil
- Hand saw or miter saw
- Hammer
- Finishing nails or brads (1.25 to 2 inches)
- Wood glue
- Painter’s caulk
- Putty knife
- Sandpaper or sanding block
- Paint or stain (optional)
- Clamps (optional but helpful)
Step 1: Measure and Plan
Measure the Door Frame
Begin by measuring the width and height of your door opening. Use a measuring tape to get accurate dimensions. Write these down, so you know the length of each casing piece.
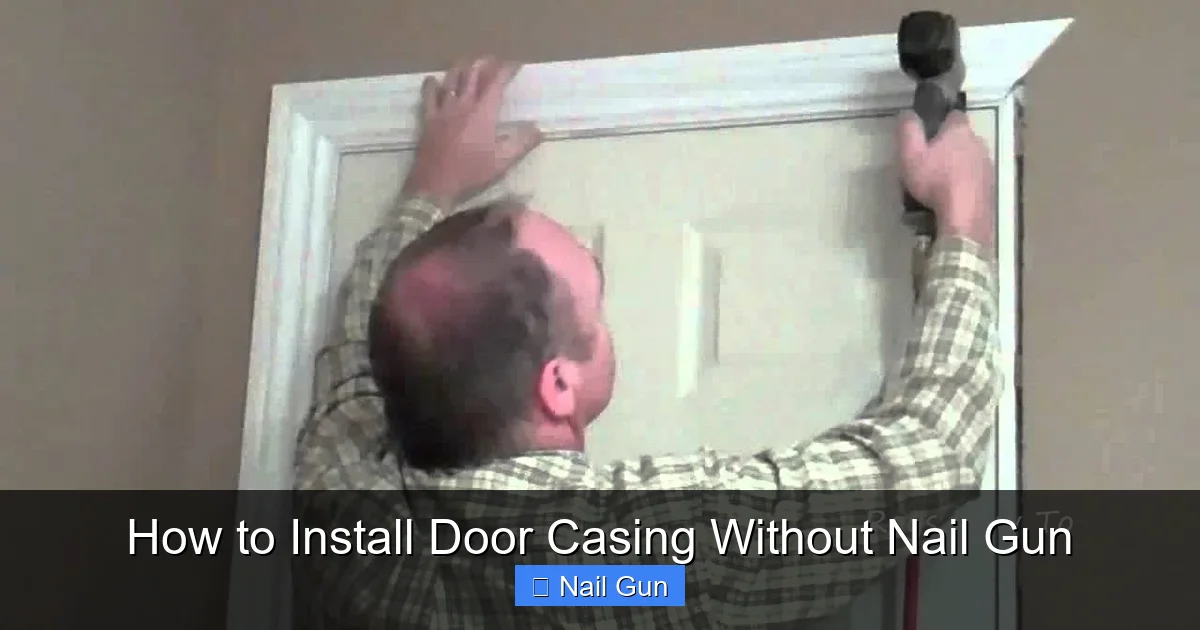
Visual guide about How to Install Door Casing Without Nail Gun
Image source: i.ytimg.com
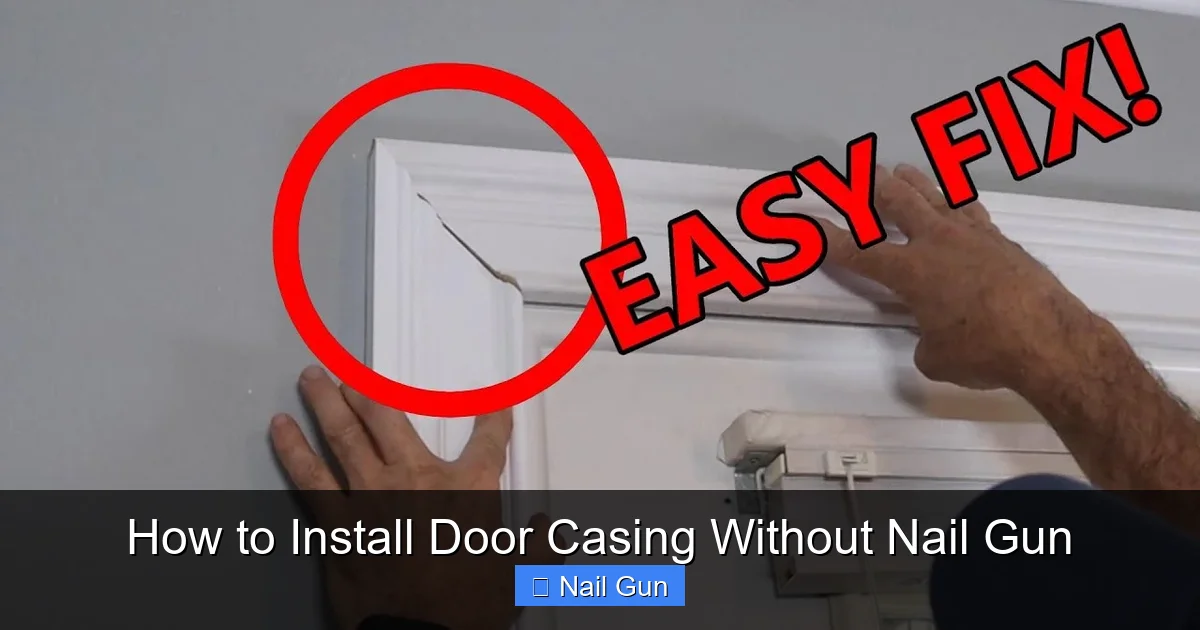
Visual guide about How to Install Door Casing Without Nail Gun
Image source: i.ytimg.com
Plan the Mitered Corners
Most door casings have mitered corners — 45-degree angles that fit together neatly. Decide whether you want to cut the corners in the same direction or use internal/external corners. Draw a simple diagram if needed.
Step 2: Cut the Casing Pieces
Cut the Vertical Pieces
Measure the height from the floor to the top of the door opening. Cut two pieces of casing to this length for the sides.
Cut the Top Piece
Measure the width of the door plus the thickness of the vertical pieces. Cut the top piece to this length, making sure it fits snugly across the top.
Miter the Corners
Set your saw to a 45-degree angle. Cut the ends of the horizontal and vertical pieces at this angle for a tight fit. Practice on scrap wood first if you’re new to miter cuts.
Step 3: Prepare the Wall and Casing
Before installing, check for any uneven spots or drywall that needs fixing. Lightly sand the wall edges where the casing will go to ensure a smooth fit. Apply a small amount of wood glue to the back of each casing piece for added stability.
Step 4: Install the Vertical Pieces
Position the Side Pieces
Place one vertical casing piece against the wall at one side of the door frame. Use a level to ensure it’s perfectly vertical. Mark the wall lightly with a pencil if needed.
Secure with Nails
Hammer finishing nails through the casing into the wall or drywall. Space nails every 12–16 inches for a secure hold. Be careful to avoid damaging the wall or splitting the wood.
Step 5: Install the Top Piece
Fit and Adjust
Place the top casing piece between the two vertical pieces. Use a level to check for straightness. Adjust as necessary.
Nail in Place
Nail the top piece into the verticals at the mitered corners. Use finishing nails, and space them every 12 inches along the length. Countersink the nails slightly below the surface for easy finishing.
Step 6: Finalize the Joints and Finish
Fill Gaps and Nail Holes
Use painter’s caulk to fill any gaps at the corners and along the joints. Dab with a putty knife to smooth. Fill nail holes with wood filler or spackle, then sand smooth once dry.
Sand for a Smooth Finish
Lightly sand all edges and filled areas to achieve a seamless look. Wipe away dust with a damp cloth.
Paint or Stain
Finish by painting or staining your door casing to match your decor. Allow it to dry thoroughly before using the door.
Practical Tips and Troubleshooting
- Use clamps: If your casing pieces are warping or bending, clamps can help hold them in place while nailing.
- Pre-drill nail holes: For hardwoods or delicate woods, pre-drill to prevent splitting.
- Check for level: Regularly use a level to ensure your casing stays straight during installation.
- Adjust for uneven walls: Use shims behind the casing if the wall is uneven.
- Be patient with cuts: Accurate miter cuts take practice. Take your time for best results.
Conclusion
Installing door casing without a nail gun is a rewarding DIY project that saves money and develops your carpentry skills. With careful measurements, proper tools, and patience, you can achieve a professional-looking finish. Remember to take your time at each step, and don’t be afraid to correct mistakes along the way. Your doorways will look polished and stylish in no time!
Additional Tips
- Always wear safety glasses when cutting or hammering.
- Use painter’s tape on the wall before nailing for easier cleanup.
- Practice your miter cuts on scrap wood first to perfect your technique.
Final Thoughts
While a nail gun makes the job quicker, installing door casing by hand is entirely doable and gives you good control over the process. With the right tools, patience, and attention to detail, you can enhance your home’s appearance and gain a sense of accomplishment from a job well done.