
Are you tired of your hammer drill acting more like a regular drill? You want that powerful hammer action to get the job done faster and easier.
But what if you don’t have the right model or settings? Don’t worry—you can actually make your drill work just like a hammer drill with a few simple tricks. You’ll discover how to turn your deal hammer drill into a true hammer tool.
Keep reading, and you’ll learn easy steps that save you time, effort, and frustration on your next project.
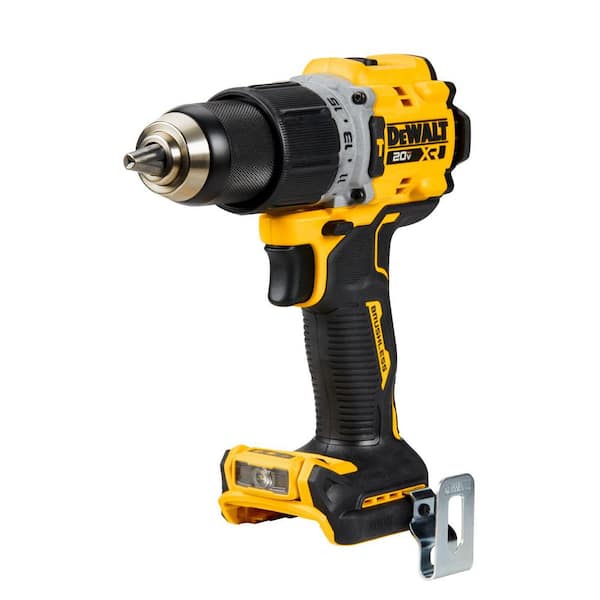
Credit: www.homedepot.com
Tools And Materials Needed
Preparing to make a deal hammer drill just hammer requires the right tools and materials. Gathering everything before starting saves time and makes the process smooth.
Each item plays an important role in converting the hammer drill into a simple hammer. Using proper tools ensures safety and better results.
Basic Tools Required
You need a wrench to remove drill parts safely. A screwdriver helps loosen screws holding the drill together. Pliers are useful for gripping small parts and wires.
Materials Needed
Keep the original drill and its components. You might need replacement parts like springs or pins. Having a clean cloth helps to wipe dust and grease.
Safety Gear
Wear safety goggles to protect your eyes from debris. Gloves protect your hands from sharp parts. A dust mask keeps you safe from inhaling dust particles.
Safety Precautions
Always wear safety goggles and gloves to protect your eyes and hands. Keep the drill steady and avoid loose clothing near moving parts. Check the drill for damage before use to prevent accidents.
Wear Proper Protective Gear
Always wear safety glasses to protect your eyes from flying debris. Use ear protection to reduce noise damage. Gloves help protect your hands from vibrations and sharp edges. Wear a dust mask if you work in dusty places.
Check The Drill Before Use
Inspect the drill for any damage or loose parts. Make sure the hammer function is off if you want to use it as a regular drill. Test the drill on a scrap piece to ensure it works correctly. Replace worn-out bits to avoid accidents.
Work In A Safe Environment
Clear the workspace of clutter and hazards. Use good lighting to see your work clearly. Keep children and pets away from the area. Avoid wet or slippery floors to prevent falls.
Hold The Drill Correctly
Use both hands to hold the drill firmly. Keep a balanced stance to avoid losing control. Do not overreach or strain your body. Stop if you feel tired or uncomfortable.
Follow Electrical Safety Rules
Check the power cord for cuts or damage. Use a grounded outlet to prevent shocks. Unplug the drill before changing bits or making adjustments. Avoid using the drill near water or damp conditions.
Understanding Your Drill
Knowing your drill well is the first step to make it work as a hammer drill or just a regular drill. Every drill has parts and settings that control how it works. Learning these helps you use the drill safely and correctly.
This section explains the main features of a drill. It will help you switch between hammer and regular modes easily. Understanding your drill saves time and protects your tools from damage.
Drill Parts And Their Functions
The drill has several key parts. The chuck holds the drill bit tightly. The motor powers the drill. The trigger controls speed. The handle gives you grip and control.
Some drills have an extra hammer mechanism. It moves the bit back and forth quickly. This helps to drill into hard materials like concrete.
Identifying Hammer Mode
Look for a switch or dial on the drill body. This switch changes the drill from normal to hammer mode. In hammer mode, the drill bit not only spins but also hits forward.
Not all drills have this feature. Check your drill’s manual or look for a hammer icon near the switch.
Understanding Speed And Torque Settings
Speed controls how fast the drill bit spins. Torque controls the drill’s twisting power. Higher torque helps with tough jobs. Lower torque is good for delicate tasks.
Adjust speed and torque based on the material and drill bit used. This avoids damage to the drill or work surface.

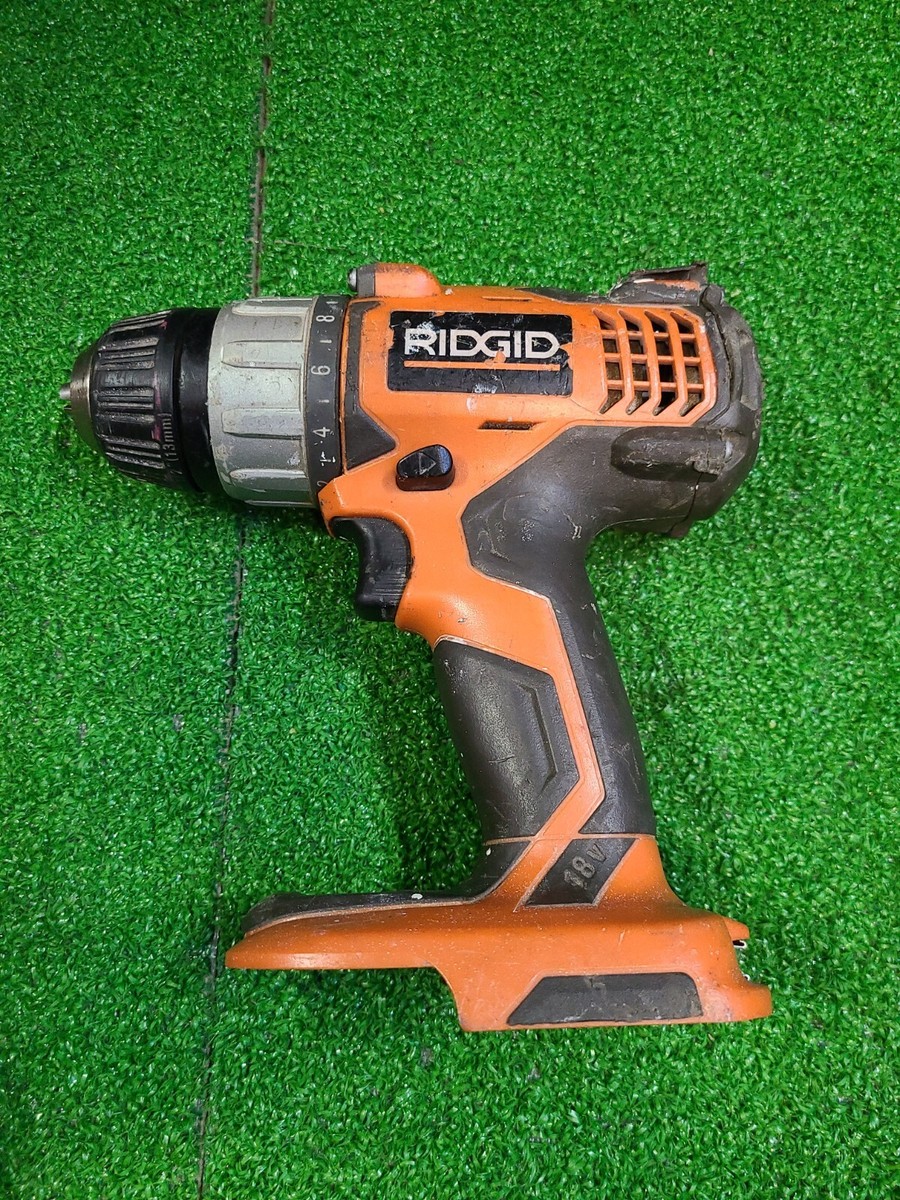
Credit: www.ebay.com
Disassembling The Drill
Disassembling the drill is the first step to change its function. It helps you reach the parts inside that control the hammer action. This process needs care and the right tools. Take your time to avoid damage and keep track of all parts.
Start by making sure the drill is unplugged or the battery is removed. Safety is important before opening any power tool. Gather screwdrivers, pliers, and a clean workspace. Lay out a cloth or paper to hold small screws and parts.
Removing The Chuck
The chuck holds the drill bit in place. Removing it lets you access the drill’s front parts. First, open the chuck jaws fully. Use a chuck key or wrench to loosen the chuck by turning it counterclockwise. Sometimes, the chuck is tight and needs extra force.
If the chuck does not loosen, try tapping it gently with a rubber mallet. Avoid metal tools that can damage the chuck. After loosening, unscrew the chuck by hand. Keep the chuck and screws safe for later use.
Accessing The Hammer Mechanism
After removing the chuck, open the drill casing. Unscrew all visible screws and separate the two halves carefully. Inside, you will see gears and the hammer mechanism. The hammer part looks like a small metal piece that moves back and forth.
Take pictures of the inside before touching anything. This helps during reassembly. Use a small brush or cloth to clean dust and dirt. Be gentle with the hammer parts. Now, you can start adjusting or removing the hammer function.
Disabling The Hammer Function
Disabling the hammer function on a hammer drill turns it into a regular drill. This change helps when you need precise drilling without the hammer action. The process involves understanding the drill’s internal parts that control the hammering. Careful changes to these parts stop the hammering while keeping the drill working normally.
Identifying Hammer Components
The hammer function uses special parts inside the drill. These include the hammer mechanism and the clutch. The hammer mechanism creates the pounding motion. The clutch controls when hammering happens. Knowing these parts helps in safely disabling the hammer action.
Modifying Or Removing Parts
To stop the hammer action, some parts need changes or removal. Removing the hammer mechanism can stop the pounding. Adjusting or disconnecting the clutch can also disable hammering. Make sure to keep the drill’s main motor and gears intact. This keeps the drill spinning like normal.
Reassembling The Drill
Reassembling the drill is an important step after making it a hammer drill just hammer. It requires focus and patience. Each part must fit back exactly where it came from. This ensures the drill works well and stays safe to use.
Keep all screws and small parts organized. This saves time and avoids mistakes. Handle parts gently to prevent damage. Follow the order of disassembly in reverse to put the drill back together.
Cleaning Parts Before Reassembly
Clean all parts before putting them back. Remove dust, dirt, and old grease. Use a soft cloth or brush. Clean parts help the drill run smoothly and last longer.
Checking The Hammer Mechanism
Check the hammer parts closely. Make sure none are broken or worn out. Replace any damaged parts to keep the hammer function safe. Proper checks avoid future problems.
Aligning Components Correctly
Align all components carefully. The hammer mechanism must line up with the drill body. Misalignment can cause the drill to jam or fail. Take time to position parts properly.
Tightening Screws Securely
Tighten screws firmly but do not over-tighten. Over-tightening can strip threads or crack the casing. Use the right screwdriver for each screw. Secure screws keep the drill solid and safe.
Testing The Drill After Assembly
Test the drill after reassembly. Turn it on and listen for unusual sounds. Check if the hammer function is disabled as planned. Testing ensures the drill works correctly and safely.
Testing The Modified Drill
Testing the modified drill is a key step after making changes. It checks if the drill works well as just a hammer tool. This process helps find any problems early. It also shows if the drill is safe to use. Careful testing saves time and effort later.
Preparing A Safe Testing Area
Choose a clear space with no clutter. Remove anything that can break or cause harm. Wear safety glasses and gloves before starting. Keep bystanders away from the test zone. Safety is the top priority during testing.
Running The Drill On Low Speed
Turn the drill on at low speed first. Listen for unusual sounds or vibrations. Check if the hammer action is smooth and steady. Stop immediately if you hear grinding or feel shaking. Low speed helps catch early issues safely.
Testing Hammer Function On Different Materials
Try the drill on soft wood or drywall first. Notice how the hammer impacts the surface. Then test on harder materials like concrete or brick. Check if the drill maintains power and control. This shows if the modification works well for its purpose.
Checking For Overheating Or Smells
Use the drill for several minutes continuously. Feel the body of the drill for heat build-up. Stop if it becomes too hot to hold. Notice any burning smells or smoke. These signs mean the drill needs adjustment or repair.
Inspecting The Drill After Testing
Turn off and unplug the drill before inspection. Look for loose parts or damage on the casing. Check the hammer mechanism for wear or misalignment. Tighten screws or fix problems found during the test. Proper inspection ensures the drill stays safe and effective.
Credit: www.ebay.com
Troubleshooting Common Issues
Troubleshooting common issues helps keep your deal hammer drill working well. Small problems can stop your drill from switching to hammer mode. Fixing these issues saves time and money.
Understanding typical problems makes repair easier. Check each part carefully. Find the root cause to avoid repeated trouble. Use simple tools and clear steps for best results.
Checking The Mode Selector Switch
The mode selector switch controls drill and hammer functions. Dirt or wear can block its movement. Clean the switch area with a dry cloth. Turn the switch back and forth to loosen it. Replace the switch if it feels loose or broken.
Inspecting The Clutch Mechanism
The clutch controls torque and mode changes. Dust or worn parts cause slipping or no hammer action. Open the drill casing to reach the clutch. Clean gears and check for damage. Replace any worn parts for smooth operation.
Testing The Motor And Brushes
The motor powers the drill and hammer modes. Worn brushes can reduce power or stop hammering. Remove the motor cover. Inspect the carbon brushes for wear. Replace brushes that are short or cracked. Test the motor after replacement for proper function.
Examining The Gearbox
The gearbox shifts the drill to hammer mode. Broken gears or lack of grease cause noise and failure. Open the gearbox carefully. Check gears for cracks or missing teeth. Apply grease to moving parts. Replace damaged gears to restore hammer action.
Verifying Electrical Connections
Loose or damaged wires disrupt power to the hammer function. Inspect all wiring inside the drill. Tighten loose connections and fix broken wires. Use a multimeter to check continuity. Proper electrical flow ensures the hammer mode works correctly.
Tips For Maintaining Your Drill
Keeping your drill in good shape helps it work better and last longer. Simple care steps stop problems before they start. Follow these easy tips to keep your hammer drill running smoothly and safely.
Regular checks and cleaning make a big difference. Small efforts today save you time and money later. Let’s dive into some practical ways to care for your drill.
Cleaning Your Drill After Use
Remove dust and debris from the drill body and vents. Use a soft brush or cloth. Avoid water to protect the motor and electronics. Clean the chuck to stop bits from sticking.
Checking And Replacing Drill Bits
Inspect bits for wear or damage before each use. Dull bits cause extra strain on the drill. Replace worn bits to keep drilling smooth and safe. Use the right bit for your material.
Lubricating Moving Parts
Apply light oil to the chuck and other moving parts. This reduces friction and prevents rust. Do this regularly but avoid over-lubricating. Follow the drill’s manual for the best oil type.
Storing Your Drill Properly
Keep your drill in a dry, clean place. Use a case or toolbox to protect it from dust and drops. Avoid extreme temperatures that can damage parts. Store bits separately to avoid loss.
Checking Power Cords And Batteries
Look for cuts or frays in cords before use. Replace damaged cords immediately to avoid accidents. For cordless drills, charge batteries fully and store them in a cool place. Avoid letting batteries drain completely.
Frequently Asked Questions
How Can I Convert A Hammer Drill To A Regular Drill?
To convert a hammer drill to a regular drill, disable the hammer function. Usually, this involves switching off the hammer mode using the drill’s selector switch. This lets the drill operate in rotary-only mode, ideal for drilling into wood or metal without hammering.
What Tools Are Needed To Make A Hammer Drill Just Drill?
Typically, no additional tools are needed. Most hammer drills have a mode selector switch. Simply set the switch to the drill-only position. This disables the hammer action and lets you use the tool as a standard drill.
Will Disabling Hammer Mode Affect Drill Performance?
Disabling hammer mode won’t reduce drill speed or torque. It simply stops the hammering action. This makes the drill suitable for softer materials. The drill performs efficiently in rotary mode without impacting its power or speed.
Can I Switch Between Hammer And Drill Modes Easily?
Yes, most hammer drills have an easy-to-access switch. You can quickly toggle between hammer and drill modes. This flexibility allows you to adapt the tool for different materials and tasks on the spot.
Conclusion
Making a hammer drill work just as a regular drill is simple. Follow the steps carefully to switch modes. This way, you can use the tool for different jobs. It saves money and space in your toolbox. Always check the drill’s manual for safety tips.
Practice a few times to get comfortable with the change. This small skill makes your work easier and faster. Keep your tools ready for any task ahead. Try it yourself and see the difference today.