


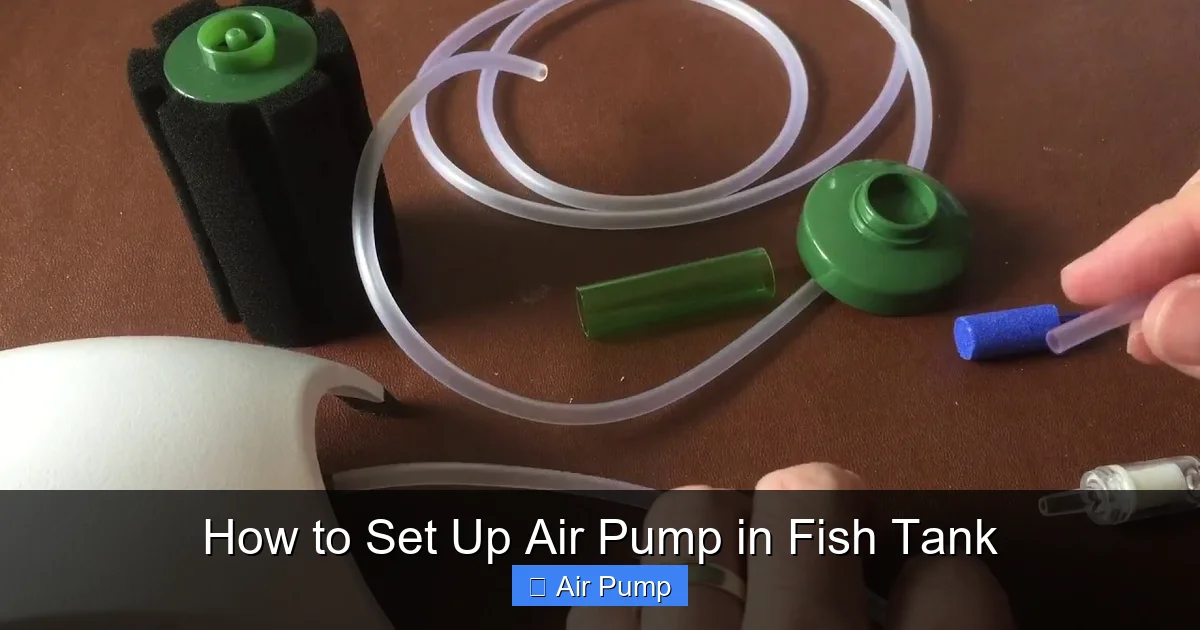
Setting up an air pump in your fish tank is simple and essential for maintaining healthy aquatic life. This guide walks you through the step-by-step process, from choosing the right pump to troubleshooting common issues, ensuring your fish thrive with proper oxygenation and water circulation.
Key Takeaways
- Choose the right air pump: Select a pump suitable for your tank size and fish species to ensure optimal oxygenation.
- Prepare your equipment: Gather necessary supplies like airline tubing, air stones, and connectors before starting.
- Placement matters: Position the air pump in a dry, stable spot away from water to prevent damage.
- Proper tubing installation: Connect airline tubing securely to the pump and accessories to prevent leaks.
- Adjust airflow: Use the regulator to control the amount of air entering the tank, avoiding over or under-aeration.
- Troubleshoot common problems: Address issues like no bubbles or noise by checking connections and pump function.
How to Set Up an Air Pump in Your Fish Tank
If you’ve ever noticed your fish gasping at the surface or seen your water lack movement, it might be time to set up an air pump. An air pump is a simple device that increases oxygen levels and promotes water circulation. Proper setup ensures your fish stay healthy and stress-free. In this guide, you’ll learn everything from selecting the right pump to troubleshooting common issues.
1. Choosing the Right Air Pump
Understand your tank size and needs
Before buying an air pump, consider your tank size. Small tanks (up to 20 gallons) need smaller pumps, while larger tanks (over 50 gallons) require more powerful units. Also, think about the type of fish and plants, as some species need more oxygen or water movement.
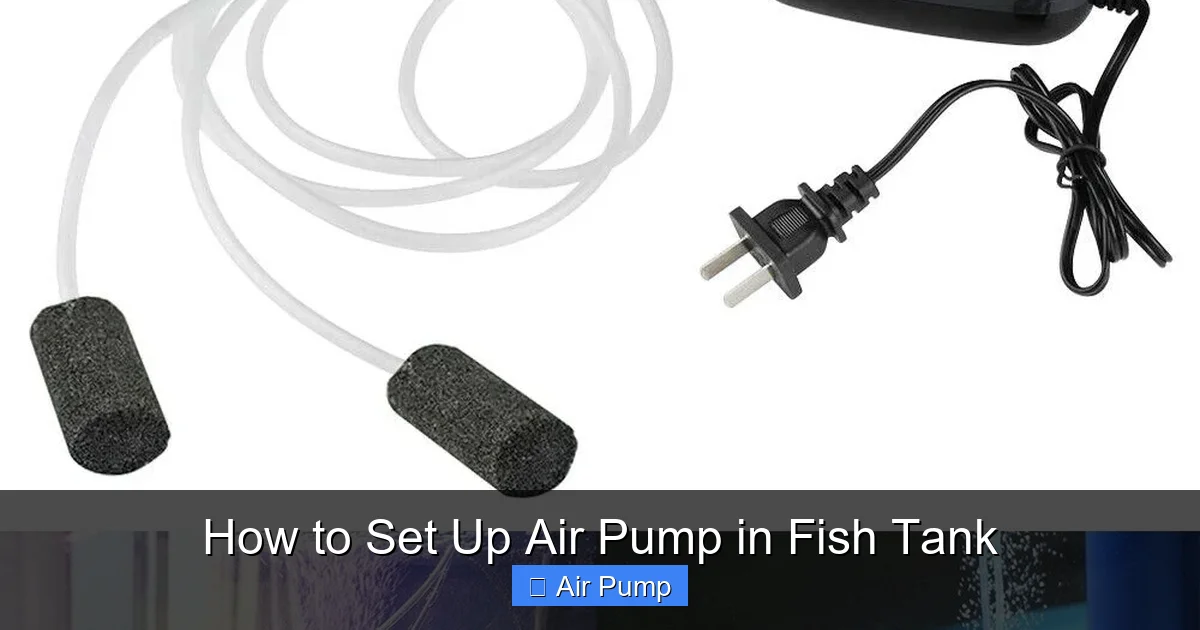
Visual guide about How to Set Up Air Pump in Fish Tank
Image source: i5.walmartimages.com
Select a suitable pump
- Air flow rate: Measured in liters per minute (L/min). Pick a pump that matches or slightly exceeds your tank’s requirement.
- Noise level: Look for quiet models to avoid disturbing your household or your fish.
- Power consumption: Choose energy-efficient pumps to save on electricity.
- Additional features: Some pumps come with adjustable airflow controls or built-in silencers.
2. Gathering Supplies and Preparing
Necessary equipment
- Air pump: The main device.
- Airline tubing: Connects the pump to the air stone or diffuser.
- Air stones or diffusers: Disperse air into tiny bubbles for better oxygenation.
- Check valves: Prevent water from flowing back into the pump if power fails.
- Connectors and fittings: To secure tubing and connect components.
- Power source: An electrical outlet near the setup area.
Preparing your workspace
Choose a dry, stable surface near your tank. Keep your supplies organized for easy access. Always unplug the pump before handling connections to avoid electric shocks.
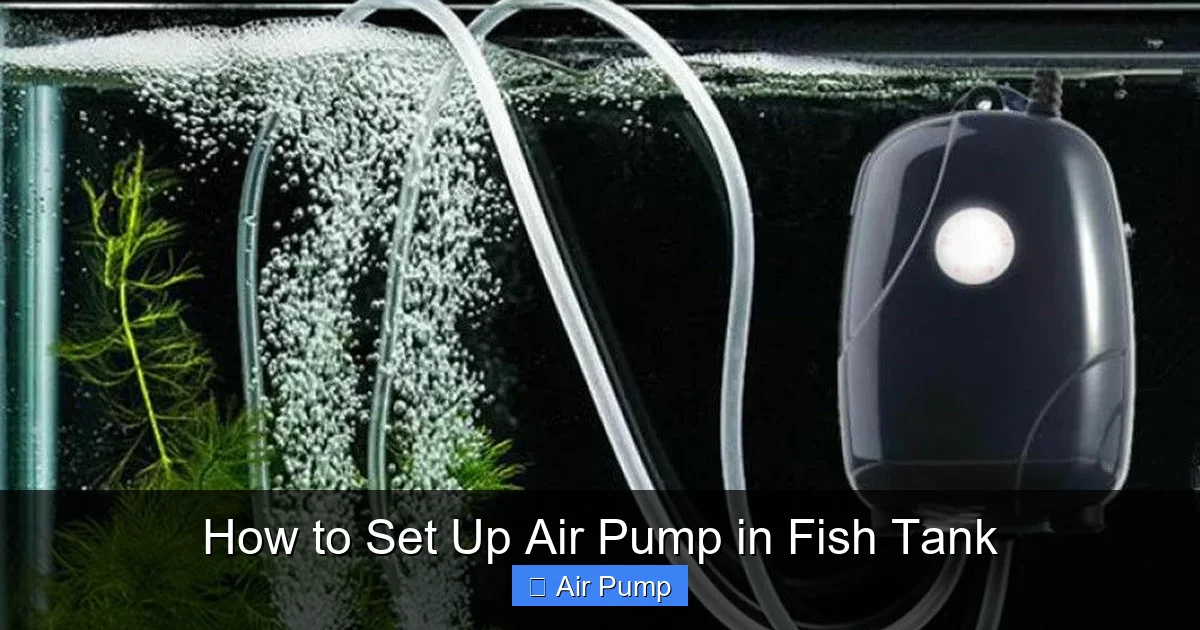
Visual guide about How to Set Up Air Pump in Fish Tank
Image source: i5.walmartimages.com
3. Positioning the Air Pump
Placement tips
- Choose a dry location: Keep the pump away from water to prevent damage and electrical hazards.
- Elevate the pump: Place it slightly above water level to reduce the risk of water siphoning back.
- Ensure proper ventilation: Allow air circulation around the pump for optimal operation.
4. Connecting the Tubing and Accessories
Step-by-step connection process
- Attach the airline tubing to the air pump: Firmly insert one end of the tubing into the pump’s outlet port, ensuring a snug fit.
- Connect the tubing to the air stone or diffuser: Run the tubing from the pump to your tank, then attach it securely to the air stone or diffuser inside the tank.
- Install check valves: Place a check valve in the tubing near the pump to prevent water from siphoning back into the pump. Connect the check valve between the pump and the tubing, ensuring the arrow points away from the pump.
- Secure the tubing: Use clips or ties to prevent movement and accidental disconnections.
5. Installing the Air Stone or Diffuser
How to install
- Position inside the tank: Place the air stone on the substrate or attach it to the tank wall using suction cups. Ensure it is submerged in water.
- Adjust placement: Position it where water flow is desired, avoiding dead zones.
- Test for leaks: Turn on the pump and check for bubbles. Make sure there are no leaks or water siphoning back through connections.
6. Adjusting Airflow and Testing
Fine-tuning your setup
- Adjust airflow: Use the regulator (if available) on your pump to control the amount of air. Start low and increase gradually.
- Observe bubbles: Ensure a steady stream of fine bubbles. Larger bubbles indicate insufficient diffuser or improper tubing.
- Monitor water movement: Water should have gentle surface agitation, promoting oxygen exchange.
7. Troubleshooting Common Issues
No bubbles or weak flow
Check all connections for leaks. Make sure the air stone is submerged properly. Adjust the airflow regulator to increase the flow.
Excessive noise
Ensure tubing is fitted tightly. Place the pump on a soft surface or use a vibration pad. Reduce airflow if necessary.
Water siphoning back into the pump
Verify that check valves are installed correctly with the arrow pointing away from the pump. Elevate the pump if needed.
Pump not turning on
Check the power connection and outlet. Test the outlet with another device. Replace the pump if defective.
Conclusion
Setting up an air pump in your fish tank is straightforward and highly beneficial for your aquatic pets. Proper placement, secure connections, and regular maintenance will ensure your fish get the oxygen they need. With these simple steps, you’ll create a healthier, more vibrant environment for your fish to thrive.
Additional Tips
- Clean your air stone regularly to prevent clogging.
- Replace check valves periodically to avoid leaks.
- Use a timer if you want to control air flow during specific times.
