


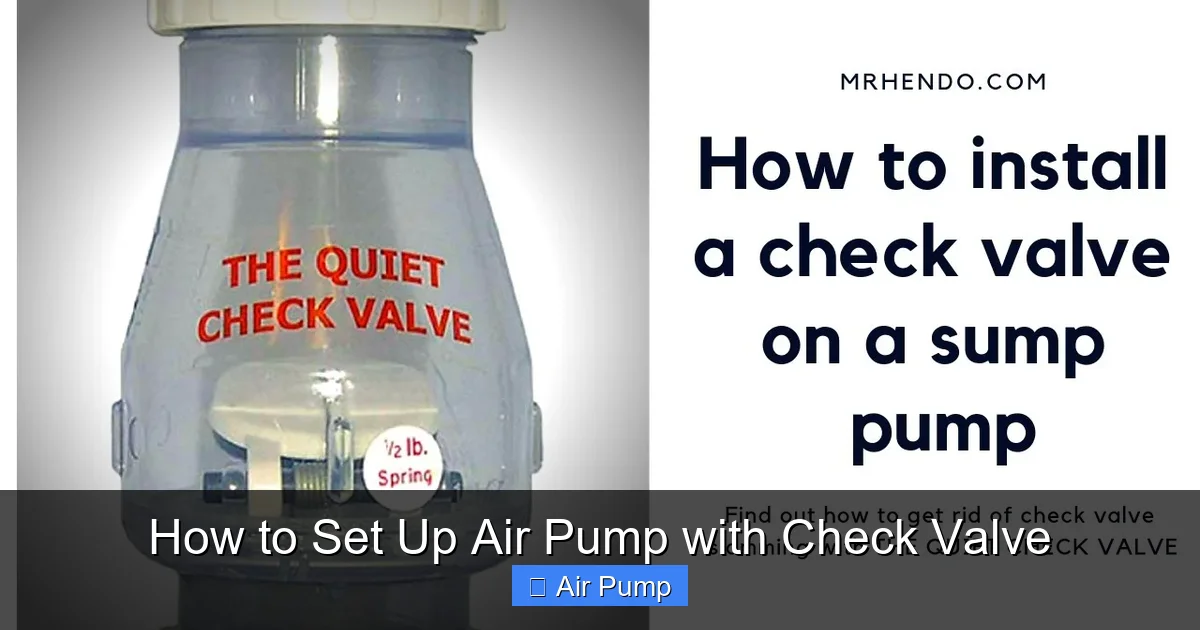
Setting up an air pump with a check valve is simple and essential for preventing backflow and protecting your equipment. This guide walks you through each step, from choosing the right check valve to testing the setup. With clear instructions and helpful tips, you’ll have your air pump working efficiently in no time.
Key Takeaways
- Choose the right check valve: Select a check valve compatible with your pump’s airflow and pressure requirements.
- Gather necessary tools and materials: Ensure you have hoses, clamps, and fittings ready before starting.
- Properly install the check valve: Position the check valve correctly to allow airflow in the desired direction.
- Secure connections tightly: Use clamps or fittings to prevent leaks and ensure durability.
- Test the setup: Run your pump and check for leaks or backflow issues, adjusting as needed.
- Maintain regularly: Inspect and clean the check valve periodically for optimal performance.
Introduction
If you use an air pump, whether for aquariums, inflatables, or other applications, you know how important it is to keep the system running smoothly. A check valve is a simple device that prevents backflow—air or water flowing in the wrong direction—which can damage your pump or cause malfunctions. Setting up an air pump with a check valve might seem tricky at first, but with the right steps, it’s straightforward. In this guide, you’ll learn how to properly install a check valve with your air pump to ensure safe, efficient operation.
What Is an Air Pump with a Check Valve?
An air pump is a device that moves air for various purposes like aerating aquariums, inflating tires, or powering pneumatic tools. A check valve is a one-way valve that allows airflow in one direction only, preventing backflow. When combined, they help protect your pump from damage caused by reverse flow and maintain system integrity.
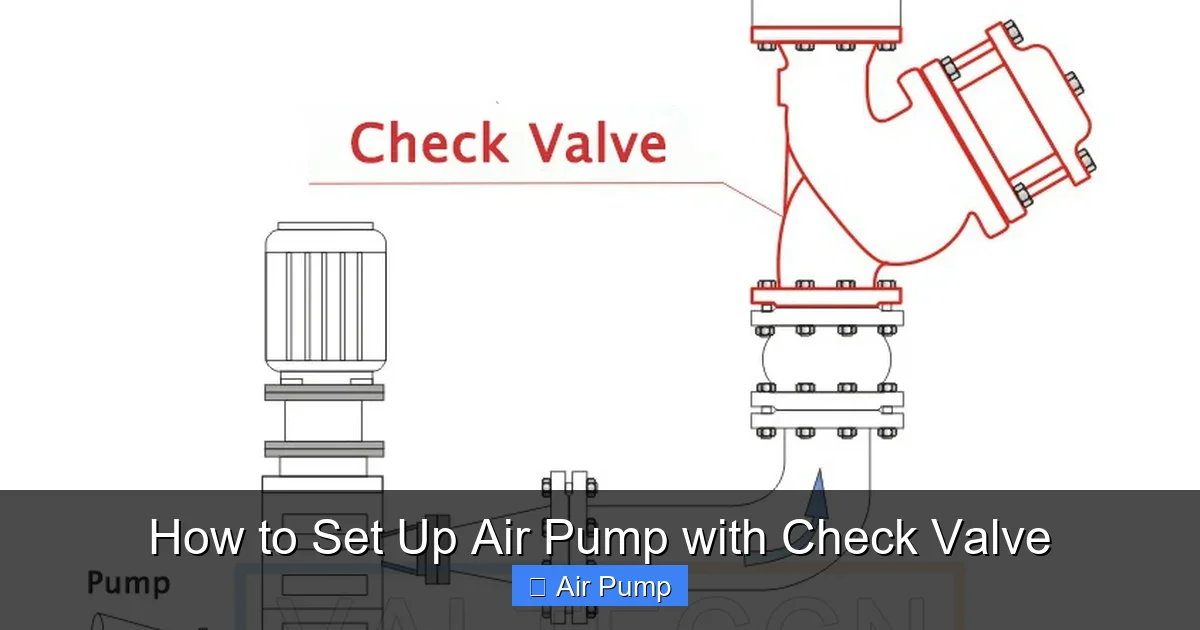
Visual guide about How to Set Up Air Pump with Check Valve
Image source: valteccn.com
Step 1: Gather Your Tools and Materials
What You Need
- Air pump – the device you want to set up
- Check valve – select one compatible with your pump’s airflow and pressure
- Hoses or tubing – flexible, durable, and suited for your application
- Clamps – to secure hose connections
- Fittings or adapters – if needed to connect hoses and check valve
- Tools – scissors or utility knife, screwdriver if necessary
- Sealant or hose clamps – optional, for extra sealing
Tip: Always check the specifications of your check valve to ensure it fits your hoses and can handle the pressure from your pump.
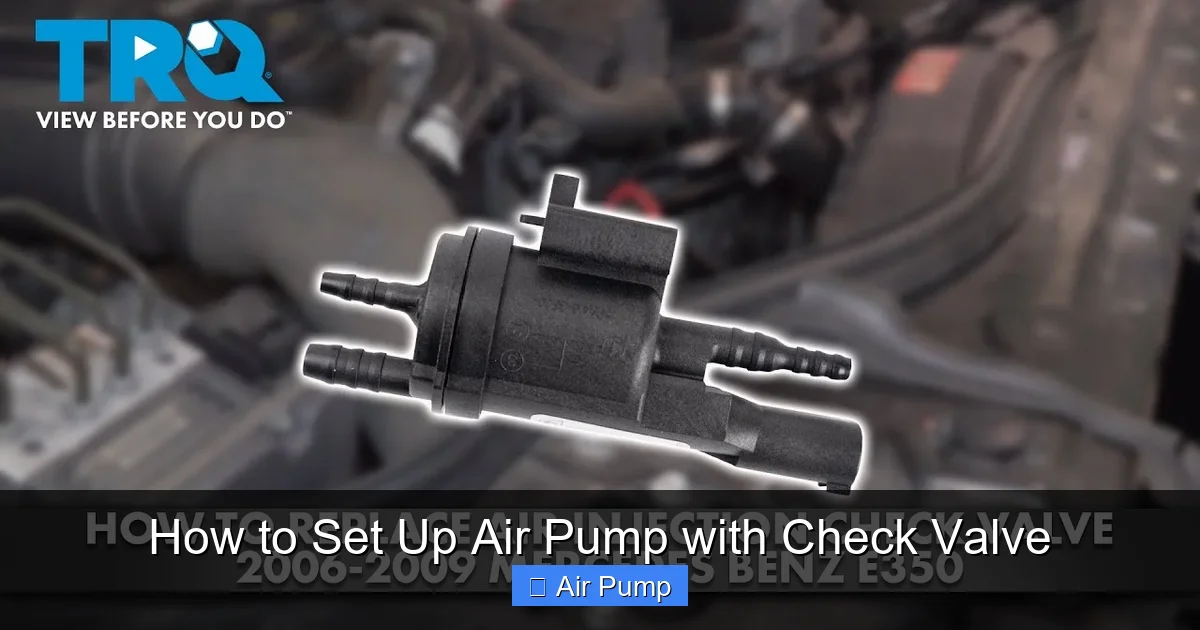
Visual guide about How to Set Up Air Pump with Check Valve
Image source: i.ytimg.com
Step 2: Identify the Proper Placement for the Check Valve
Understanding the Flow Direction
The check valve has a marked arrow indicating the flow direction. It’s essential to install it so that airflow moves from the pump toward your application, not the other way around.
Positioning the Check Valve
- Connect the check valve as close to the air pump outlet as possible for maximum protection.
- Ensure the arrow on the check valve points away from the pump, toward your hose or device.
Proper placement prevents backflow into the pump and ensures a smooth, unidirectional airflow.
Step 3: Connect the Hose or Tubing
Attaching the Hose to the Pump
- Cut the hose to the desired length, avoiding kinks or sharp bends.
- Attach one end of the hose to the air pump outlet.
- Secure with a clamp or hose fitting to prevent leaks.
Connecting the Check Valve
- Insert the hose into the inlet side of the check valve, following the flow arrow.
- Secure with a clamp for a tight fit.
- Repeat the process for the outlet side, connecting it to your device or further tubing.
Tip: Use flexible hoses compatible with your check valve’s size to ensure a snug fit.
Step 4: Secure All Connections
Double-check all fittings and clamps. Tighten securely but avoid over-tightening, which could damage hoses or fittings. Proper sealing prevents leaks, which can cause reduced airflow or system failure.
Practical tip: Use a bit of soapy water on connections to check for leaks—bubbles will form if there’s a leak.
Step 5: Test the Setup
Initial Testing
- Turn on the air pump.
- Observe the check valve to ensure it’s functioning correctly—air should flow in one direction, and there should be no air escaping from other parts.
- Listen for unusual noises or leaks.
Check for Backflow
- Close off the outlet or block the hose temporarily.
- Turn off the pump and observe if the check valve prevents air from flowing back into the pump.
If you notice leaks, misdirected airflow, or backflow, recheck connections and orientation of the check valve.
Additional Tips for Optimal Performance
- Regular maintenance: Inspect and clean the check valve periodically to prevent clogging or damage.
- Use the correct size: Match hose and check valve sizes for a snug fit and optimal airflow.
- Upgrade if necessary: For high-pressure applications, choose a check valve rated for higher flow rates.
Troubleshooting Common Issues
- Leakage at connections: Tighten clamps or replace damaged hoses.
- Backflow still occurs: Ensure the check valve is installed in the correct orientation and is functioning properly.
- Pump not working efficiently: Check for clogs, leaks, or incompatible parts.
Conclusion
Setting up an air pump with a check valve is a simple process that greatly enhances the safety and efficiency of your system. By selecting the right check valve, installing it correctly, and maintaining it regularly, you can prevent backflow and protect your equipment. Follow the steps outlined here, and you’ll have a reliable, well-functioning setup that lasts for years.
Remember:
Always double-check your connections, test your setup thoroughly, and perform regular maintenance. With these practices, your air pump will operate smoothly, and you’ll avoid costly repairs or replacements.
