
Master the use of a 16-gauge finish nail gun with this detailed, beginner-friendly guide. You’ll learn setup, safety, nailing techniques, and troubleshooting tips to achieve professional results on trim, cabinets, and furniture.
Key Takeaways
- Choose the right nails: Use 16-gauge nails between 1 to 2.5 inches long, matching your project’s material thickness.
- Prioritize safety: Always wear safety glasses and hearing protection, and disconnect the air supply when adjusting or clearing jams.
- Adjust depth settings: Proper depth control prevents nails from being too deep or sticking out, ensuring a clean finish.
- Maintain consistent pressure: Hold the nail gun firmly and perpendicular to the surface for straight, secure drives.
- Clear jams promptly: Learn how to safely release and remove jammed nails to avoid downtime and damage.
- Use sequential firing for precision: This mode reduces accidental firing and is ideal for detailed trim work.
- Regular maintenance extends tool life: Clean and lubricate your nail gun after each use to keep it running smoothly.
How to Use a 16-Gauge Finish Nail Gun: A Complete Step-by-Step Guide
If you’re tackling trim work, installing baseboards, or building custom furniture, a 16-gauge finish nail gun is one of the most versatile and essential tools in your arsenal. Known for its balance of holding power and minimal visibility, the 16-gauge nailer delivers strong, clean results without splitting delicate wood. But like any power tool, using it correctly requires knowledge, practice, and safety awareness.
In this guide, you’ll learn everything you need to know about how to use a 16-gauge finish nail gun—from setup and safety to advanced techniques and troubleshooting. Whether you’re a DIY enthusiast or a professional contractor, these steps will help you work faster, safer, and with greater precision.
What Is a 16-Gauge Finish Nail Gun?
Visual guide about How to Use a 16-gauge Finish Nail Gun?
Image source: i.ytimg.com
A 16-gauge finish nail gun is a pneumatic or cordless tool designed to drive medium-sized nails into wood without leaving large holes. The “16-gauge” refers to the thickness of the nail—thicker than an 18-gauge brad nailer but thinner than a 15-gauge model. This makes it ideal for tasks like installing crown molding, door casings, chair rails, and cabinet trim.
These nailers typically use nails ranging from 1 to 2.5 inches in length, offering enough holding strength for most finish carpentry jobs. Most models feature adjustable depth settings, tool-free jam clearing, and selectable firing modes (bump or sequential), giving you flexibility depending on your project needs.
Step 1: Gather Your Tools and Materials
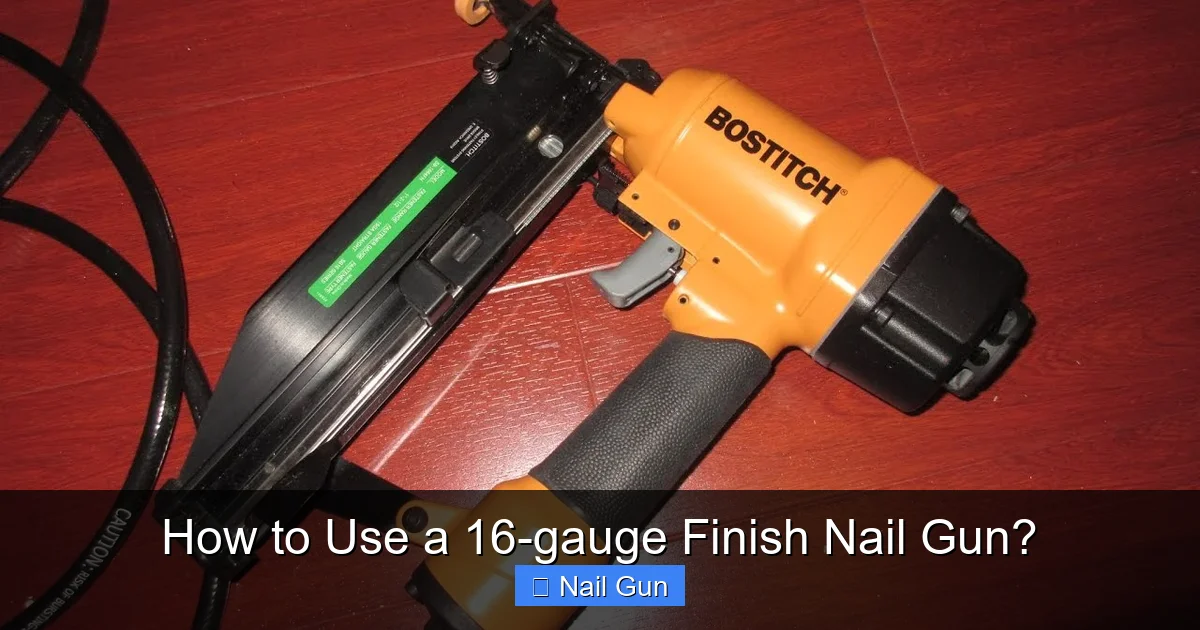
Visual guide about How to Use a 16-gauge Finish Nail Gun?
Image source: i.ytimg.com
Before you begin, make sure you have everything you need:
- 16-gauge finish nail gun
- Air compressor (if using a pneumatic model) with proper PSI settings (usually 70–120 PSI)
- Air hose with fittings compatible with your nailer
- 16-gauge finish nails (choose length based on material thickness)
- Safety glasses and hearing protection
- Work clamps (optional, for securing trim)
- Measuring tape, pencil, and square for marking
- Lubricating oil (for pneumatic models)
Pro tip: Always check your nail gun’s manual for specific requirements. Some cordless models use fuel cells or batteries, so ensure they’re charged or installed.
Step 2: Prioritize Safety
Safety should never be an afterthought. A nail gun can cause serious injury if mishandled.
Wear Protective Gear
Always wear safety glasses to protect your eyes from flying debris or ricocheting nails. Use ear protection, especially with pneumatic models, which can be loud during operation.
Inspect the Tool
Before connecting, check for damage—cracks in the housing, loose parts, or worn seals. Never use a damaged nail gun.
Keep Your Workspace Clear
Remove clutter, secure loose clothing, and ensure no one is standing in the line of fire. Never point the nailer at yourself or others, even when disconnected.
Disconnect When Not in Use
Always disconnect the air hose or remove the battery when loading nails, clearing jams, or stepping away from the tool.
Step 3: Load the Nails
Loading nails correctly ensures smooth operation and prevents jams.
Open the Magazine
Most 16-gauge nailers have a side-loading magazine. Slide or lift the magazine cover to access the nail channel.
Insert the Nail Strip
Place a strip of 16-gauge nails into the magazine with the heads facing up and the points aligned toward the nose of the tool. Make sure the nails sit flat and aren’t bent or damaged.
Close and Secure the Magazine
Slide the cover back into place and ensure it locks securely. Some models have a spring-loaded follower—make sure it’s engaged to push nails forward.
Step 4: Connect the Air Supply (Pneumatic Models)
If you’re using a pneumatic nail gun, proper air setup is crucial.
Check PSI Settings
Set your air compressor to the recommended PSI (usually 80–100 PSI for finish nailers). Too little pressure results in weak drives; too much can damage the tool or split wood.
Attach the Air Hose
Connect the air hose to the compressor and the nail gun’s inlet. Use a quick-connect fitting if available. Ensure all connections are tight to prevent leaks.
Lubricate the Tool (If Required)
Add 2–3 drops of pneumatic tool oil into the air inlet before first use and after every few hours of operation. This keeps internal parts moving smoothly. (Note: Some newer models are oil-free—check your manual.)
Step 5: Adjust Depth and Firing Mode
Customizing these settings improves accuracy and finish quality.
Set the Depth of Drive
Most nailers have a depth adjustment wheel or dial. Turn it to control how deep the nail sinks:
- Shallow setting: For softwoods or delicate trim
- Deeper setting: For hardwoods or when extra holding power is needed
Test on a scrap piece of wood and adjust until the nail sits just below the surface.
Choose Firing Mode
Select between:
- Sequential (Single Fire): Press the nose against the wood, then pull the trigger. Safer and more precise—ideal for trim and detailed work.
- Bump (Contact) Fire: Hold the trigger and “bump” the nose against the wood to fire. Faster for large areas but increases risk of accidental firing.
For most finish work, start with sequential mode.
Step 6: Position and Fire the Nail
Now it’s time to nail!
Hold the Nailer Correctly
Grip the handle firmly with one hand and support the nose with the other if needed. Keep the tool perpendicular (90 degrees) to the surface to prevent angled or crooked nails.
Apply Steady Pressure
Press the nose firmly against the wood before pulling the trigger. This ensures the safety tip engages and the nail fires straight.
Fire in the Right Spot
Aim for the center of the trim or workpiece. Avoid edges, which can split. For long pieces, use a clamp to hold them in place.
Space Nails Appropriately
For trim, space nails 12–16 inches apart. Closer spacing (6–8 inches) may be needed for heavy moldings or in high-stress areas.
Step 7: Finish and Conceal the Nails
Even the best nail job needs a final touch.
Fill the Nail Holes
Use wood filler or putty to cover the small holes. Choose a color that matches your wood or paint.
Sand Smooth
Once dry, lightly sand the filled areas with fine-grit sandpaper (220 grit) until smooth.
Paint or Stain
Apply paint or stain to blend the repair with the surrounding surface. A light coat over the filled area helps hide the patch.
Troubleshooting Common Issues
Even experienced users run into problems. Here’s how to fix them:
Nails Not Sinking Fully
- Increase air pressure (check compressor PSI)
- Adjust depth setting deeper
- Use longer nails if material is thick
Nails Sticking Out
- Reduce air pressure
- Adjust depth setting shallower
- Ensure you’re applying firm pressure when firing
Jammed Nails
- Disconnect air or remove battery
- Open the magazine and remove the jammed nail
- Check for bent nails or debris in the nose
- Reload and test on scrap wood
Double Firing or Misfires
- Switch to sequential firing mode
- Clean the trigger mechanism
- Ensure nails are loaded correctly
Air Leaks
- Check hose connections
- Replace worn O-rings or seals
- Use Teflon tape on threaded fittings
Maintenance Tips for Long-Term Performance
A well-maintained nail gun lasts longer and performs better.
Clean After Each Use
Wipe down the exterior with a dry cloth. Use compressed air to blow out dust from the nose and magazine.
Lubricate Regularly
Add oil to pneumatic models as recommended. Cordless models may need occasional cleaning of the motor area.
Store Properly
Keep the nail gun in a dry, clean place. Use a carrying case if available. Store nails separately to prevent moisture damage.
Inspect Before Use
Check for wear, loose parts, or damage each time you use the tool.
Conclusion
Learning how to use a 16-gauge finish nail gun opens up a world of possibilities for woodworking and home improvement. With the right setup, safety habits, and techniques, you can achieve clean, professional results on every project. Remember to choose the right nails, adjust your settings, and maintain your tool regularly. Whether you’re installing baseboards or building a custom bookshelf, this versatile tool will save you time and deliver strong, invisible holds. Practice on scrap wood, stay safe, and soon you’ll be nailing like a pro.