
A fence nail gun is a power tool designed to quickly and securely fasten fence boards, posts, and rails using nails or staples. It saves time, reduces physical strain, and ensures consistent results compared to manual nailing.
Key Takeaways
- Efficiency: A fence nail gun dramatically speeds up fence installation by driving nails quickly and consistently, reducing project time by up to 70%.
- Consistency: Ensures even nail placement and depth, leading to a professional-looking, durable fence.
- Reduced Fatigue: Eliminates the need for repetitive hammering, minimizing hand and arm strain during long projects.
- Versatility: Works with various fence types, including wood, vinyl, and composite, using compatible nails or staples.
- Safety Features: Most models include safety triggers, anti-dry fire mechanisms, and ergonomic designs to prevent accidents.
- Types Available: Choose from pneumatic, cordless (battery-powered), and electric models based on your power source and mobility needs.
- Proper Maintenance: Regular cleaning, lubrication, and nail jam clearing keep your nail gun performing reliably for years.
What Is a Fence Nail Gun Used For?
If you’ve ever built a fence—or even helped someone do it—you know how time-consuming and physically demanding it can be. Hammering dozens, sometimes hundreds, of nails by hand leads to sore arms, inconsistent spacing, and a fence that may not last as long as it should. That’s where a fence nail gun comes in.
A fence nail gun is a specialized power tool designed to drive nails or staples into wood, vinyl, or composite fencing materials quickly and securely. Whether you’re building a backyard privacy fence, repairing a garden border, or installing a ranch-style split rail, this tool makes the job faster, easier, and more professional.
In this guide, you’ll learn exactly what a fence nail gun is used for, how to choose the right one, step-by-step instructions for safe and effective use, and tips to keep your tool in top shape. By the end, you’ll understand why professionals and DIYers alike swear by this handy tool.
How a Fence Nail Gun Works
Visual guide about What Is a Fence Nail Gun Used For?
Image source: finepowertools.com
At its core, a fence nail gun automates the nailing process. Instead of swinging a hammer, you simply position the gun, pull the trigger, and—*bang*—the nail is driven in with precision and force.
There are three main types of fence nail guns, each powered differently:
Pneumatic Fence Nail Guns
These are the most common and powerful. They connect to an air compressor via a hose. When you pull the trigger, compressed air forces a piston that drives the nail into the material. Pneumatic models are lightweight, durable, and ideal for large fencing projects.
Cordless (Battery-Powered) Fence Nail Guns
These run on rechargeable lithium-ion batteries and use internal combustion or electric motors to drive nails. They offer excellent mobility and are perfect for jobs where an air compressor isn’t practical—like remote areas or tight spaces.
Electric Fence Nail Guns
Plugged into a standard outlet, these are less common but useful for light-duty work. They’re quieter and don’t require fuel or batteries, but lack the power of pneumatic or cordless models.
All types use collated nails (nails connected in strips) that feed automatically, so you don’t have to reload after every shot. This continuous feeding is a huge time-saver.
Common Uses for a Fence Nail Gun
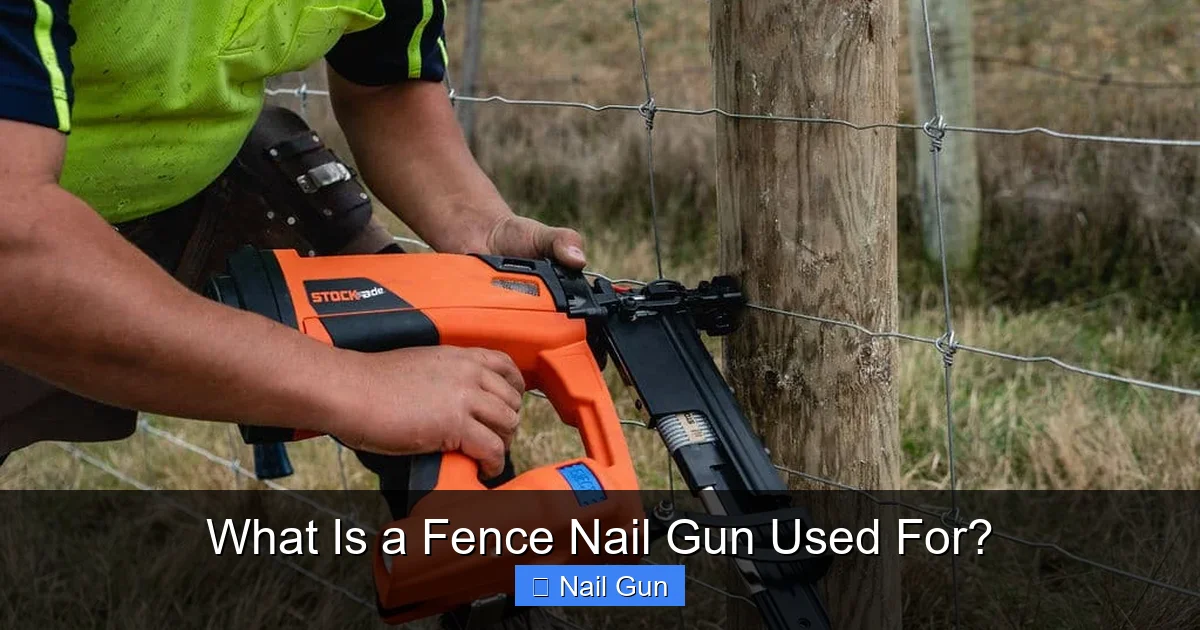
Visual guide about What Is a Fence Nail Gun Used For?
Image source: stockade.com
A fence nail gun isn’t just for new installations. It’s a versatile tool with many practical applications:
Installing Wood Fences
Whether it’s a classic picket fence or a sturdy privacy fence, a nail gun securely fastens pickets to rails and rails to posts. It ensures tight, even spacing and prevents wood splitting when used correctly.
Repairing Damaged Fencing
Instead of removing entire sections, you can quickly replace broken boards or reinforce loose ones with a few well-placed nails. This saves time and materials.
Building Ranch and Split Rail Fences
These rustic fences use large rails slotted into posts. A nail gun can secure reinforcement brackets or additional fasteners to prevent shifting over time.
Attaching Wire Mesh or Hardware Cloth
For chicken coops, garden enclosures, or pet barriers, a staple-function nail gun can fasten wire mesh tightly to wooden frames without bending or sagging.
Securing Vinyl or Composite Fencing
Specialized nails or screws designed for synthetic materials can be driven quickly and cleanly, maintaining the fence’s appearance and structural integrity.
Step-by-Step Guide: How to Use a Fence Nail Gun
Using a fence nail gun is straightforward once you understand the basics. Follow these steps for safe and effective operation.
Step 1: Choose the Right Nail Gun and Nails
Match your nail gun to your project. For heavy-duty wood fencing, a pneumatic or cordless framing nailer works best. For lighter work like attaching trim or mesh, a finish or staple nailer may suffice. Always use nails recommended by the manufacturer—wrong sizes can jam the tool or damage materials.
Step 2: Prepare Your Work Area
Clear the site of debris, tools, and tripping hazards. Ensure your fence posts are securely set and rails are level. If using a pneumatic gun, position the air compressor on stable ground and lay the hose where it won’t be tripped over.
Step 3: Load the Nails
Open the magazine (usually by pulling a latch or sliding a cover), insert the nail strip, and close it securely. For staple guns, load the staple cartridge similarly. Never load nails while the tool is connected to power or air.
Step 4: Adjust Depth and Settings
Most nail guns have a depth adjustment wheel. Set it so nails are driven just below the surface without over-penetrating. Test on a scrap piece of wood first. Some models also let you switch between single-fire and bump-fire modes—use single-fire for precision, bump-fire for speed.
Step 5: Wear Safety Gear
Always wear safety glasses to protect your eyes from flying debris. Hearing protection is recommended, especially with loud pneumatic models. Gloves improve grip and reduce vibration fatigue.
Step 6: Position and Fire
Hold the nail gun firmly with both hands. Press the nose firmly against the wood at a 90-degree angle. Pull the trigger—only after the safety tip is fully depressed. Never point the gun at yourself or others, even when unloaded.
Step 7: Work Methodically
Start at one end of the fence and work your way down. Nail every 16 to 24 inches along rails, and secure pickets at top, middle, and bottom. Over-nailing can weaken wood; under-nailing leads to loose boards.
Step 8: Clear Jams (If They Occur)
If the gun stops firing, it may be jammed. Disconnect the power source or air hose, open the magazine, and remove any stuck nails using needle-nose pliers. Never force the tool.
Tips for Best Results
– Use Galvanized or Stainless Steel Nails: These resist rust and corrosion, especially important for outdoor fences.
– Pre-Drill in Hardwoods: Dense woods like oak may split. A small pilot hole prevents this.
– Keep the Gun Clean: Wipe down after use and remove sawdust from the magazine.
– Lubricate Pneumatic Models: Add a few drops of air tool oil to the compressor inlet daily.
– Store Properly: Keep the nail gun in a dry, secure place. Remove batteries if storing long-term.
Troubleshooting Common Issues
Even the best tools can have problems. Here’s how to fix common fence nail gun issues:
Nails Not Firing
Check if the magazine is empty or jammed. Ensure the air pressure (for pneumatic guns) is at the recommended PSI (usually 70–120). For cordless models, verify the battery is charged.
Nails Not Sinking Fully
Increase the depth setting or check air pressure. Worn driver blades can also reduce driving force—inspect and replace if needed.
Double Firing or Misfires
This often happens in bump-fire mode. Switch to single-fire for better control. Also, ensure you’re not holding the trigger while moving the gun.
Air Leaks (Pneumatic Models)
Inspect the hose and connections for cracks or loose fittings. Replace damaged parts immediately.
Battery Drains Quickly (Cordless Models)
Cold weather reduces battery life. Store batteries indoors and keep spares charged.
Choosing the Right Fence Nail Gun
Not all nail guns are created equal. Consider these factors when buying:
– Project Size: Large jobs need powerful, durable tools. Small repairs may only need a compact model.
– Power Source: Pneumatic for power, cordless for convenience, electric for quiet operation.
– Nail Compatibility: Ensure the gun accepts the nail size and type you’ll use most.
– Weight and Ergonomics: A lighter gun reduces fatigue during long sessions.
– Brand and Warranty: Stick with reputable brands like DeWalt, Makita, or Bostitch for reliability and support.
Conclusion
A fence nail gun is more than just a convenience—it’s a game-changer for anyone building or repairing fences. It delivers speed, consistency, and professional results that are nearly impossible to achieve with a hammer alone. From securing pickets to reinforcing posts, this tool handles it all with ease.
Whether you’re a weekend warrior or a full-time contractor, investing in a quality fence nail gun will save you time, reduce physical strain, and help you build fences that stand the test of time. With proper use and maintenance, your nail gun will be a trusted companion on countless projects.
So next time you’re planning a fence, don’t reach for the hammer—grab a nail gun and get the job done right.