
Are you tired of hunting for your cordless drill every time you need it? Imagine having a simple, organized spot where your drill stays safe and ready to use.
Making a cordless drill rack yourself is easier than you think. This quick and practical project will save you time, protect your tools, and keep your workspace neat. Keep reading, and you’ll discover step-by-step how to build a drill rack that fits your needs perfectly—no special skills required.
Your tools deserve a home, and you’re just a few minutes away from creating it.
Benefits Of A Cordless Drill Rack
A cordless drill rack offers many benefits for anyone using drills often. It keeps your tools safe, your workspace tidy, and helps you work faster. This simple addition can improve how you store and use your drills. Here are some key benefits of using a cordless drill rack.
Organizing Your Workspace
A cordless drill rack keeps your drills in one place. No more searching through messy drawers or boxes. It makes your workspace neat and easy to use. You can see all your drills at once. This helps you plan your work better.
Protecting Your Tools
The rack holds drills securely and prevents damage. Your drills avoid scratches, drops, and knocks. Proper storage helps your tools last longer. It also keeps batteries safe and ready to use. This protects your investment in quality tools.
Saving Time And Effort
With a drill rack, you spend less time finding tools. Drills are easy to grab and put back. This speeds up your work and reduces frustration. You stay focused on your project, not on searching for tools. Simple storage leads to smarter work habits.
Credit: www.diymontreal.com
Materials Needed
Gathering the right materials is the first step to build a cordless drill rack. You need a few basic items to create a sturdy and functional rack. These materials are easy to find at local hardware stores or online. Choosing quality materials helps your rack last longer and hold your tools safely.
Wood And Fasteners
Start with wood that is strong and smooth. Pine or plywood works well. The wood pieces should fit your drill sizes. Use screws or nails to hold the wood parts together. Wood glue adds extra strength. Sandpaper helps to smooth rough edges for safety.
Tools Required
Prepare simple tools for assembly. A cordless drill makes the job easier. A saw is needed to cut wood to size. A measuring tape ensures parts fit perfectly. A screwdriver or drill bit helps insert screws quickly. A level keeps your rack straight.
Optional Accessories
Add extra features to improve your rack. Hooks can hold drill bits and chargers. Paint or stain gives the rack a finished look. Rubber pads prevent slipping and protect surfaces. Labels help organize drills by type or size.
Choosing The Right Design
Choosing the right design for your cordless drill rack is important. It helps keep your workspace neat and tools easy to reach. The design you pick depends on your space and how many drills you own. A good rack saves time and protects your drills from damage. Think about where you want to place it and how you want to use it. This way, you will get a rack that fits your needs perfectly.
Wall-mounted Vs. Freestanding
Wall-mounted racks save floor space and keep drills at eye level. They are great for small rooms or busy workshops. You can place them near your workbench for quick access. Freestanding racks stand on the floor and can be moved easily. They often hold more drills and other tools. Choose wall-mounted for tight spaces. Pick freestanding if you want flexibility and more storage.
Size And Capacity Considerations
Measure your drills before picking a rack size. Make sure the rack holds all your drills comfortably. Leave some extra space for future tools. A rack too small will overcrowd your drills. Too large, and it wastes space. Think about the drill sizes and battery packs too. Good size and capacity keep drills safe and organized.
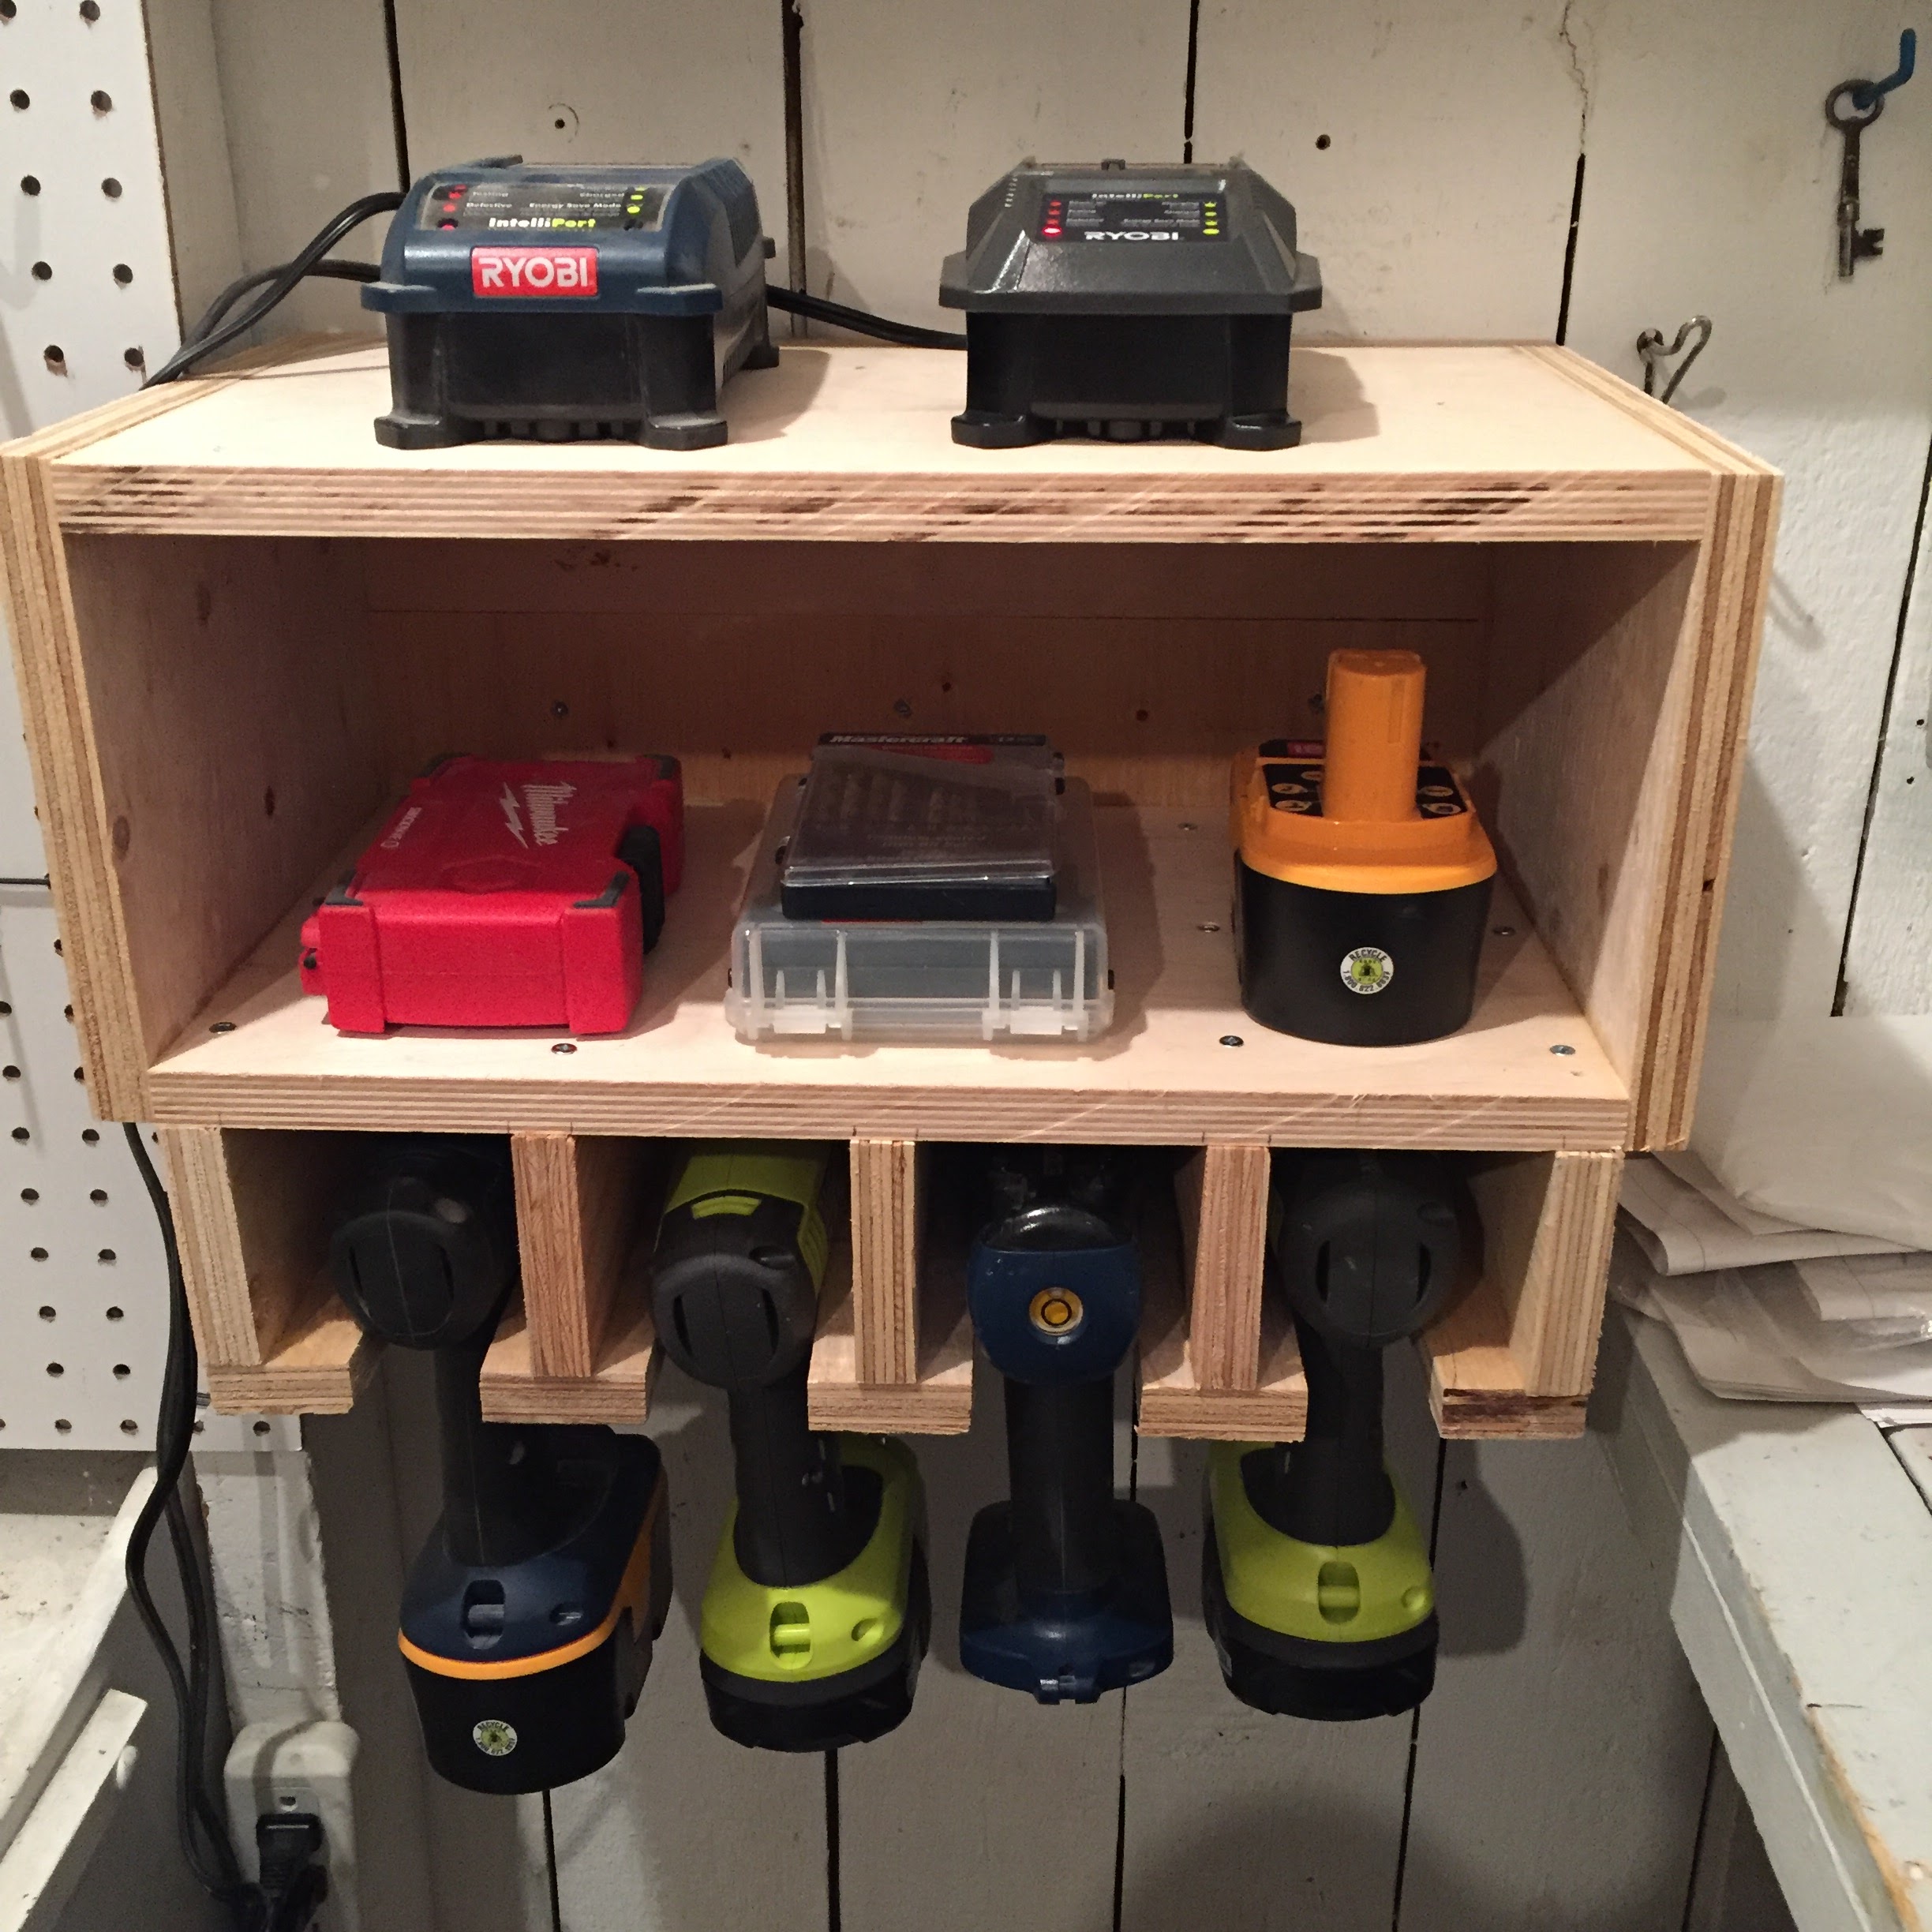
Customizing For Multiple Drills
If you have many drills, customize the rack design. Add separate slots or hooks for each drill. Use dividers to keep drills apart and prevent scratches. Consider extra space for chargers and batteries. A custom rack helps you find each drill quickly. It also keeps everything tidy and easy to use. Customizing means your rack fits your tools exactly.

Credit: www.diymontreal.com
Step-by-step Building Process
Building a cordless drill rack is simple and fun. Follow these clear steps to create a sturdy rack for your drills. Each step guides you through the process, making it easy to follow. Prepare your tools and wood, and let’s start building.
Measuring And Cutting Wood
Begin by measuring the wood pieces carefully. Use a tape measure for accuracy. Cut the wood into the needed sizes for the frame and holders. A saw works best for straight cuts. Keep the pieces organized for the next step.
Assembling The Frame
Join the cut wood pieces to form the rack frame. Use screws and a drill for strong joints. Ensure the frame is square and level. Tighten all screws to avoid wobbling. The frame must be stable to hold the drills safely.
Adding Drill Holders
Attach the drill holders to the frame next. Cut slots or use brackets to hold drills firmly. Space the holders evenly for easy access. Check each holder fits your cordless drills well. Secure them tightly with screws or nails.
Finishing Touches
Sand the wood surfaces smooth to avoid splinters. Apply paint or wood finish for protection and style. Let the finish dry completely before use. Add hooks or labels if needed for extra storage. Your cordless drill rack is now ready to use.
Mounting And Placement Tips
Mounting and placing your cordless drill rack correctly makes a big difference. The right spot keeps your tools safe and easy to reach. Think about how you work and where you need the drill most. Proper placement saves time and avoids clutter.
Selecting The Best Location
Choose a wall near your workbench or tool area. It should be easy to get to without moving other things. Avoid damp or dusty spots to protect the drill and rack. A well-lit place helps you see the drill clearly. Make sure the wall surface is strong enough to hold the rack firmly.
Securing The Rack Safely
Use proper screws or anchors for the wall type. Drywall needs anchors to hold the weight. Studs provide the strongest support for heavy racks. Check that the rack is level before tightening screws. Tighten all fasteners to avoid wobbling or falling. Test the rack by hanging the drill gently first.
Maximizing Accessibility
Place the rack at a height that fits your reach comfortably. Not too high or low to avoid strain. Keep space around the rack for quick grab and return. Arrange multiple drills so the most used one is easiest to reach. Consider adding labels or color codes for faster tool selection.
Maintenance And Upkeep
Keeping your cordless drill rack in good shape helps it last longer. Regular care stops damage and keeps your tools safe. Simple steps make maintenance easy and quick.
Cleaning The Rack
Dust and dirt build up over time. Wipe the rack with a dry cloth often. Use a damp cloth for sticky spots. Avoid harsh chemicals that can damage the material. Clean racks hold tools better and look neat.
Inspecting For Wear
Check the rack for cracks or loose parts. Look closely at joints and screws. Tighten any loose screws right away. Replace broken parts to keep the rack strong. Regular checks prevent accidents and tool falls.
Upgrading For New Tools
New tools may need different storage space. Add extra shelves or hooks as needed. Adjust the rack to fit larger drills or batteries. Use simple wood or metal pieces for upgrades. Upgrading keeps your rack useful as your tools grow.

Credit: www.youtube.com
Frequently Asked Questions
What Materials Are Needed For A Cordless Drill Rack?
You need plywood or MDF, screws, wood glue, a saw, drill, sandpaper, and paint or stain. These materials help build a sturdy and durable rack. Choose quality wood for long-lasting use and safety.
How Do I Design A Cordless Drill Rack?
Measure your drills and batteries first. Sketch a layout with slots for drills and chargers. Ensure spacing allows easy access. A simple, compact design saves space and keeps tools organized.
Can I Customize The Rack For Different Drill Sizes?
Yes, customize slot sizes based on your drills. Adjustable or varied slot widths accommodate different brands and sizes. This ensures secure storage and prevents damage to your tools.
How Do I Mount The Cordless Drill Rack Safely?
Use wall anchors or studs for mounting. Secure screws firmly to support the rack’s weight. Proper mounting prevents accidents and keeps drills accessible and organized.
Conclusion
Building a cordless drill rack keeps tools neat and easy to find. It saves space and protects your drills from damage. You can customize the rack to fit your needs and workshop style. Making it yourself also saves money compared to buying one.
Try this simple project to organize your workspace today. A tidy workshop makes work faster and more enjoyable. Give it a shot—you’ll like the results.