
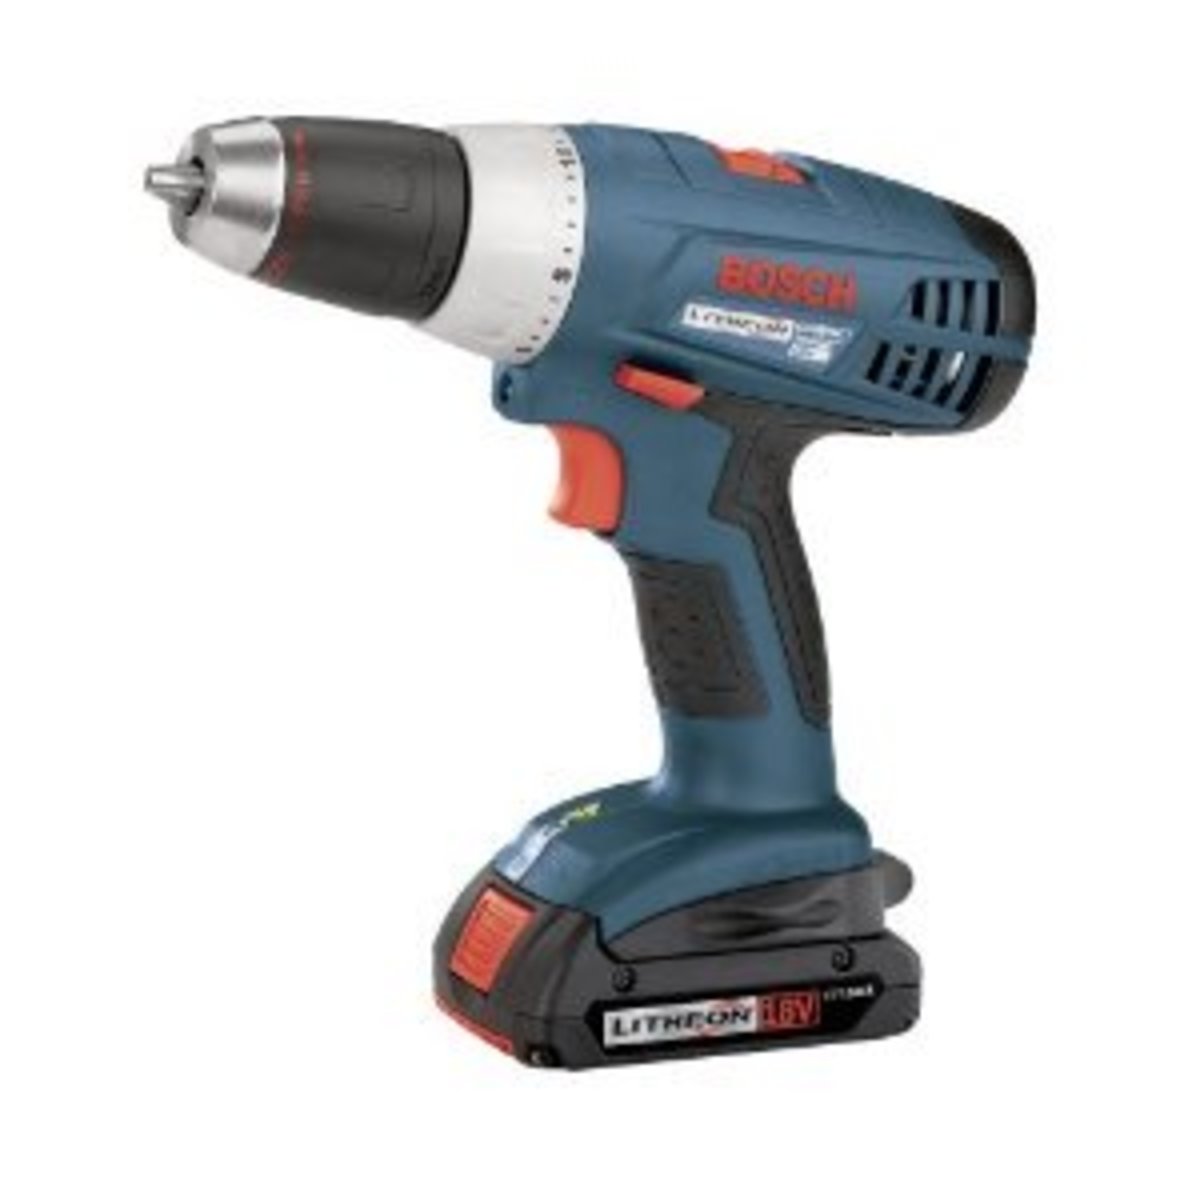
If you own a Bosch cordless drill, you know how important it is to keep it working smoothly. Sometimes, you may need to remove the drill chuck to replace it or fix a problem.
But how do you do that without damaging your tool? In this guide, you’ll learn the simple steps to safely and easily remove the chuck from your Bosch cordless drill. By the end, you’ll feel confident handling your drill like a pro and keeping it in top shape.
Keep reading to discover the quick tricks that will save you time and hassle.
Tools Needed
Removing the chuck from a Bosch cordless drill needs a few simple tools. These tools help you work safely and quickly. Prepare everything before starting the job.
Having the right tools makes the process smooth. It also prevents damage to the drill or parts. Keep tools nearby for easy access.
Socket Wrench
A socket wrench fits the chuck’s central screw. It helps to loosen or tighten the screw firmly. Choose the correct size socket for your drill model.
Allen Key (hex Key)
The Allen key removes the chuck screw inside the drill. Most Bosch drills use a 5mm or 6mm size. It fits snugly into the screw head for turning.
Screwdriver
A flathead or Phillips screwdriver may be needed. It helps to remove screws holding the drill parts. Check your drill to know which type fits best.
Hammer Or Rubber Mallet
A hammer or mallet taps parts gently if they are stuck. Use soft hits to avoid breaking the drill. A rubber mallet is best for careful tapping.
Safety Gloves
Wear gloves to protect your hands during the process. They stop cuts and improve grip on tools. Safety is important while handling drill parts.
Safety Precautions
Always wear safety glasses to protect your eyes from debris. Make sure the drill is turned off and the battery is removed before starting. Keep your hands clear of moving parts to avoid injury.
Wear Protective Gear
Always wear safety glasses to protect your eyes from flying debris.
Use gloves to avoid cuts or scrapes while handling the drill.
Disconnect The Battery
Remove the battery before starting any work on the drill.
This prevents accidental starts that can cause injury.
Work In A Clean Area
Keep your workspace tidy to avoid tripping or losing small parts.
A clean area helps you focus and work safely.
Use Proper Tools
Choose the right tools to remove the chuck without damage.
Wrong tools can slip and cause accidents.
Follow Manufacturer Instructions
Read Bosch’s manual carefully before attempting to remove the chuck.
Following instructions reduces the risk of damage and injury.
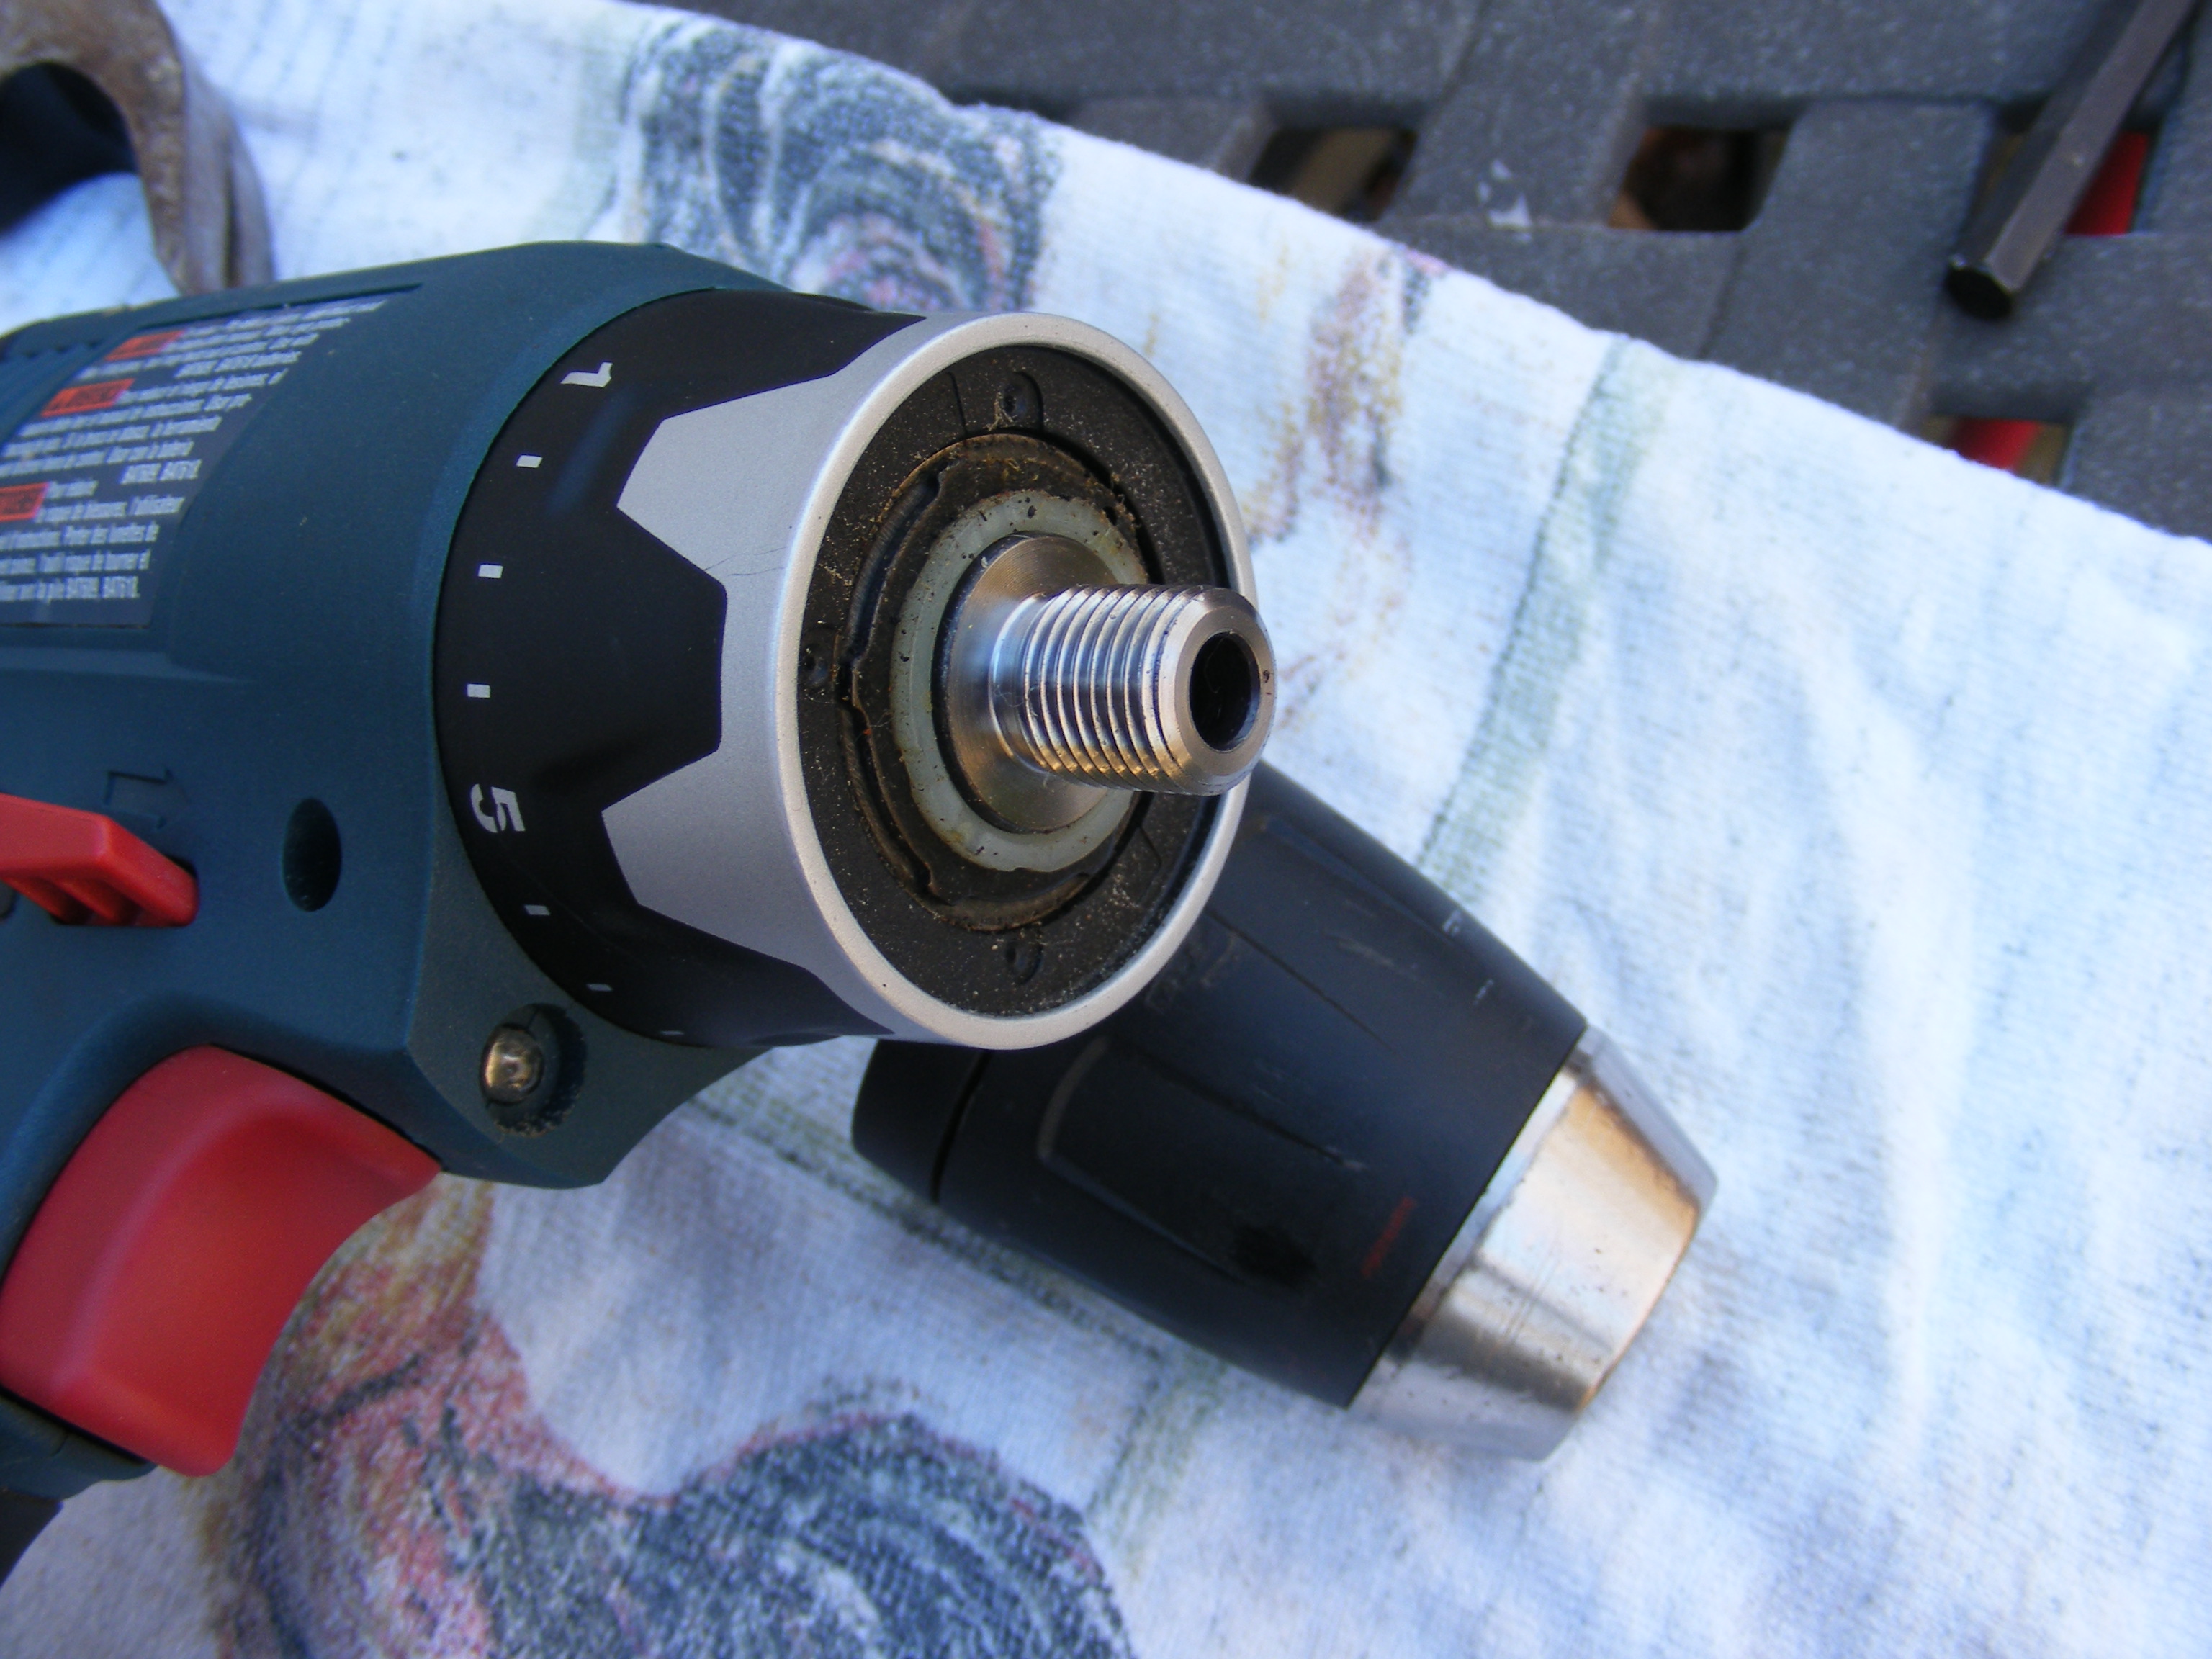
Locating The Chuck Screw
Before removing the chuck from your Bosch cordless drill, you must find the chuck screw. This small screw holds the chuck tightly in place. Without removing it, you cannot take off the chuck. Locating it is the first step to a smooth removal process.
The chuck screw is usually hidden deep inside the chuck. You need to look closely to spot it. It is often a small, flathead screw that fits tightly inside the chuck jaws.
Check Inside The Chuck Jaws
Open the chuck jaws wide to see inside. The screw sits right at the center. Use a flashlight if the area looks dark. This helps to see the tiny screw clearly.
Use The Right Screwdriver
The chuck screw usually needs a flathead screwdriver. Make sure the screwdriver fits well. A wrong size can damage the screw head.
Look For Reverse Threads
Many Bosch drills have a reverse-threaded chuck screw. Turn the screw clockwise to loosen it. This is opposite to normal screws.
Removing The Chuck Screw
Removing the chuck screw from a Bosch cordless drill is a key step before taking off the chuck. This small screw holds the chuck tightly in place. Removing it allows you to change or repair the chuck easily. The screw is usually inside the chuck and can be tricky to access. Using the right tools and methods makes this task simple and safe.
Using A Screwdriver
First, find the chuck screw inside the drill’s chuck. It has a left-hand thread, so it unscrews clockwise. Use a screwdriver that fits the screw head perfectly. Insert the screwdriver firmly into the screw slot. Turn the screwdriver slowly in the clockwise direction. This will loosen the screw carefully. Avoid forcing it to prevent damage. Once loose, remove the screw with your fingers or screwdriver.
Dealing With Stubborn Screws
Some screws may not turn easily. They might be tight from use or dirt. Apply a small amount of penetrating oil on the screw. Let it sit for 10 to 15 minutes. This will help loosen the rust or debris. Use the screwdriver again, applying steady pressure. Tap the screwdriver handle lightly with a hammer to break the bond. If the screw still won’t budge, try using a stronger screwdriver or a screw extractor tool.
Loosening The Chuck
Loosening the chuck on a Bosch cordless drill is the first step to remove or change the drill bit. The chuck holds the bit tightly, so it must be loosened carefully. This section explains two simple ways to do that. Both methods are easy and do not need special skills.
Manual Method
Hold the drill firmly with one hand. Use your other hand to turn the chuck counterclockwise. Turn slowly and keep a good grip. The chuck may be tight, so apply steady pressure. Once it loosens, the jaws inside will open. This lets you pull out the drill bit easily.
This method works well for small jobs. It does not require extra tools. Sometimes the chuck may be very tight. In that case, try the next method.
Using A Chuck Key
A chuck key helps loosen the chuck more easily. Insert the key into the hole on the chuck. Turn the key counterclockwise to open the jaws. This tool fits perfectly and gives more power. It is useful if the chuck is stuck or very tight.
Use the chuck key carefully to avoid slipping. Keep the drill steady while turning the key. When the chuck opens, remove the drill bit. Store the chuck key safely for future use.
Detaching The Chuck
Detaching the chuck from your Bosch cordless drill is a simple task. It allows you to replace or clean the chuck easily. Follow clear steps to avoid damage to your drill or chuck.
Gather The Right Tools
Prepare a hex key or Allen wrench that fits your drill. You may also need a small hammer or screwdriver. Having tools ready saves time and effort.
Open The Chuck Fully
Turn the chuck sleeve to open the jaws wide. This exposes the screw inside the chuck. Opening fully makes the next step easier.
Remove The Chuck Screw
Look inside the chuck for a small screw. This screw holds the chuck tightly in place. Use the hex key to turn the screw counterclockwise. This will loosen and remove it.
Loosen The Chuck From The Drill
Hold the drill body firmly. Turn the chuck counterclockwise by hand. It may take some force to break it free.
Use Tools If Needed
If the chuck is stuck, gently tap it with a hammer. Use a screwdriver to help loosen the grip. Be careful not to damage parts.
Cleaning And Maintenance
Cleaning and maintaining your Bosch cordless drill chuck keeps it working well. Dirt and dust can cause problems. Regular care helps the chuck last longer and work smoothly.
How To Clean The Chuck
Remove the chuck from the drill first. Use a soft brush to clear dirt and dust. Wipe the chuck with a clean cloth. Avoid water or harsh chemicals. They can damage the chuck parts.
Lubricating The Chuck
Apply a small amount of machine oil inside the chuck. This reduces friction and prevents rust. Turn the chuck to spread the oil evenly. Wipe off any extra oil to avoid attracting dust.
Checking For Wear And Tear
Look for cracks or worn parts on the chuck. Replace any damaged parts immediately. Regular checks stop bigger problems later. A well-maintained chuck keeps your drill safe to use.

Credit: www.youtube.com
Replacing Or Reassembling The Chuck
Replacing or reassembling the chuck on a Bosch cordless drill is a common task. It can improve drill performance or fix issues like slipping bits. This process requires care and the right steps. It helps keep the drill working smoothly and safely.
Understanding how to remove and replace the chuck allows you to maintain your tool better. It also saves time and money by avoiding trips to the repair shop. Follow the steps carefully for a successful replacement or reassembly.
Preparing The Drill For Chuck Replacement
First, remove the battery from the drill to ensure safety. Secure the drill in a vice or hold it firmly. Rotate the chuck by hand to check if it is loose. Use the correct tools to avoid damaging the drill.
Removing The Old Chuck
Open the chuck jaws fully to see the retaining screw inside. Use a screwdriver to remove the screw by turning it counterclockwise. Hold the chuck firmly and twist it off by hand or with a wrench. Keep the parts safe for reassembly.
Installing The New Chuck
Align the new chuck with the drill’s spindle. Push the chuck onto the spindle firmly. Insert and tighten the retaining screw clockwise to secure the chuck. Test the chuck by opening and closing the jaws to ensure it works well.
Reassembling The Chuck
Place all parts of the chuck in the correct order. Tighten all screws and bolts securely. Check the chuck for smooth rotation and grip strength. Reattach the battery and test the drill with a drill bit.
Troubleshooting Common Issues
Removing the chuck from a Bosch cordless drill can sometimes be tricky. Some common problems might stop the process. Understanding these issues helps you fix them quickly. This saves time and prevents damage to the drill.
Below are common problems and simple solutions for removing the chuck safely.
Tight Or Stuck Chuck
The chuck may be very tight or stuck due to dirt or rust. Use a penetrating oil to loosen it. Spray the oil where the chuck meets the drill. Let it sit for 10 to 15 minutes. Then, try to turn the chuck again. Use a cloth for better grip.
Chuck Won’t Rotate
The drill’s spindle might lock, stopping the chuck from rotating. Hold the drill firmly. Press the spindle lock button and try turning the chuck. If this does not work, tap gently with a rubber mallet to loosen the parts inside.
Missing Or Worn Chuck Key
Some Bosch chucks need a key to loosen the jaws. If the key is lost or worn out, the chuck will not open. Find a replacement key from a hardware store or order online. Using the right key makes removal easier and safer.
Unable To Access Chuck Screw
Inside the chuck, there is a small screw holding it to the drill. This screw may be hidden or tight. Use a flashlight to see inside the chuck clearly. Use a screwdriver to turn the screw counterclockwise. This step is necessary before removing the chuck.
Credit: www.fouroakscrafts.com
Credit: discover.hubpages.com
Frequently Asked Questions
How Do I Remove Bosch Cordless Drill Chuck Safely?
First, power off and remove the battery from the drill. Then, open the chuck jaws fully and use an Allen wrench to loosen the chuck screw by turning it counterclockwise. Finally, unscrew the chuck by hand or with a wrench.
What Tools Are Needed To Remove Bosch Drill Chuck?
You will need an Allen wrench, a small hammer, and optionally a wrench. These tools help loosen and unscrew the chuck effectively and safely.
Can I Remove The Chuck Without Damaging The Drill?
Yes, by following the correct steps and using proper tools, you can remove the chuck without damaging the drill or its components.
Why Is The Chuck Stuck On My Bosch Cordless Drill?
The chuck may be stuck due to dirt, rust, or overtightening. Cleaning and lubricating it before removal can help loosen it smoothly.
Conclusion
Removing the Bosch cordless drill chuck is easier than it seems. Follow the steps carefully and use the right tools. Take your time and stay safe during the process. A clean, well-maintained drill works better and lasts longer. Now, you can change or fix the chuck without trouble.
Keep practicing, and this task will feel simple soon. Your drill is ready for any job ahead.