
Have you ever found yourself stuck with a drill bit that just won’t come out of your Drill Master cordless screwdriver? It’s frustrating, slows down your project, and can even damage your tool if you’re not careful.
But don’t worry—removing that stubborn bit is easier than you think. In this guide, you’ll discover simple, step-by-step tricks to get your drill bit out quickly and safely. Keep reading, and you’ll be back to working on your project in no time.

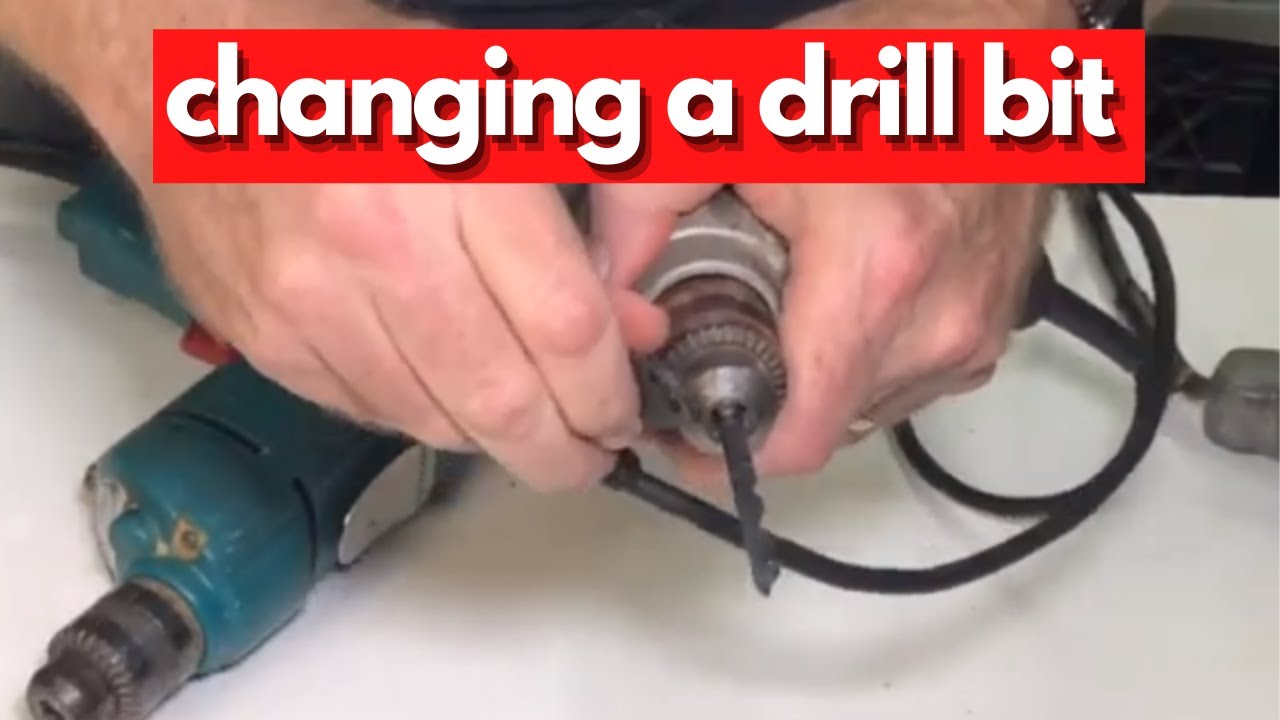
Credit: www.reddit.com
Identify Drill Bit Type
Start by checking the drill bit shape and size. Different bits fit in specific drill chucks. Knowing the type helps remove it safely and easily.
Knowing the drill bit type helps remove it safely from the drill. Different bits have different locking methods. Identifying your bit type prevents damage to the screwdriver.
Drill Master cordless screwdrivers use common bit types. Each type fits in the chuck differently. Recognizing the type speeds up the removal process.
Hex Shank Drill Bits
Hex shank bits have six flat sides. They fit tightly into the screwdriver chuck. Most cordless screwdrivers, including Drill Master, use these bits. To remove, pull the bit straight out after loosening the chuck.
Round Shank Drill Bits
Round shank bits are smooth and cylindrical. They may slip in some chucks. Identify them by their rounded shape. Removing these bits requires loosening the chuck fully before pulling out the bit.
Sds Or Specialized Bits
SDS bits have slots or grooves on their shank. These bits lock securely in hammer drills. Drill Master screwdrivers usually do not use SDS bits. Check your bit’s grooves to confirm its type before attempting removal.
Power Off The Screwdriver
Powering off the Drill Master cordless screwdriver is the first step to remove the drill bit safely. It stops the tool from running unexpectedly. This prevents injury and damage to the drill bit or screwdriver. Always make sure the screwdriver is off before you try to take out the bit.
Turning off the power also helps protect the battery. It avoids draining energy while you work on the tool. This step is quick but very important for safety and tool care.
Locate The Power Switch
Find the power switch on your Drill Master screwdriver. It is usually near the handle or trigger. The switch might be a button or a small lever. Look closely to see how it moves.
Press Or Slide To Power Off
Press the button or slide the switch to the off position. You should feel or hear a click. This confirms the screwdriver is off. If the tool still feels warm or active, check the power switch again.
Double Check The Tool Is Off
Try pressing the trigger after turning off the power. The screwdriver should not move or make noise. If it does, power off again. Never attempt to remove the drill bit if the tool is still on.
Locate The Chuck Mechanism
Start by finding the chuck mechanism on your Drill Master cordless screwdriver. It is the part that holds the drill bit tightly in place. Usually, it is located near the tool’s front end.
What Is The Chuck Mechanism?
The chuck mechanism is the part of the drill that holds the drill bit. It keeps the bit tight and secure during use. Understanding this part helps in removing the bit safely.
Where To Find The Chuck On A Drill Master Cordless Screwdriver
The chuck is located at the front tip of the screwdriver. It looks like a small cylinder or collar. This is where the drill bit enters and locks in place.
How The Chuck Mechanism Works
The chuck tightens around the drill bit by turning it clockwise. To release the bit, turn the chuck counterclockwise. This loosens the grip, allowing the bit to slide out easily.

Credit: www.youtube.com
Release The Drill Bit
Releasing the drill bit from your Drill Master cordless screwdriver is simple. This step helps you change bits quickly and safely. Follow these easy methods to remove the drill bit without damage.
Twist Chuck Collar
Hold the drill firmly. Turn the chuck collar counterclockwise. The collar is the part that holds the bit tight. Keep twisting until the bit loosens. Pull the drill bit out carefully. This method works well for most Drill Master models.
Use Chuck Key If Needed
Some models need a chuck key to unlock the bit. Insert the chuck key into the hole on the chuck. Turn the key counterclockwise. This loosens the grip on the drill bit. Remove the bit gently once it is loose. Store the chuck key safely for future use.
Remove Stuck Drill Bits
Removing a stuck drill bit from your Drill Master cordless screwdriver can be tricky. The bit may get jammed due to dirt, rust, or tight fitting. Handling it carefully helps avoid damage to the tool or bit. Follow these steps to free the drill bit safely and effectively.
Apply Lubricant
Start by applying a small amount of lubricant to the stuck bit. Use oil or a spray lubricant designed for tools. Let it sit for a few minutes. The lubricant helps loosen rust and dirt. It makes the bit easier to turn and remove.
After waiting, try gently twisting the bit by hand. Avoid using too much force. If it still feels stuck, apply a little more lubricant and wait again. Patience is key to avoid breaking the bit or damaging the screwdriver.
Use Pliers Carefully
If lubrication does not work, use pliers to grip the drill bit. Choose pliers with a good grip and firm hold. Hold the bit near the base for better control.
Twist the bit slowly and steadily. Avoid sudden movements or jerks. These can break the bit or damage the screwdriver chuck. If the bit still won’t budge, try tapping the pliers gently with a small hammer to loosen it. Always work with care to protect your tool and yourself.
Credit: www.youtube.com
Maintain Your Cordless Screwdriver
Maintaining your cordless screwdriver helps it work better and last longer. Small care steps stop problems like stuck drill bits. Regular checks keep the tool ready for any job. Follow easy tips to keep your drill running smoothly.
Clean The Chuck Regularly
Dirt and dust build up inside the chuck. This makes it hard to remove drill bits. Use a small brush or cloth to clean the chuck. Remove any debris stuck inside. Clean the chuck after every few uses. This keeps the drill bit holder working well.
Store Properly
Always store your cordless screwdriver in a dry place. Avoid damp or dusty areas that can cause rust. Keep it in its case or a box. This protects the tool and drill bits. Proper storage stops damage and keeps parts clean. A safe place means your screwdriver stays ready.
Frequently Asked Questions
How Do I Safely Remove A Drill Bit From A Drill Master Screwdriver?
To remove the bit safely, first switch off the screwdriver. Hold the chuck firmly, then twist it counterclockwise to loosen. Pull the bit out gently once loose. Always wear protective gloves to avoid injury.
What Tools Help In Removing A Stuck Drill Bit?
If the bit is stuck, use pliers for a better grip. Hold the chuck with one hand and twist the bit out with pliers. Apply gentle pressure to avoid damaging the screwdriver or bit.
Can I Remove The Drill Bit Without Removing The Battery?
Yes, you can remove the bit without detaching the battery. Just ensure the screwdriver is powered off. This prevents accidental starts and keeps the process safe and simple.
How Often Should I Remove And Clean The Drill Bit?
Clean the drill bit after every use or when it shows debris. Regular cleaning improves performance and extends the bit’s lifespan. Use a dry cloth or brush to remove dirt and dust.
Conclusion
Removing a drill bit from your Drill Master cordless screwdriver is simple. Just follow the steps carefully and take your time. Use the correct grip and press the release collar firmly. Avoid forcing the bit out to prevent damage. Regular practice makes the process easier and safer.
Keep your tool clean and store bits properly for longer life. Now, you can change drill bits quickly and continue your projects smoothly. Stay safe and enjoy working with your screwdriver!