
If you’ve got a Genesis cordless drill, knowing how to charge it properly is key to keeping your tools ready when you need them. Imagine starting a project only to find your drill dead and powerless—that’s frustrating, right?
This guide will walk you through simple steps to charge your Genesis cordless drill quickly and safely. By the end, you’ll never have to worry about running out of power mid-task again. Ready to keep your drill charged and working like new?
Let’s dive in.
Genesis Cordless Drill Basics
The Genesis cordless drill is a popular tool for home projects and light work. It offers freedom from cords and easy handling. Understanding its basics helps you use and charge it properly.
This section explains the key features of the Genesis cordless drill and the types of batteries it uses. Knowing these will make charging easier and safer.
Key Features
The Genesis cordless drill is lightweight and easy to carry. It has a variable speed trigger for better control. The drill comes with a built-in LED light to help in dark spaces. It also has a comfortable grip to reduce hand fatigue.
The drill includes a keyless chuck, allowing quick bit changes without tools. It runs quietly and produces less vibration. These features make it ideal for both beginners and experienced users.
Battery Types
Genesis cordless drills use lithium-ion batteries. These batteries charge faster than older types. They hold power longer, so you can work without interruptions.
Lithium-ion batteries are lighter and do not suffer from memory loss. This means you can recharge them at any level without damage. Always use the charger designed for your drill’s battery to keep it safe.
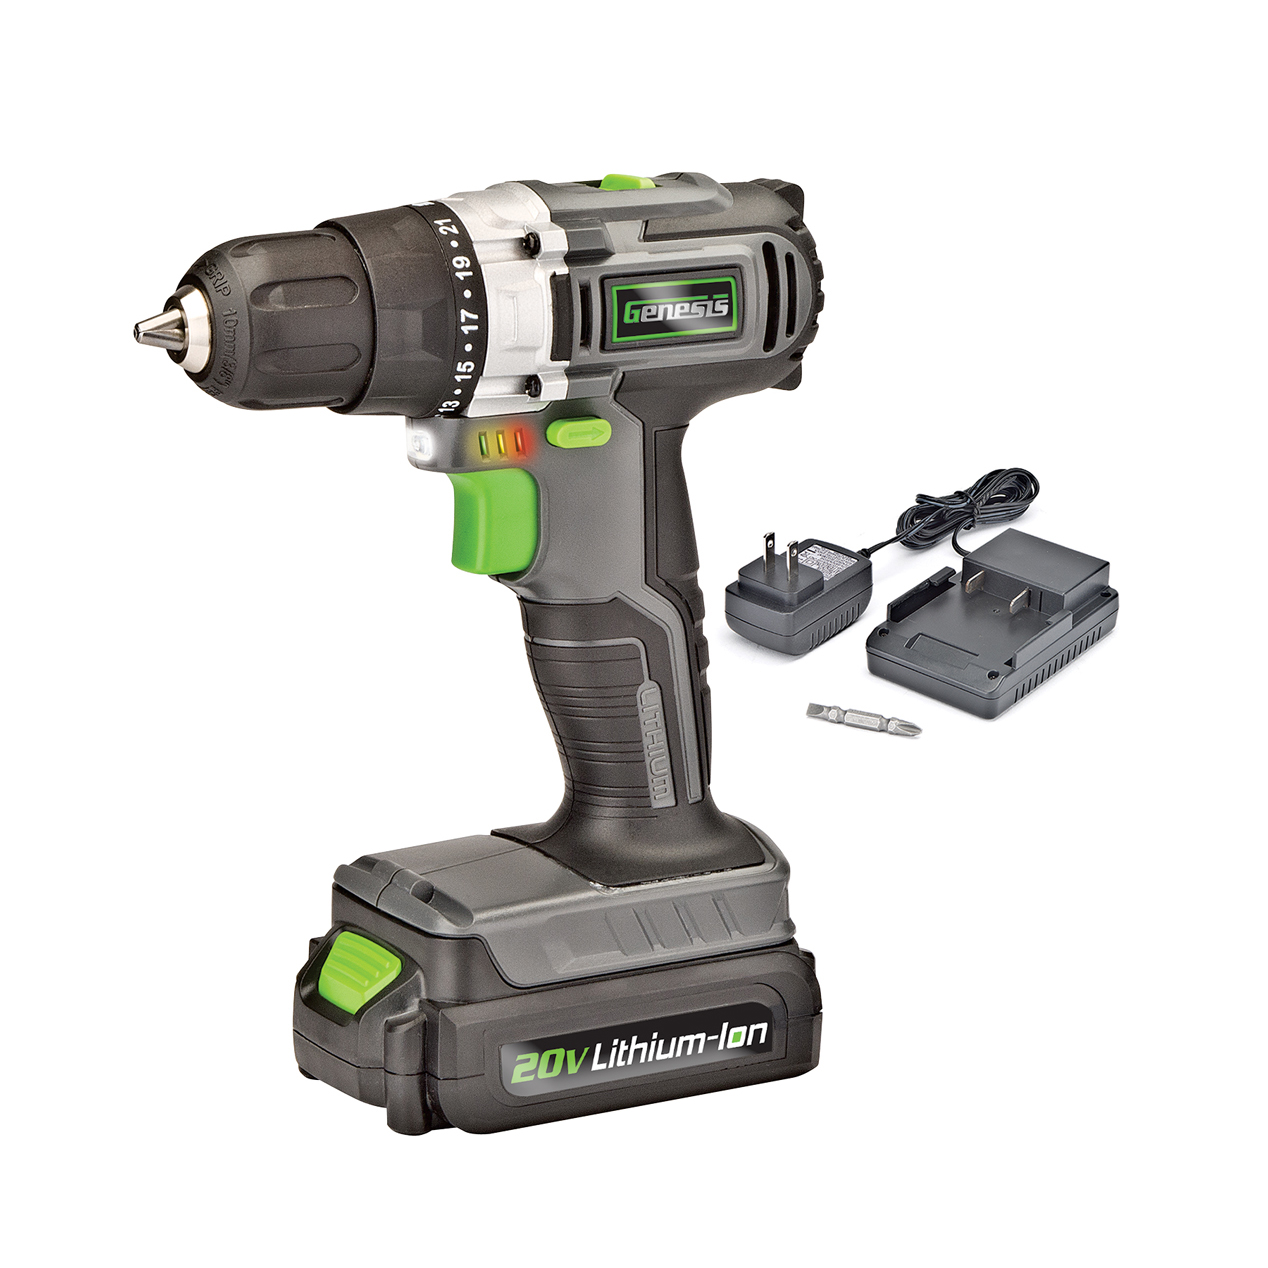
Credit: genesispowertools.com
Preparing For Charging
Preparing your Genesis cordless drill for charging is an important step. It helps keep the battery healthy and the drill ready to use. Taking a few moments to get ready can save time and avoid problems.
Start by making sure you have a clean, dry area for charging. Avoid places with dust or moisture. This keeps the charger and battery safe during the process.
Safety Precautions
Always unplug the charger before connecting the battery. Check the charger and battery for any damage. Cracks or exposed wires can cause hazards.
Keep the drill and charger away from children. Use the charger only with the Genesis drill battery. Using other batteries may cause damage or injury.
Checking Battery Status
Look at the battery indicator on the drill or battery pack. It shows how much charge is left. If the battery is nearly empty, charging is needed.
Remove the battery from the drill before charging. This helps avoid overheating and makes charging safer. Clean any dirt or dust from battery contacts for a better connection.
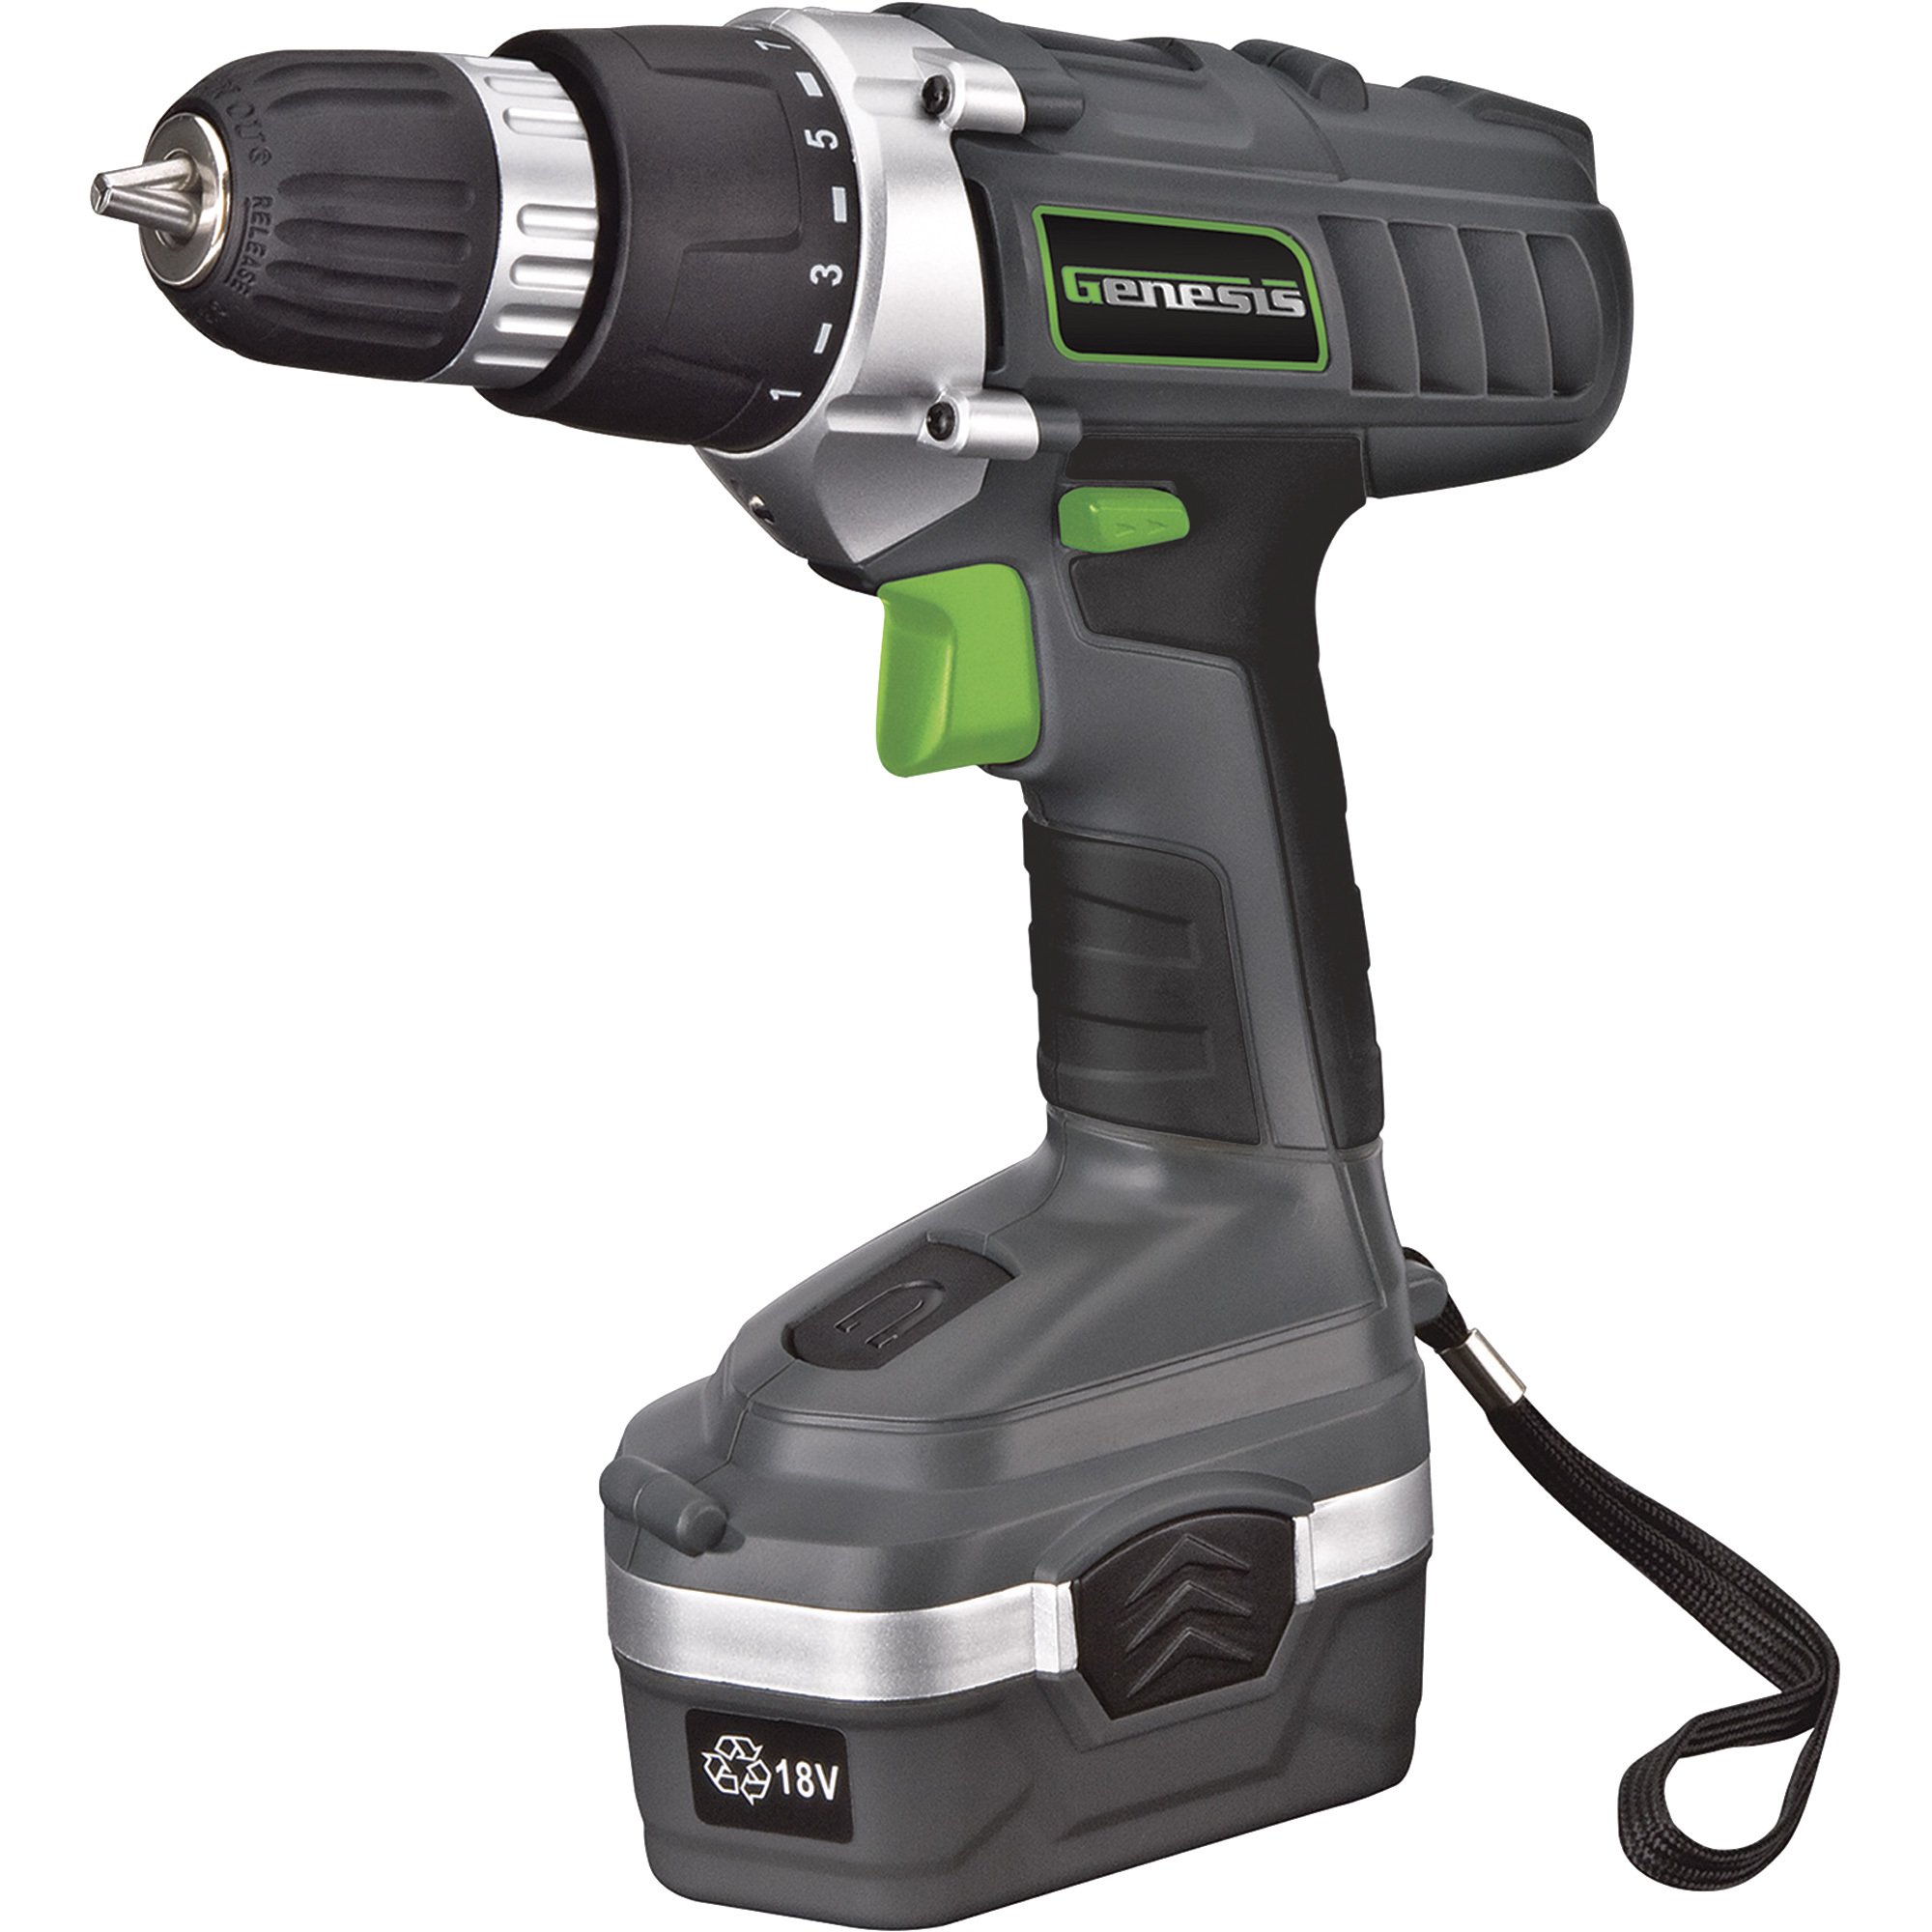
Step-by-step Charging Process
Charging your Genesis cordless drill is simple and quick. Follow these steps to ensure your drill is ready for use. Proper charging keeps the battery healthy and extends its life. Each step helps you charge safely and efficiently.
Connecting The Charger
First, find the charger that came with your drill. Plug the charger into a power outlet. Next, attach the charger to the drill’s battery. Make sure it fits snugly. You will hear a click or feel it lock in place.
Charging Indicators
Look at the charger’s LED lights. A red light usually means charging is in progress. A green light shows the battery is fully charged. If the light blinks, check the user manual. It might mean an error or connection issue.
Optimal Charging Time
Charge the battery for about 1 to 3 hours. Avoid overcharging; it can reduce battery life. Unplug the charger once the light turns green. Use the drill after a full charge for best performance.

Credit: www.przewozcm.eu
Tips For Battery Maintenance
Maintaining the battery of your Genesis cordless drill is key to its long life. Good care helps the battery hold charge and work well over time. Follow simple steps to keep your battery healthy.
Avoiding Overcharge
Do not leave the battery on the charger too long. Overcharging can damage the battery cells. Remove the battery once fully charged. Use the charger that comes with your drill. It prevents overcharging by stopping power flow automatically.
Storage Recommendations
Store the battery in a cool, dry place. Avoid places with high heat or moisture. Do not store the battery fully drained or fully charged. Aim for about 50% charge for storage. Check the battery charge every few months. Recharge if the level is low to keep it healthy.
Troubleshooting Charging Issues
Charging problems with a Genesis cordless drill can stop your work. Troubleshooting helps find the issue fast. This saves time and avoids extra costs. Follow simple steps to check the drill and charger. Understand common problems and when to change the battery. Keep your drill ready for the next project.
Common Problems
The charger does not light up. This often means no power from the outlet. Try plugging the charger into another socket. Loose connections between the charger and battery can cause no charge. Make sure the battery fits tightly in the charger. Dirt or dust on the battery contacts may block charging. Clean contacts gently with a dry cloth. The battery gets hot during charging. This can happen if the charger is faulty or the battery is old. Stop charging and let it cool before trying again. The drill runs but stops quickly. This shows the battery holds little power. The charger may not fully recharge the battery.
When To Replace The Battery
Battery life reduces after many charges. If your drill stops fast, the battery is weak. Swollen or damaged battery cases need immediate replacement. Batteries that do not charge at all are worn out. Check how long the battery lasts after a full charge. If it lasts less than 30 minutes, consider a new battery. Using an old battery risks damaging the drill and charger. Always use batteries recommended by Genesis for safety and performance.
Credit: www.esseg.eu
Frequently Asked Questions
How Do I Charge A Genesis Cordless Drill Battery?
To charge, connect the battery to the Genesis charger. Plug the charger into a power outlet. Wait until the indicator light shows full charge before removing the battery.
How Long Does It Take To Fully Charge The Drill?
Charging time varies but usually takes 1 to 3 hours. Refer to your specific model’s manual for exact timing.
Can I Use The Drill While It’s Charging?
No, avoid using the drill during charging. It can damage the battery and reduce its lifespan.
How Do I Know When The Battery Is Fully Charged?
The charger’s indicator light changes color or turns off when charging completes. Always check the charger’s guide for specific signals.
Conclusion
Charging a Genesis cordless drill is simple and quick. Always use the charger that came with your drill. Connect the battery securely and plug the charger into a power outlet. Watch the indicator light to know when charging is complete.
Avoid overcharging to keep the battery healthy. With proper charging, your drill stays ready for any task. Follow these steps to keep your tool working well. Easy to do, important to remember. Keep your drill powered and ready whenever you need it.