
Is your cordless drill not charging like it used to? You might be wondering if your drill charger is the problem.
Knowing how to determine if your cordless drill charger is not working properly can save you time, money, and frustration. You’ll learn simple, clear steps to check your charger’s condition. By the end, you’ll feel confident about what’s causing the issue and what to do next.
Keep reading to avoid unnecessary replacements and get your drill back to work quickly!
Signs Of A Faulty Drill Charger
Knowing the signs of a faulty drill charger helps save time and money. A bad charger can damage your drill’s battery or stop it from working. Spotting problems early keeps your cordless drill ready for use. Here are common signs to watch for.
No Power Indicator
The charger’s power light does not turn on. No light means no electricity is reaching the charger. This often shows a broken cord or internal fault. Without the power indicator, charging can’t start properly.
Overheating Charger
The charger feels very hot during use. Heat signals a problem inside the charger or battery. Overheating can cause damage and reduce battery life. A normal charger stays cool or slightly warm only.
Slow Or No Charging
The battery takes too long to charge or never fills. A faulty charger sends weak or no power to the battery. Slow charging means the drill won’t hold enough power for work. No charging stops the drill completely.
Unusual Sounds Or Smells
Strange buzzing, clicking, or burning smells come from the charger. These signs show electrical issues or damaged parts inside. Unusual noises or odors mean the charger is unsafe to use. Turn it off and check the charger immediately.

Credit: support.apple.com
Basic Troubleshooting Steps
Basic troubleshooting steps help find out why a cordless drill charger might not work. These simple checks can save time and money before buying a new charger or battery. Follow these steps carefully to spot any issues and fix them fast.
Check Power Source
Make sure the power outlet is working. Plug in a lamp or another device to test the socket. Avoid using power strips or extension cords. Use a direct wall outlet to rule out power issues.
Inspect Charger And Cable
Look closely at the charger and cable for damage. Check for cracks, frayed wires, or bent plugs. Clean the charger contacts with a dry cloth. Dust or dirt can stop charging.
Test With Another Battery
Try charging a different battery using the same charger. This helps find out if the problem is the battery or charger. If the second battery charges well, the first battery may be bad.
Resetting The Charger
Unplug the charger and wait for about 10 minutes. Plug it back in and try charging again. Some chargers reset internally after being unplugged. This can fix minor electronic glitches.
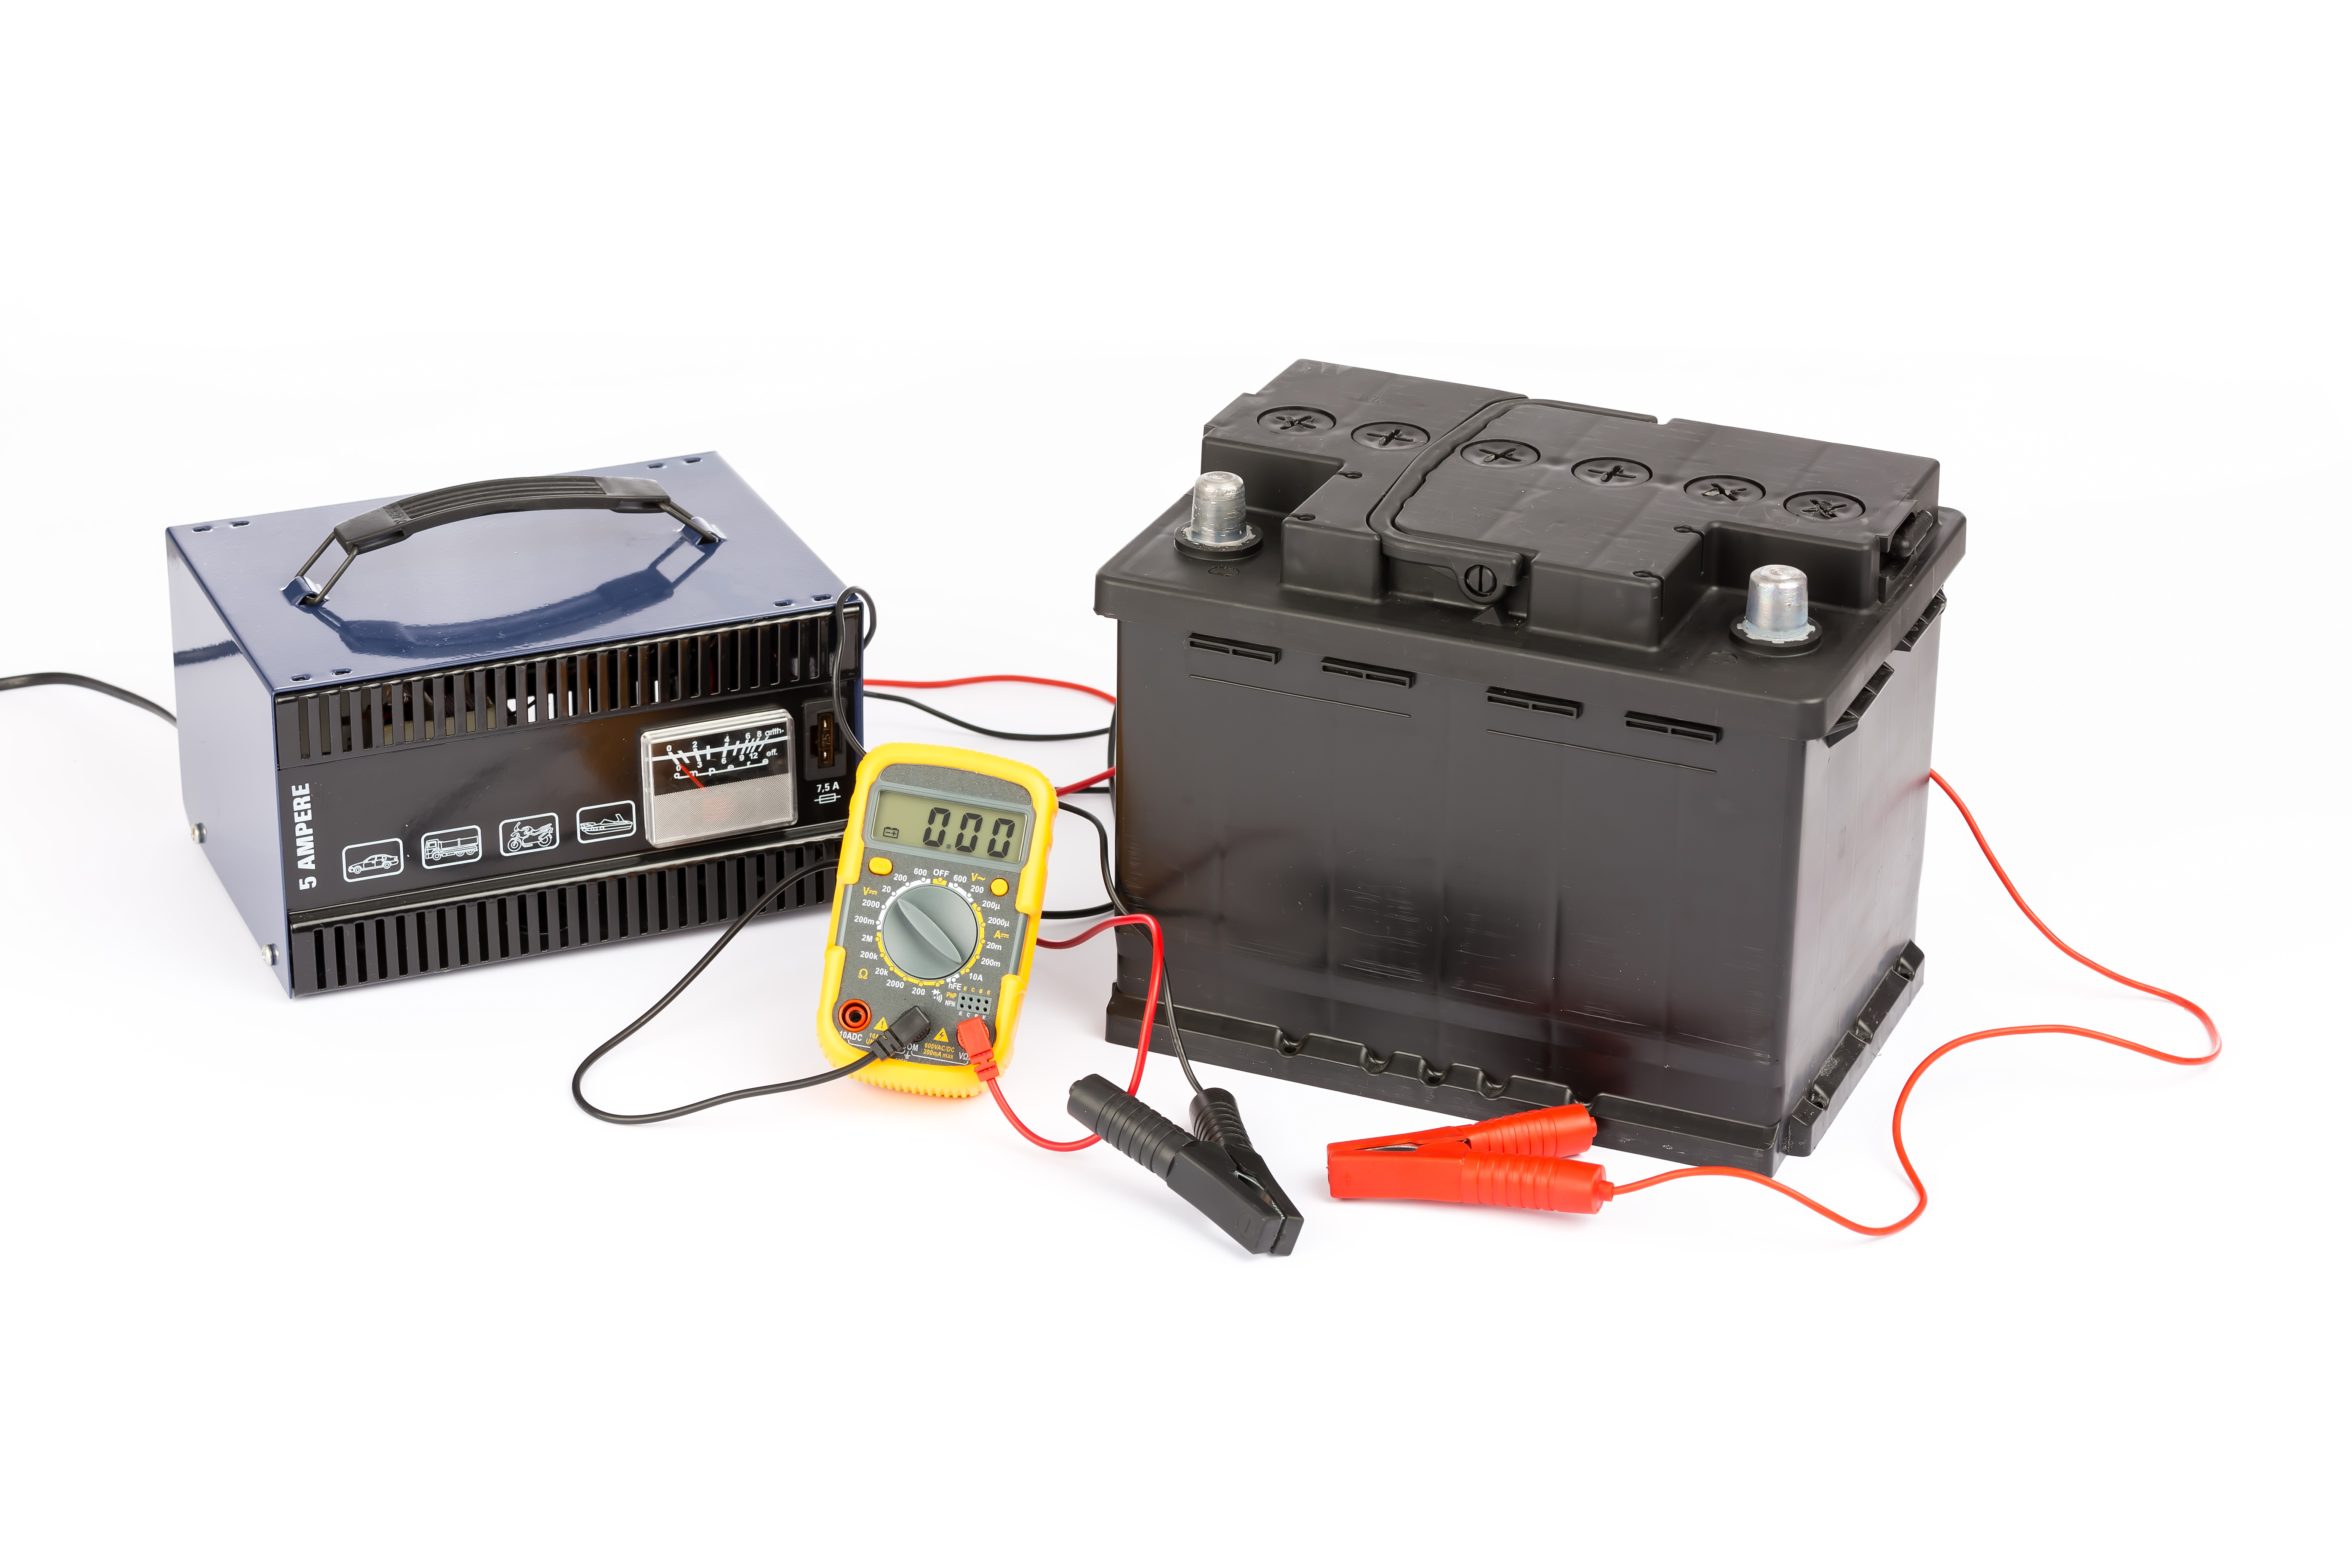
Using A Multimeter To Test Charger
Using a multimeter is a simple way to check if your cordless drill charger is working. This tool helps measure electrical values like voltage and continuity. It also helps find broken parts inside the charger. You do not need special skills to use a multimeter for this test. Just follow some clear steps to understand the charger’s condition.
Measuring Output Voltage
First, set the multimeter to measure voltage. Connect the multimeter probes to the charger’s output terminals. The screen will show the voltage level. Compare this with the voltage listed on the charger label. A big difference means the charger might be bad. No voltage or very low voltage suggests a problem inside the charger.
Checking For Continuity
Next, switch the multimeter to continuity mode. Place the probes on charger wires or circuit points. A beep or low resistance reading means good continuity. No beep or very high resistance shows a broken connection. This test helps find loose wires or broken circuits in the charger.
Identifying Faulty Components
Use the multimeter to test parts like fuses or diodes inside the charger. Remove the charger cover carefully. Check each part by placing the probes on their ends. A faulty component will show no continuity or wrong voltage. Replace bad parts to fix the charger or decide if you need a new one.
Credit: discoverbattery.com
Quick Fix Tips For Minor Issues
Quick fixes can solve many small problems with cordless drill chargers. These tips help save time and avoid unnecessary expenses. Try these simple steps before thinking about replacement or repair.
Cleaning Charger Contacts
Dirt or corrosion can stop the charger from working well. Use a soft cloth or a small brush to clean the contacts. Make sure the charger is unplugged before cleaning. Clean contacts improve the connection and charging speed.
Securing Loose Connections
Loose wires or plugs can cause charging issues. Check the power cord and plug for any looseness. Push the connectors firmly into place. Tight connections help the charger deliver power properly.
Cooling Overheated Chargers
Chargers get hot during use. Overheating can stop charging or damage the charger. Turn off the charger and let it cool for 15 to 30 minutes. Use the charger in a cool, ventilated area to prevent overheating. This helps the charger work longer and better.
When To Replace Your Charger
Knowing when to replace your cordless drill charger helps keep your tools working well. A charger that no longer works correctly can slow down your projects. It can also cause problems with your drill’s battery. Watch closely for signs that the charger needs changing. Act quickly to avoid damage or safety risks.
Signs Beyond Repair
Look for cracks or broken parts on the charger. Frayed or exposed wires are a clear warning. If the charger does not power on or charge the battery, it might be broken. Overheating during use is another sign. Strange smells or noises mean the charger is unsafe. These problems usually mean the charger cannot be fixed.
Safety Considerations
Using a damaged charger can cause electric shocks or fires. Never ignore sparks or a burning smell. Stop using the charger immediately if it feels hot or makes odd sounds. Always unplug the charger before inspecting it. Keep children and pets away from faulty chargers. Safety should always come first with electrical tools.
Choosing A Compatible Replacement
Pick a charger made for your drill’s brand and model. Check the voltage and power ratings match your battery. Using the wrong charger may damage the battery or tool. Buy from trusted stores or the manufacturer’s website. Read user reviews to ensure reliability. A good replacement charger will last longer and work safely.

Credit: www.youtube.com
Frequently Asked Questions
How Can I Test If My Cordless Drill Charger Is Faulty?
To test your charger, check if the indicator light powers on. Use a multimeter to measure output voltage. If no voltage or abnormal readings appear, the charger is likely faulty and needs replacement.
What Are Common Signs Of A Bad Cordless Drill Charger?
Common signs include no charging light, slow battery charging, or no power delivery. Overheating and unusual noises also indicate charger issues. These signs mean the charger may be damaged or worn out.
Can A Cordless Drill Battery Cause Charger Problems?
Yes, a damaged battery can prevent proper charging. Test the battery separately to rule out charger faults. Sometimes, replacing the battery fixes charging issues without changing the charger.
How Often Should I Replace My Cordless Drill Charger?
Replace your charger if it fails testing or shows physical damage. Typically, chargers last several years but depend on usage and care. Regular inspection helps ensure safe and efficient charging.
Conclusion
Knowing if your cordless drill charger is bad saves time and money. Check for signs like no charging light or slow charging. Test the charger with a multimeter for accuracy. Clean the contacts to avoid false problems. Replace the charger if it shows clear damage or won’t charge.
Keeping your tools working well helps finish jobs faster. Take simple steps to keep your drill ready. Trust your observations and act quickly for best results.