
Is your Makita cordless drill acting up just when you need it most? You’re not alone.
When your trusted tool stops working, it can bring your project to a halt and cause frustration. But before you rush to buy a new one, there’s a good chance you can fix it yourself. In this guide, you’ll discover simple, step-by-step solutions to get your Makita cordless drill back in action quickly.
Keep reading to save time, money, and stress—your drill’s full power is closer than you think.

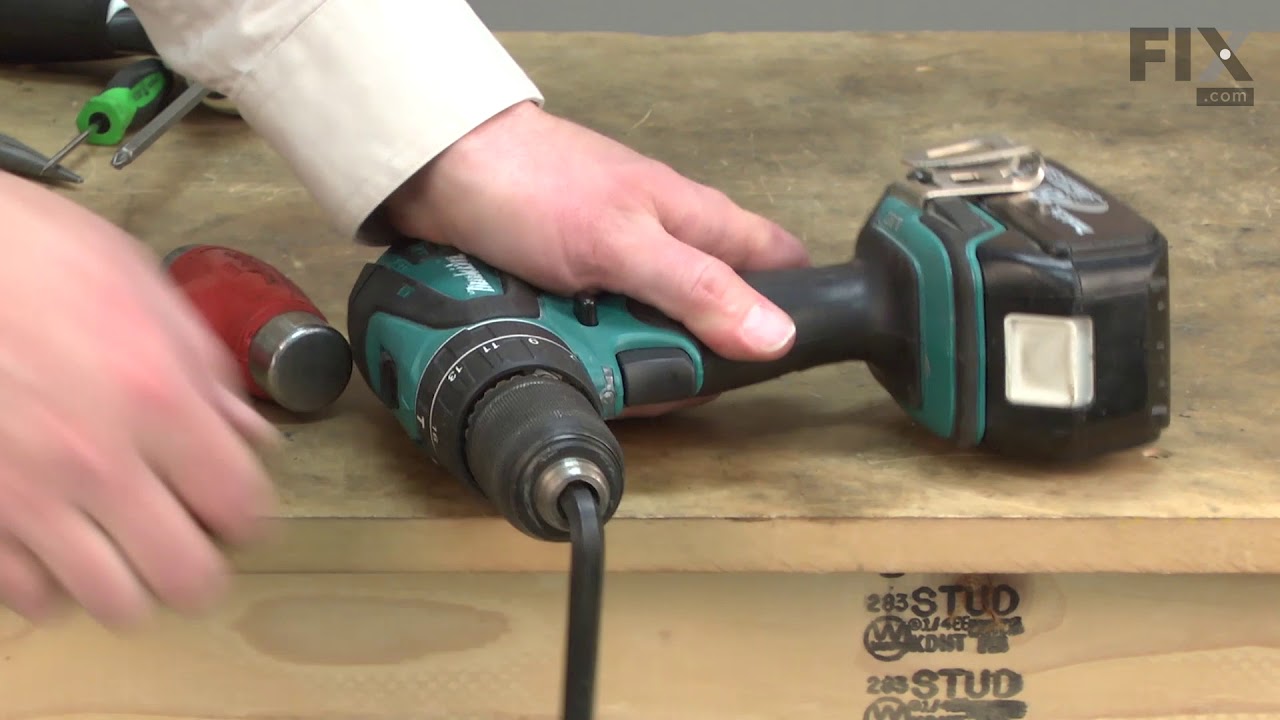
Credit: www.youtube.com
Common Issues With Makita Cordless Drills
Makita cordless drills are popular for their power and convenience. Yet, users often face some common problems. Knowing these issues helps in quick fixes and better tool care.
Most problems fall into four main areas. These include battery problems, motor malfunctions, trigger and switch issues, and chuck and bit problems. Each affects how the drill works and needs attention to keep the drill running well.
Battery Problems
Batteries lose charge or fail to hold power over time. A dead battery stops the drill from working. Sometimes, poor contact between battery and drill causes power loss. Charging issues can also damage the battery. Cleaning battery terminals may help. Replacing old batteries is often necessary for good performance.
Motor Malfunctions
The motor can overheat or stop working suddenly. Dust and debris inside the motor block its parts. Worn brushes reduce motor power and speed. Strange noises might mean motor damage. Regular cleaning and checking brushes can avoid motor failure. A faulty motor may need professional repair or replacement.
Trigger And Switch Issues
The trigger controls drill speed and power. A broken trigger can stop the drill or cause it to run uncontrollably. Switch contacts wear out with use, leading to poor connection. Dirt inside the trigger or switch causes malfunction. Cleaning or replacing these parts restores proper control.
Chuck And Bit Problems
The chuck holds the drill bit in place. A loose or jammed chuck makes drilling unsafe. Bits can slip or fall out during use. Dirt or rust in the chuck prevents it from tightening well. Regular cleaning and lubricating keep the chuck working smoothly. Replacing a damaged chuck or bit is needed sometimes.
Credit: www.fix.com
Essential Tools For Repair
Fixing a Makita cordless drill needs the right tools. Using proper tools makes repair easier and safer. It helps find problems fast and saves time. Below are key tools you will need to repair your drill effectively.
Screwdrivers And Wrenches
Screwdrivers and wrenches help open the drill’s casing. Different screws need different screwdriver heads. Phillips and flathead screwdrivers are common types for drills. Wrenches help remove bolts and nuts inside the drill. Having a set with various sizes covers most needs. Use these tools carefully to avoid damage.
Multimeter For Electrical Testing
A multimeter checks electrical parts inside the drill. It measures voltage, current, and resistance. This tool helps find broken wires or bad batteries. Testing switches and motors becomes simple with a multimeter. It ensures the drill’s electrical system works properly. Always test parts before replacing them to save money.
Lubricants And Cleaning Supplies
Lubricants keep moving parts smooth and prevent wear. Use light oil or spray lubricant for gears and joints. Cleaning supplies remove dust, dirt, and old grease. Soft brushes and cloths work well for cleaning. Clean parts help the drill run better and last longer. Regular maintenance stops future breakdowns.
Step-by-step Battery Troubleshooting
Troubleshooting your Makita cordless drill battery helps you save time and money. Follow these steps to identify and fix common battery problems. Each step targets key battery issues for better drill performance.
Checking Battery Charge
Start by checking if the battery holds a charge. Place the battery in the charger and watch the indicator light. A green or blue light means the battery is charged. A red or no light means the battery may be dead or not charging. Test the battery with a multimeter to check voltage. A healthy battery usually shows close to its rated voltage.
Cleaning Battery Contacts
Dirty contacts can stop the battery from working properly. Remove the battery from the drill. Use a clean cloth or a small brush to wipe the metal contacts on the battery and drill. Make sure there is no dirt, dust, or rust. Clean contacts improve the connection and power flow between the battery and drill.
Replacing A Faulty Battery
If the battery does not charge or hold power, it may be faulty. Try charging a different battery to see if the drill works. If it does, replace the old battery with a new one. Choose a battery that matches your Makita drill model. Proper replacement ensures your drill runs smoothly and lasts longer.
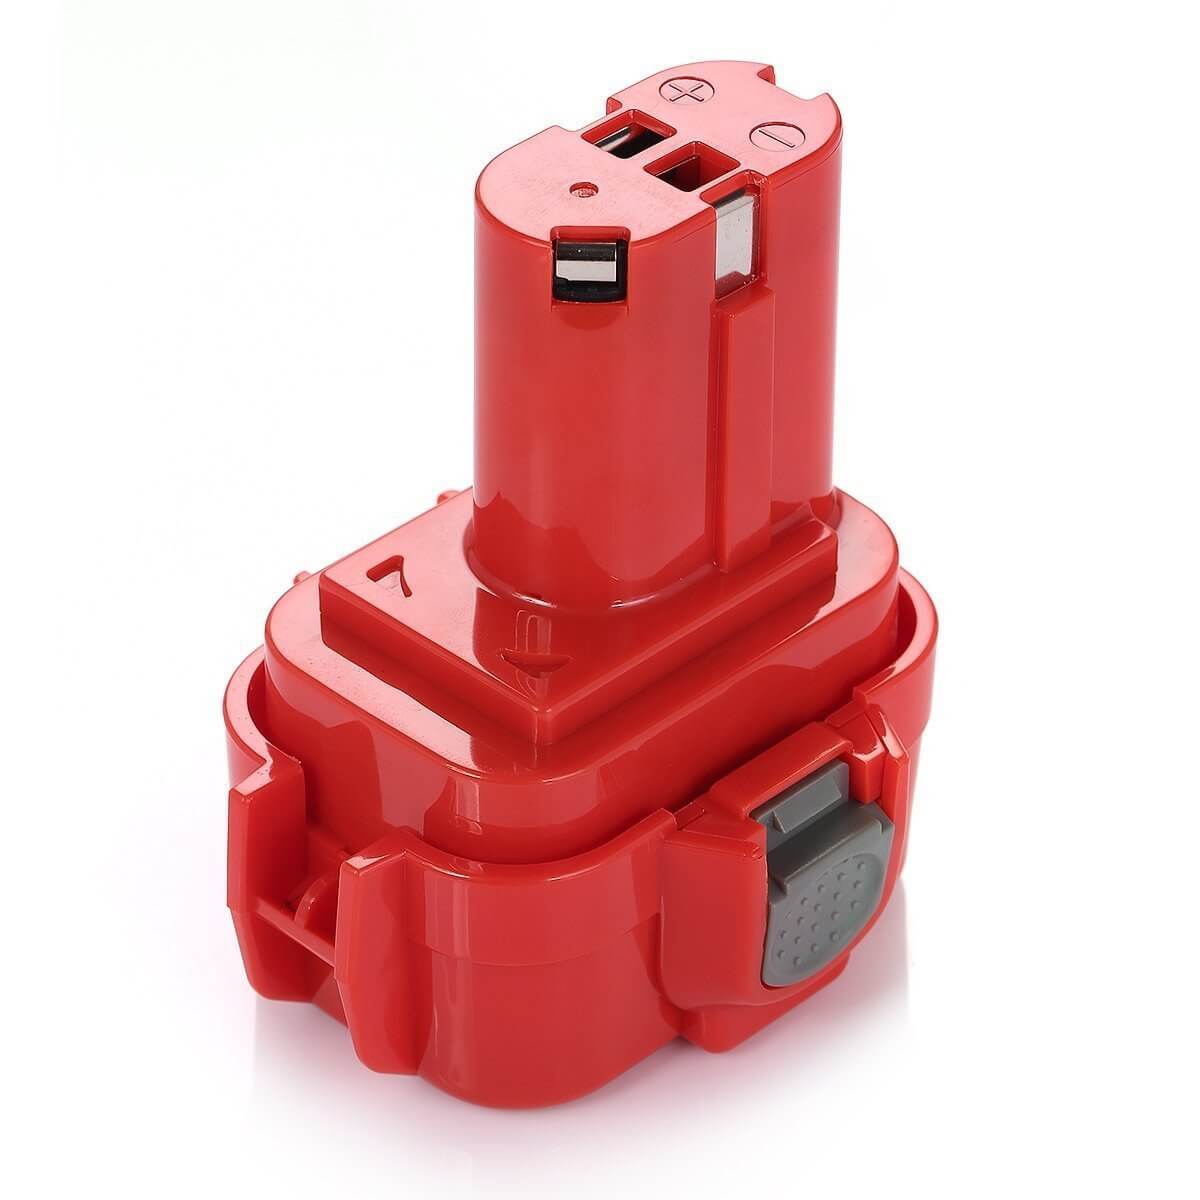
Credit: www.mtobattery.com
Fixing Motor And Electrical Faults
Fixing motor and electrical faults in a Makita cordless drill can bring it back to life. Many common problems come from motor or wiring issues. Understanding these faults helps in easy and safe repair.
Start by checking the motor and its parts. Often, worn brushes or loose wires cause trouble. Careful inspection and basic tools can solve many problems without costly replacements.
Testing The Motor
First, remove the drill’s outer casing. Look for dirt or damage on the motor. Use a multimeter to check motor continuity. No continuity means the motor may be faulty. Spin the motor shaft by hand to feel resistance. Rough spinning indicates worn bearings or dirt. Clean the motor carefully if dirty. Test the motor again after cleaning. If the motor fails tests, replacement is necessary.
Inspecting And Replacing Brushes
Brushes are small carbon pieces that connect electricity to the motor. Open the brush holders and check brush length. Short or cracked brushes need replacement. Brushes wear out after heavy use. Remove old brushes gently to avoid damage. Insert new brushes and secure them tightly. Test the drill to ensure smooth operation after replacement. Brush replacement often fixes motor sparking and power loss.
Repairing Wiring Connections
Loose or broken wires cause electrical faults. Inspect all wiring inside the drill for damage. Look for burnt or frayed wires near the motor and switch. Use a soldering iron to fix broken connections. Replace wires that are badly damaged. Secure wires with electrical tape or shrink tubing. Double-check connections are tight and safe. Proper wiring repair restores power and stops sparks.
Repairing Trigger And Switch Problems
Fixing trigger and switch problems in a Makita cordless drill is key to restoring its function. These parts control power flow and speed. Faulty triggers or switches often cause the drill to stop working or run unevenly.
Basic repairs can save money and extend tool life. Careful diagnosis and cleaning often solve common issues. Replacing parts is simple with the right steps.
Diagnosing Switch Failures
Start by checking the drill’s behavior. Does it fail to start or cut out unexpectedly? These signs point to switch failure. Use a multimeter to test the switch for continuity. No continuity means the switch is faulty. Also, inspect for physical damage or wear on the switch and trigger. Loose wires or burnt contacts can cause failure.
Replacing The Trigger Switch
Unplug or remove the battery before starting. Remove the drill casing carefully. Note the trigger switch location and wiring setup. Disconnect wires from the old switch. Install the new trigger switch in the same position. Reconnect all wires firmly. Snap the casing back and test the drill. The trigger should respond smoothly and power the motor.
Cleaning Electrical Contacts
Dirty or corroded contacts block electricity flow. Open the drill casing and locate contacts near the trigger and switch. Use a small brush and contact cleaner to remove dirt and corrosion. Gently wipe with a clean cloth. Clean contacts improve electrical connection and switch performance. Reassemble and check if the drill works better.
Maintaining The Chuck And Drill Bits
Maintaining the chuck and drill bits is key to keeping your Makita cordless drill working well. The chuck holds the drill bits tightly. Dirt or wear can cause problems. Well-maintained drill bits cut better and last longer.
Regular checks and care help avoid issues. Clean parts and fix small problems early. This saves time and money on repairs.
Tightening Or Replacing The Chuck
Check the chuck often for looseness. A loose chuck causes bits to slip while drilling. Use the chuck key or hand tighten it firmly. If it won’t tighten, the chuck might need replacing. Remove the old chuck by unscrewing it from the drill. Buy a new chuck that fits your Makita model. Install it by screwing it in place. Test it to ensure it holds bits tightly.
Removing Jammed Bits
Bits can get stuck in the chuck. This stops the drill from working properly. First, turn off the drill and remove the battery. Use pliers to grip the bit carefully. Wiggle the bit gently to loosen it. Avoid forcing it hard to prevent damage. If the bit still won’t come out, try applying a little oil. Let it sit for a few minutes, then try again.
Lubricating Moving Parts
Lubrication keeps the chuck and drill parts moving smoothly. Use light machine oil or grease made for power tools. Apply a small amount to the chuck and moving parts. Rotate the chuck to spread the lubricant inside. Clean off any extra oil to avoid dirt buildup. Regular lubrication prevents rust and reduces wear on parts.
Safety Tips During Repairs
Fixing a Makita cordless drill requires care and attention to safety. Handling tools and electrical parts can be risky without proper precautions. Follow these safety tips to protect yourself during repairs. Stay alert and avoid accidents by preparing your workspace and wearing the right gear.
Disconnecting Power Sources
Always remove the battery before starting any repair. This stops the drill from turning on by mistake. Check the drill twice to confirm it is off. Never try to fix the drill while it is connected to power.
Using Protective Gear
Wear safety glasses to protect your eyes from dust and debris. Use gloves to avoid cuts and scrapes on your hands. Keep your clothes tight to prevent them from getting caught in the drill parts.
Working In A Safe Environment
Choose a clean, dry place with good lighting. Keep your work area free of clutter and distractions. Use a stable surface to hold the drill steady during repair. Make sure children and pets stay away from your workspace.
Frequently Asked Questions
How To Troubleshoot A Makita Cordless Drill Not Starting?
Check the battery charge first. Ensure the battery is properly connected. Inspect the trigger switch for damage. Clean any dust inside the drill. Replace faulty parts or battery if needed.
What Causes Makita Cordless Drill To Lose Power?
Battery age or damage often causes power loss. Dirty contacts and worn brushes also reduce power. Always use fully charged, compatible batteries for best performance.
How To Fix A Makita Drill That Won’t Hold A Charge?
Replace old or damaged batteries. Clean battery terminals and charging contacts. Use the correct charger model. Avoid overcharging to extend battery life.
Why Is My Makita Cordless Drill Overheating?
Overheating occurs from prolonged use or heavy load. Allow the drill to cool between uses. Check for blocked ventilation and clean dust regularly.
Conclusion
Fixing your Makita cordless drill can save time and money. Start by checking the battery and connections. Clean the drill parts regularly to avoid problems. Replace worn-out components carefully. Test the drill after each fix to ensure it works well.
Stay patient and follow safety steps during repairs. Small fixes can extend your drill’s life significantly. Keep this guide handy for quick troubleshooting. Your drill will be ready to tackle projects again soon.