
If you’ve ever run out of battery in the middle of a project, you know how frustrating it can be. What if you could power your cordless drill directly, so you never have to stop and wait for a charge again?
Learning how to hardwire a cordless drill can save you time, keep your work steady, and give you more control over your tools. In this guide, you’ll discover simple, step-by-step instructions that make the process easy—even if you’re not an expert.
Ready to take your drill’s power to the next level? Keep reading and unlock the secret to endless drilling.
Tools And Materials Needed
Hardwiring a cordless drill requires specific tools and materials. Having the right items makes the process safe and smooth. Prepare all tools before starting to save time and avoid interruptions.
Use tools that fit the job. The wrong tools can cause damage or injury. Choose materials that match your drill’s specifications.
Basic Hand Tools
You need screwdrivers to open the drill casing. A wire stripper helps remove insulation from wires. Pliers assist in bending and holding wires. A utility knife may be useful for cutting electrical tape or wires.
Electrical Components
Use insulated wire suitable for power connections. Electrical tape insulates the wires after connection. A wire connector or terminal block ensures secure joining. Heat shrink tubing adds extra protection around connections.
Power Source And Adapter
Choose a power adapter that matches the drill’s voltage. A power cord with a plug connects the adapter to the outlet. Ensure all power parts meet safety standards for your area.
Safety Gear
Wear safety goggles to protect your eyes from debris. Use insulated gloves to avoid electric shocks. Work in a well-lit, dry area to reduce accidents.

Credit: www.youtube.com
Safety Precautions
Safety is the top priority when hardwiring a cordless drill. Taking the right precautions protects you from accidents and damage. Understanding the risks helps you work with confidence.
Before starting, make sure to prepare your workspace properly. Clear the area of any clutter. Keep children and pets away. Work in a dry place to avoid electric shocks.
Turn Off The Power Supply
Always switch off the main power before working on electrical parts. Use a voltage tester to confirm no electricity is running. This step prevents electric shocks and injury.
Wear Protective Gear
Wear safety goggles to protect your eyes from sparks. Use insulated gloves to avoid electric shocks. Choose sturdy clothing that covers your arms and legs.
Use The Right Tools
Only use tools made for electrical work. Insulated screwdrivers and wire strippers reduce the risk of electric shock. Avoid makeshift tools that can cause accidents.
Check For Damaged Parts
Inspect wires and connectors for any damage before starting. Do not use frayed or broken wires. Replace damaged parts to ensure safety and proper function.
Work In A Well-lit Area
Good lighting helps you see what you are doing clearly. This reduces mistakes and accidents. Use a bright lamp or natural daylight for best results.
How Cordless Drills Work
Cordless drills are common tools for home and work projects. They use a battery to power the drill. This battery stores electrical energy to run the motor.
The drill motor turns the drill bit. This helps to drill holes or drive screws. The cordless design makes it easy to use anywhere.
Battery And Power Source
The battery provides the cordless drill with energy. Most use lithium-ion batteries. They last long and recharge quickly. The battery voltage affects the drill’s power.
Electric Motor
The motor changes electrical energy into mechanical motion. It spins the drill bit fast. More voltage means more speed and force.
Trigger And Speed Control
The trigger turns the drill on and off. Pressing it controls the speed. Light press means slow spin, full press means fast spin.
Chuck And Drill Bit
The chuck holds the drill bit tightly. It turns with the motor. Changing the bit allows drilling or screwing different materials.
Why Hardwire A Cordless Drill
Hardwiring a cordless drill means connecting it directly to a power source. This removes the need for batteries. Many people choose this method for several reasons. It can make the drill more reliable and ready to use at any moment.
Power tools often face battery issues. Batteries lose charge and need regular replacement. Hardwiring solves these problems by giving constant power. This helps keep the drill working without breaks.
Improved Power Consistency
Hardwiring provides steady power to the drill. Batteries can lose power quickly. Hardwiring avoids power drops. This keeps the drill running at full strength.
Cost Savings Over Time
Buying and charging batteries costs money. Batteries wear out and need replacement. Hardwiring removes these ongoing costs. It can save money in the long run.
More Work Time Without Interruptions
Batteries run out and stop work. This causes delays and frustration. Hardwired drills run continuously. No need to stop for charging breaks.
Better For Heavy-duty Jobs
Heavy jobs need strong, lasting power. Battery power may not last long enough. Hardwiring gives the drill constant energy. It suits tough and long tasks better.
Preparing The Drill For Hardwiring
Preparing the drill for hardwiring is an important first step. It helps ensure safety and proper function. This process involves checking the drill, removing its battery, and accessing the internal wiring. Taking these steps carefully prevents damage and keeps you safe.
Each step must be done with care. This section guides you through the necessary preparations before you start hardwiring your cordless drill.
Remove The Battery And Power Source
Start by taking out the battery from the drill. This stops any power from flowing. It prevents electric shocks and short circuits. Make sure the drill is completely off before removing the battery.
Open The Drill Housing
Use the correct screwdriver to remove the screws holding the housing. Keep the screws in a safe place. Carefully separate the two halves of the drill casing. Avoid pulling hard to not break any parts.
Locate The Internal Wiring
Look inside the drill to find the wires connected to the motor and trigger. Identify the positive and negative wires. These will be important for hardwiring. Note their positions or take a photo for reference.
Wiring Basics For Diy
Wiring a cordless drill can seem tricky at first. Understanding the basics helps you avoid mistakes. This section covers simple wiring concepts for DIY projects. You will learn about power sources, cables, and connectors. These basics make your work safer and more effective.
Identifying Power Sources
Know where your drill gets power. Most cordless drills use batteries. These batteries are often lithium-ion or nickel-cadmium. You can also use an external power supply. Check the voltage and current requirements. Using the wrong power source can damage your drill.
Selecting The Right Cable
Choose cables that fit your power needs. Use cables that can handle the drill’s voltage. The cable thickness matters. Thicker cables carry more power without overheating. Avoid cheap or thin cables. They can cause short circuits or fires.
Understanding Connectors
Connectors link the power source and the drill. Pick connectors that fit tightly and securely. Loose connections cause sparks or power loss. Common connectors include barrel plugs and spade terminals. Match connectors to your drill’s input and power supply output.
Step-by-step Hardwiring Process
Hardwiring a cordless drill can make it more reliable for long tasks. This process involves opening the drill, connecting wires, and testing it. Follow these steps carefully to ensure safe and proper wiring.
Opening The Drill Housing
Unplug the drill battery before starting. Use a screwdriver to remove screws on the drill’s outer shell. Gently separate the two halves of the housing. Avoid forcing the parts apart to prevent damage. Set the screws and housing pieces aside safely.
Connecting The Wires
Locate the drill’s internal wires connected to the battery terminals. Identify the positive and negative wires by their color coding. Strip a small section of insulation from each wire. Twist the exposed ends tightly for a good connection. Use wire connectors or solder the wires together firmly. Ensure no loose strands can cause a short circuit.
Securing The Connections
Wrap the wire joints with electrical tape for safety. Use heat shrink tubing if available for better protection. Make sure the wires do not touch any moving parts. Tuck the wires neatly inside the housing. Reassemble the drill shell carefully, aligning all parts properly. Tighten the screws to hold the housing firmly.
Testing The Drill
Reconnect the battery pack to the drill. Turn on the drill and check for smooth operation. Listen for unusual sounds or irregular motor function. If the drill runs well, the hardwiring is successful. If not, open the housing and check the connections again. Always test in a safe area away from hazards.
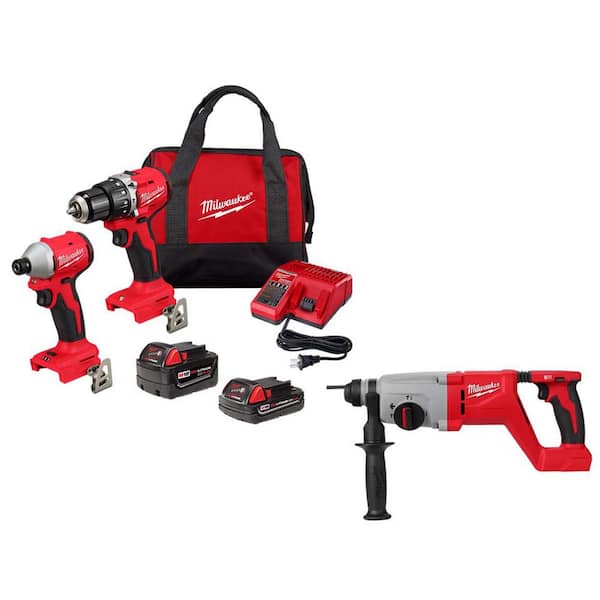
Credit: www.homedepot.com
Troubleshooting Common Issues
Troubleshooting is key when hardwiring a cordless drill. Problems can slow your work or stop it completely. Knowing common issues helps fix them fast. It saves time and prevents damage. Here are some frequent problems and easy solutions.
Checking Power Connection
Power issues are common during hardwiring. Make sure wires connect tightly. Loose wires cause no power or sparks. Use a screwdriver to tighten connections. Look for broken or frayed wires. Replace damaged wires before use.
Testing The Drill Switch
The drill switch controls power flow. A faulty switch stops the drill from working. Test the switch with a multimeter for continuity. Replace it if it shows no connection. Clean switch contacts to remove dirt and dust.
Inspecting The Battery Terminals
Battery terminals must be clean and secure. Dirt or corrosion blocks electricity flow. Use a small brush to clean terminals. Tighten loose battery contacts. Check for damaged terminal connectors and replace them.
Verifying The Motor Function
The motor needs proper wiring to run. Check wires leading to the motor for breaks. Listen for unusual sounds during operation. A buzzing sound may mean wiring issues. Replace the motor if it does not run after fixing wires.
Maintenance Tips For Hardwired Drills
Maintaining a hardwired cordless drill keeps it working well for years. Small care steps protect the drill’s parts and improve safety. Regular checks and cleaning prevent problems before they start.
Simple maintenance helps the drill run smoothly and last longer. This section covers easy tips to keep your hardwired drill in top shape.
Clean The Drill After Use
Dust and dirt can build up inside the drill. Wipe the drill with a dry cloth after each use. Use a small brush to remove dust from vents and crevices. Keep the drill dry to stop rust and damage.
Check The Power Cord Regularly
Look for cuts, cracks, or frays on the power cord. A damaged cord can cause electric shocks or stop the drill from working. Replace the cord if it shows any damage. Avoid pulling the cord to unplug the drill.
Lubricate Moving Parts
Use a light machine oil to keep gears and moving parts smooth. Apply a small amount of oil to the drill chuck and other joints. Wipe off any extra oil to avoid dirt sticking to it.
Tighten Loose Screws And Parts
Check screws and bolts on the drill regularly. Tighten any that feel loose. Loose parts can cause the drill to shake or stop working properly. Use the right tools to avoid damage.
Store The Drill Properly
Keep the drill in a dry, cool place away from dust. Avoid places with high heat or moisture. Use a case or cover to protect the drill when not in use. Proper storage stops damage and keeps the drill ready.
Alternatives To Hardwiring
Hardwiring a cordless drill is not the only way to power it. Several alternatives can offer convenience and flexibility. These options do not require permanent electrical work or modifications.
Each alternative has its pros and cons. Choosing depends on your needs, budget, and skill level.
Using A Battery Adapter
A battery adapter allows you to use a different power source. It connects the drill to a standard battery pack or a power bank. This method keeps the drill cordless but extends its run time. Battery adapters are easy to find and simple to install.
Employing A Power Inverter
A power inverter converts DC power from a car or solar panel into AC power. It can power your drill using a car battery or portable solar setup. This option is useful for outdoor projects without access to outlets. Power inverters vary in size and power output.
Using A Portable Generator
A portable generator provides a reliable power source for your drill. It offers high power output and mobility. Generators are ideal for job sites or remote areas. They require fuel and regular maintenance but offer long-lasting power.
Charging Spare Batteries
Keeping extra batteries charged is a practical alternative. Swap batteries quickly when one runs out. This method maintains drill portability and avoids downtime. Spare batteries are affordable and easy to carry on site.
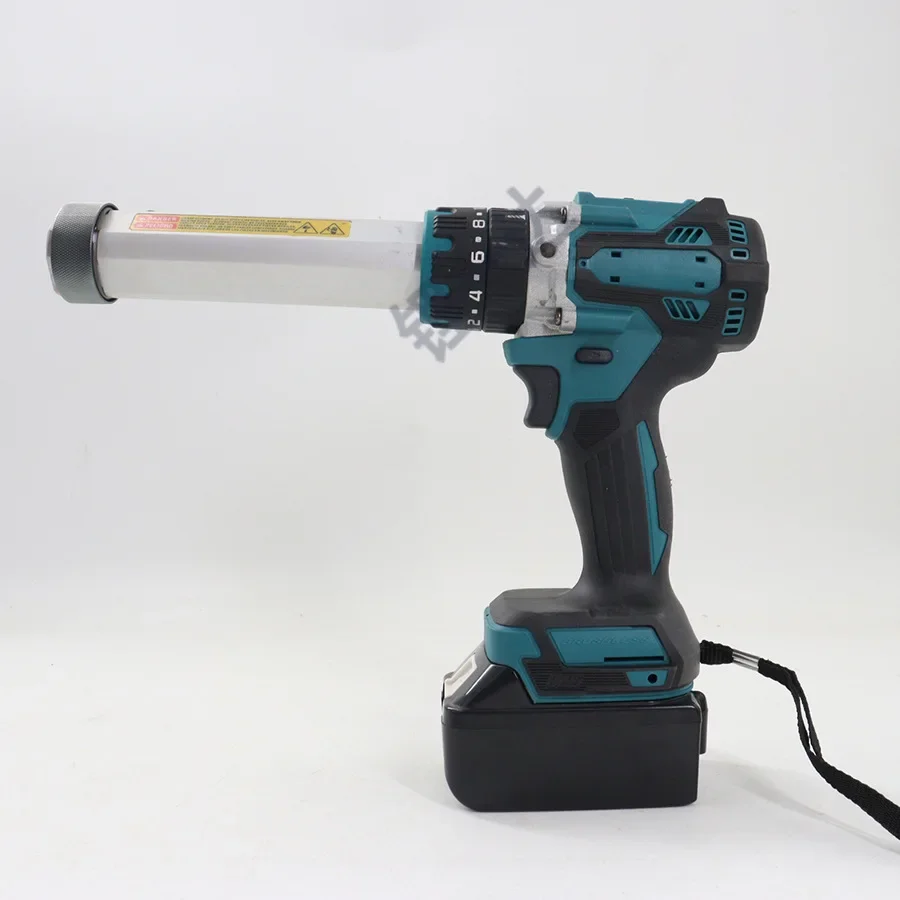
Credit: www.aliexpress.com
Frequently Asked Questions
How Do I Hardwire A Cordless Drill Safely?
To hardwire a cordless drill, first disconnect the battery. Then, connect the drill’s power wires to a compatible power source. Use proper insulation and secure all connections to avoid short circuits. Always follow the manufacturer’s guidelines and safety precautions for your specific drill model.
Can Hardwiring Improve Cordless Drill Performance?
Hardwiring a cordless drill can provide a consistent power supply. This may improve performance by eliminating battery drain issues. However, ensure the power source matches the drill’s voltage and current requirements to avoid damage or safety risks.
What Tools Are Needed To Hardwire A Cordless Drill?
You will need wire strippers, electrical tape, a compatible power supply, connectors, and a screwdriver. Having a multimeter helps verify voltage and connections. Always use insulated tools to ensure safety while working on electrical components.
Is Hardwiring A Cordless Drill Reversible?
Yes, hardwiring a cordless drill is usually reversible. You can disconnect the wires and restore the original battery connection. Keep original parts intact and document your wiring setup for easy reversion if needed.
Conclusion
Hardwiring a cordless drill can save time and power. It keeps your drill ready without needing batteries. Always follow safety steps to avoid accidents. Use proper tools and check connections carefully. This simple upgrade helps your work go smoothly. Practice makes the process easier and safer.
Now, you can enjoy a steady power supply. Give it a try and see the difference yourself.