
Have you ever wondered if your horn is working properly but don’t have the right tools on hand? Testing a horn can seem tricky, but what if you could do it quickly using something as simple as your cordless drill battery?
This clever hack saves you time and hassle, giving you clear results without needing specialized equipment. You’ll learn step-by-step how to test your horn using your drill battery safely and effectively. Keep reading, and you’ll never worry about a faulty horn again!
Tools Needed
Testing a horn with a cordless drill battery requires a few simple tools. These tools help you check if the horn works properly without complicated steps. Preparing the right items saves time and avoids damage to the horn or battery.
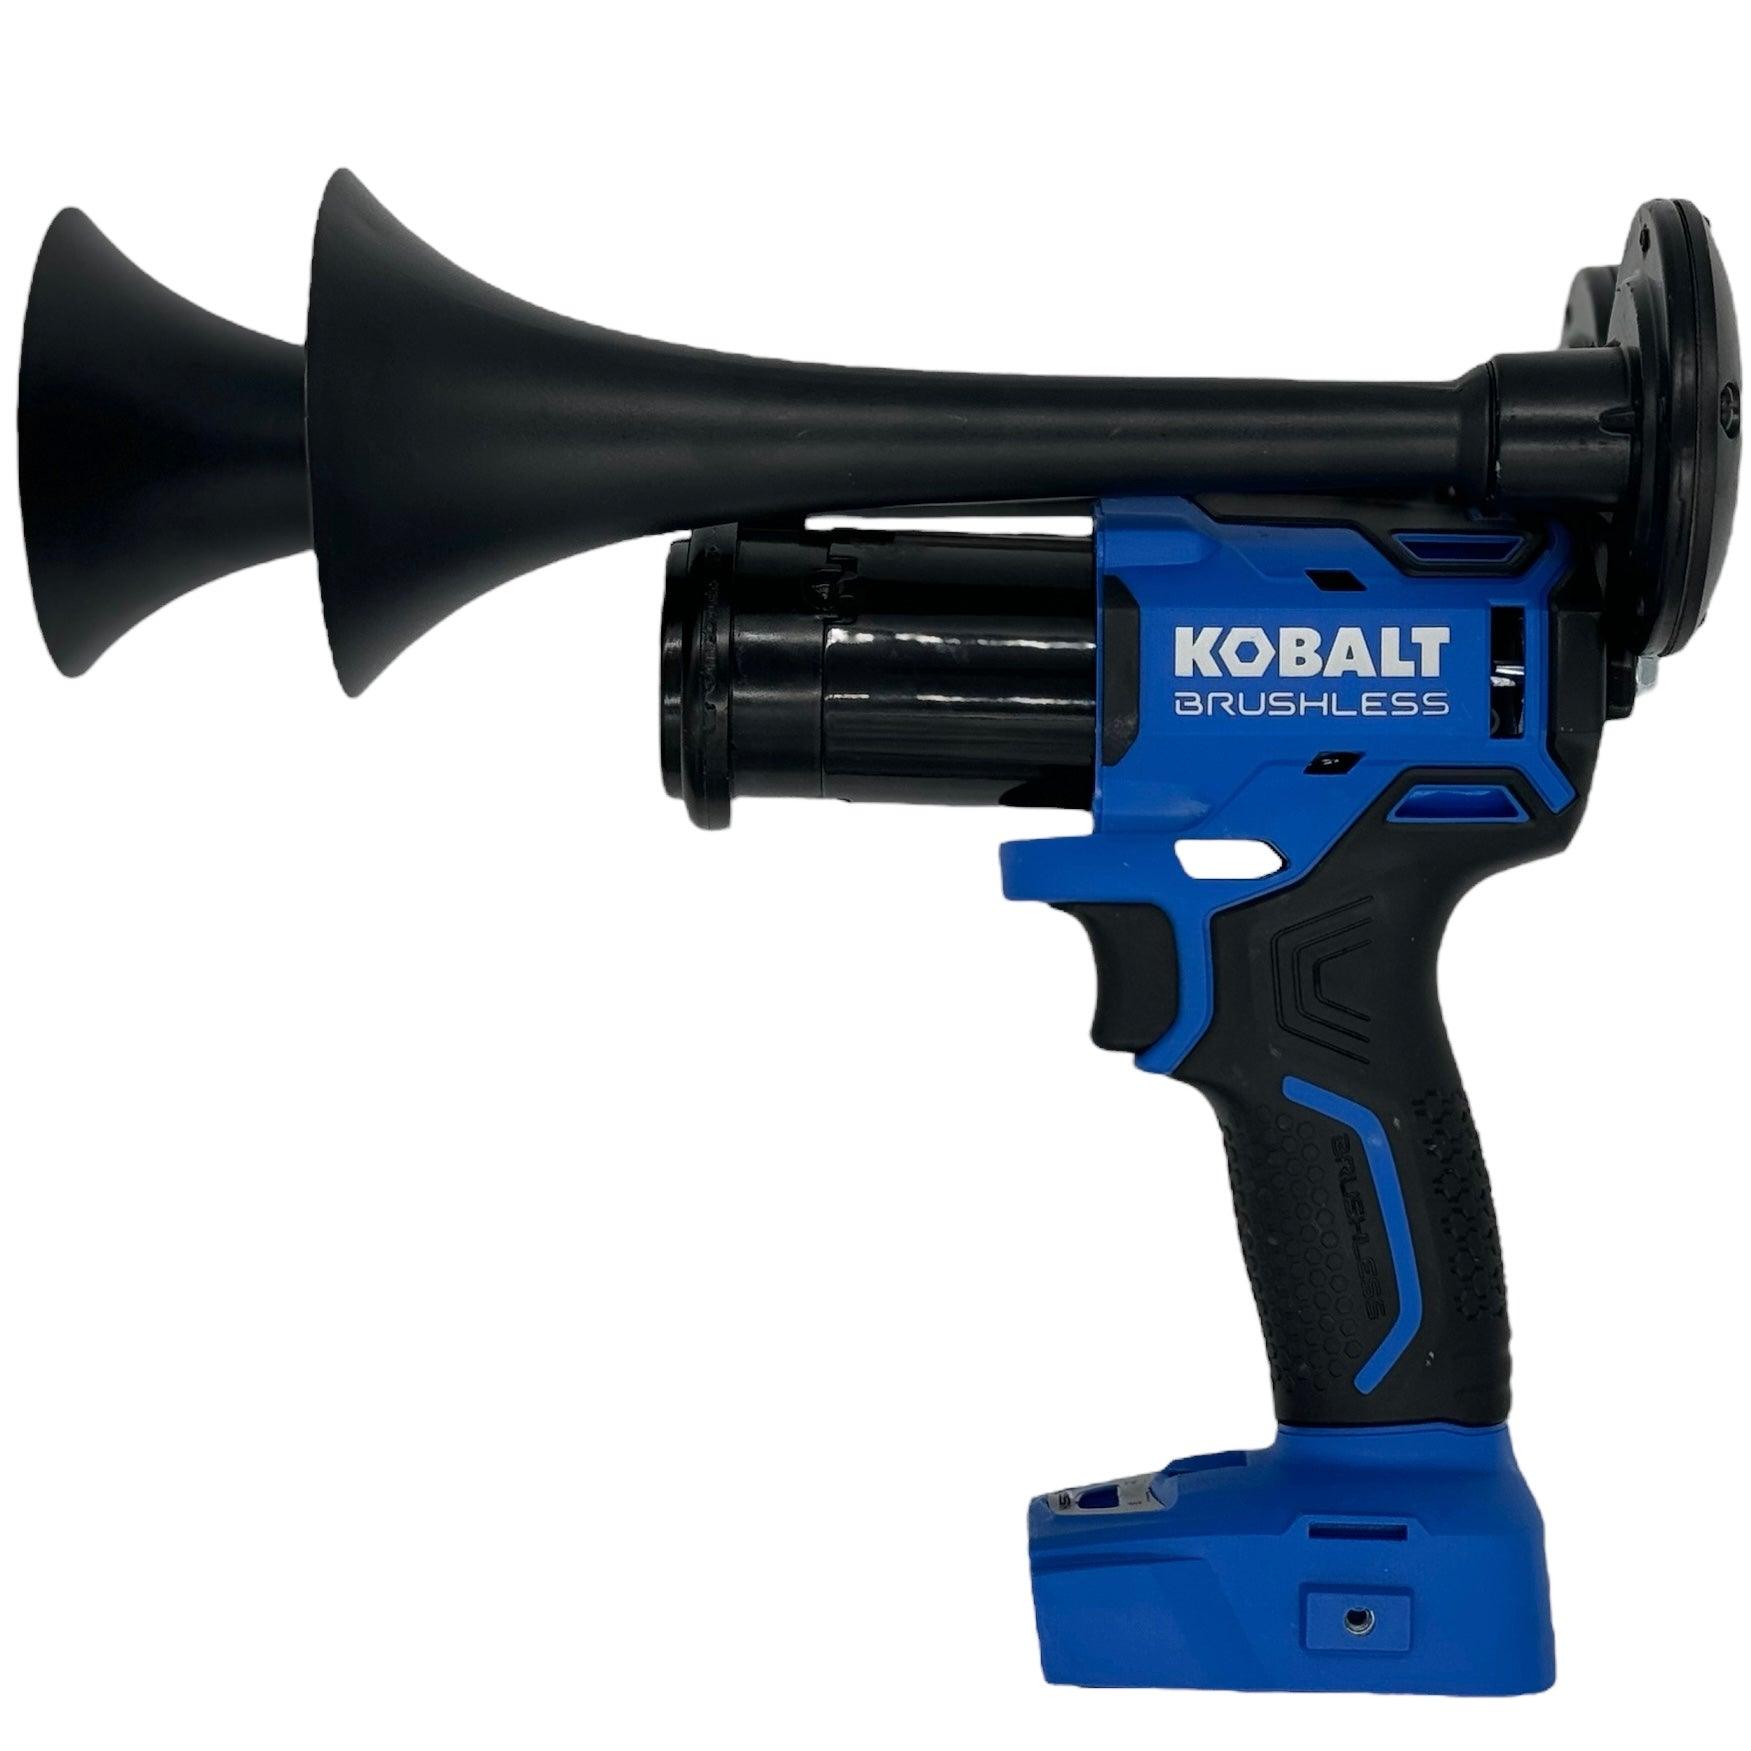
Cordless Drill Battery
The cordless drill battery is the main power source for testing. Choose a battery that matches the horn voltage needs. Most cordless drill batteries are 12V or 18V. Ensure the battery is fully charged. This helps deliver steady power to the horn for accurate testing.
Horn Types
Know the type of horn you want to test. Common types include electric horns, air horns, and 12V car horns. Each horn type may need a different connection method. Understanding the horn type helps you pick the right tools and avoid wrong wiring.
Additional Supplies
Gather extra supplies like alligator clips or jumper wires. These help connect the horn to the battery safely. A screwdriver or pliers might be needed to open the horn casing. Wear gloves to protect your hands from sparks or sharp parts.
Credit: impacttrainhorns.com
Safety Precautions
Testing a horn with a cordless drill battery requires care. Safety precautions protect you from accidents and injuries. Small mistakes can cause big problems. Follow these steps to stay safe and work efficiently.
Handling Batteries Safely
Always check the battery for damage before use. Cracks or leaks can be dangerous. Keep batteries away from water and heat sources. Use only the charger designed for your battery. Never force the battery into the drill. Remove the battery when not testing the horn.
Protective Gear
Wear safety glasses to protect your eyes from sparks or debris. Use gloves to avoid electric shocks and cuts. Avoid loose clothing that can get caught in moving parts. Closed-toe shoes protect your feet from falling tools or batteries. Keep a first aid kit nearby for emergencies.
Work Area Setup
Choose a clean, dry, and well-lit workspace. Remove any clutter or flammable materials. Keep children and pets away from your work area. Use a sturdy surface to hold the drill and horn steady. Have a fire extinguisher within reach, just in case.
Preparing The Horn
Preparing the horn is a key step before testing it with a cordless drill battery. This process ensures safety and accuracy. Proper preparation helps avoid damage to the horn or the drill battery. Follow simple steps to get the horn ready for testing.
Disconnecting Power Sources
Start by turning off the horn’s power source. Unplug any wires connected to the battery or power supply. This prevents accidental shocks or short circuits. Always double-check to confirm no power flows to the horn.
Inspecting Connections
Look closely at the horn’s wiring and connectors. Check for loose or damaged wires. Tighten any loose connections carefully. Replace wires that look worn out or broken. Good connections ensure the horn will respond correctly during testing.
Cleaning Contacts
Use a clean cloth or brush to remove dirt and corrosion. Dirty contacts can stop electricity from flowing properly. Lightly sand metal contacts if needed for better contact. Clean contacts help provide a clear test result with the drill battery.

Credit: www.youtube.com
Testing Steps
Testing a horn with a cordless drill battery is quick and simple. The process includes three clear steps. Follow each carefully to check if the horn works well. This guide breaks down the steps for easy understanding.
Connecting The Battery
Start by selecting the correct cordless drill battery. Match the voltage of the battery with the horn’s power needs. Attach the battery terminals to the horn’s wires. Ensure positive and negative connections align correctly. Secure the connections to avoid loose contact.
Activating The Horn
After connecting, press the horn’s activation button or switch. The horn should receive power from the battery. Hold the button for a few seconds to test the sound. Release the button once you confirm the horn’s response. Do not keep it active longer than necessary.
Observing Responses
Listen carefully to the horn’s sound output. A clear, loud sound means the horn is working. Weak or no sound suggests a problem with the horn or connection. Check the battery charge if the sound is faint. Repeat the test to confirm consistent results.
Troubleshooting Tips
Troubleshooting a horn powered by a cordless drill battery can save time and effort. Problems might seem tricky but often have simple fixes. Understanding common issues helps you fix them quickly. Below are key tips to handle usual problems.
No Sound Issues
Check if the battery is properly connected. Loose contacts can stop the horn from working. Inspect the horn’s wiring for breaks or damage. Dirt or corrosion on terminals can block power flow. Clean the contacts gently with a cloth. Test the drill battery separately to confirm it has power.
Weak Or Distorted Sound
Low sound can mean the battery charge is low. Try using a fully charged battery. Check the horn’s speaker for dirt or damage. Dust can muffle the sound output. Replace or clean the horn if needed. Faulty wiring may cause distortion. Tighten connections and remove any loose wires.
Battery Problems
A battery may show power but still fail to work well. Test the battery voltage with a meter. Replace the battery if voltage is too low. Overheated batteries might lose efficiency. Allow the battery to cool before use. Use only compatible batteries for your drill and horn.
Credit: www.pirouette-editions.fr
Maintaining Horn Performance
Keeping your horn in good shape ensures it works well every time. Regular checks and simple care help your horn stay loud and clear. A cordless drill battery makes testing easy and quick. Follow these steps to maintain your horn’s performance.
Regular Testing Routine
Test your horn often to catch problems early. Use the cordless drill battery to power the horn safely. Turn it on and listen for clear sound. Check for any changes or weak tones. Testing weekly or monthly keeps your horn reliable.
Cleaning And Care
Clean your horn regularly to prevent dust and dirt build-up. Use a soft cloth to wipe the surface gently. Avoid water or harsh chemicals that can damage parts. Clean the horn opening to keep sound clear. Proper care extends your horn’s life.
Battery Maintenance
Keep the cordless drill battery charged and ready. Store batteries in a cool, dry place to avoid damage. Remove the battery if you do not use the horn for a long time. Replace old batteries to maintain strong power. Good battery care ensures smooth horn testing.
Frequently Asked Questions
How Do I Test A Horn With A Cordless Drill Battery?
Connect the drill battery terminals to the horn’s power input. Briefly apply power to check if the horn sounds. This method provides a quick, safe way to test horn functionality without vehicle wiring.
Can A Cordless Drill Battery Damage The Horn?
No, a cordless drill battery usually matches the horn’s voltage rating. Ensure the battery voltage is compatible to avoid damage. Using the correct voltage helps prevent horn failure or battery drain during testing.
What Safety Precautions Should I Take When Testing A Horn?
Wear safety goggles and gloves to protect from sparks. Avoid prolonged power application to prevent overheating. Work in a dry area and keep metal objects away from battery terminals.
Why Use A Cordless Drill Battery Instead Of A Car Battery?
Cordless drill batteries are safer, portable, and easier to handle. They provide a controlled, low-voltage power source ideal for quick horn tests. Using a car battery risks short circuits and higher current damage.
Conclusion
Testing a horn with a cordless drill battery is simple and quick. You only need a few tools and basic steps. This method saves time and helps find problems fast. Always check connections and battery charge for best results. Safety matters, so work carefully and avoid sparks.
Try this approach next time your horn needs testing. It makes the job easier and keeps you confident. Keep your tools ready and stay safe while working. Testing horns doesn’t have to be hard or confusing.